
If your 2008+ Ford Super Duty didn’t come with marker lights on the cab, it’s not that difficult to install them. In this case, we’re adding lights to our BOT 2010 Ford F-350 project truck.
The lights we chose are the (5) piece Amber Teardrop Cab Light Kit by Haul Master.
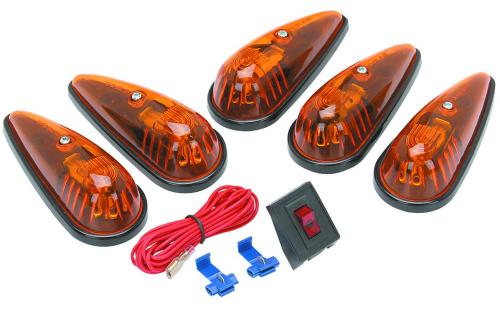
You can find these on Amazon, but you can find them much cheaper at Harbor Freight.
We chose these lights because:
1) They’re very economical. At the time of this article, Harbor Freight was selling this kit for $11.99
2) Kit comes with plenty of wire, wire taps, and a switch
3) They’re cheap to replace versus the newer LED style, and factory cab lights
4) You only need to run a single wire through the roof – no plugs or multiple wires.
Installation:
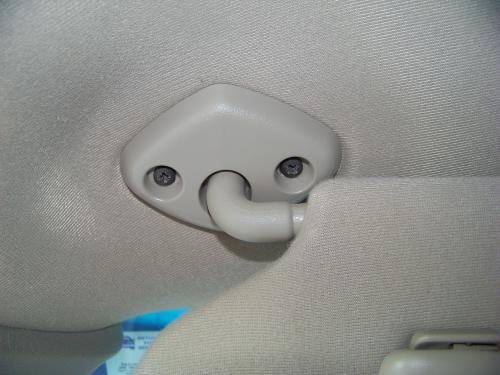
To start the installation, you’ll need to remove the grab handles on the windshield posts.
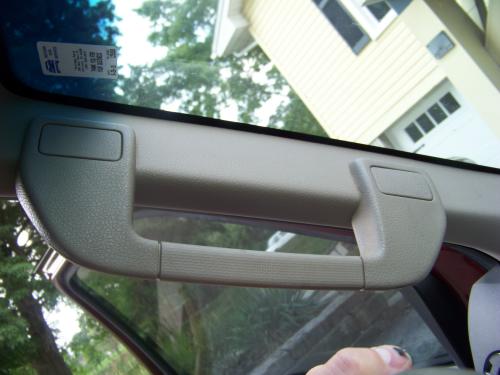
The rectangular caps pop right off to reveal (2) 8mm (5/16″) bolt heads:
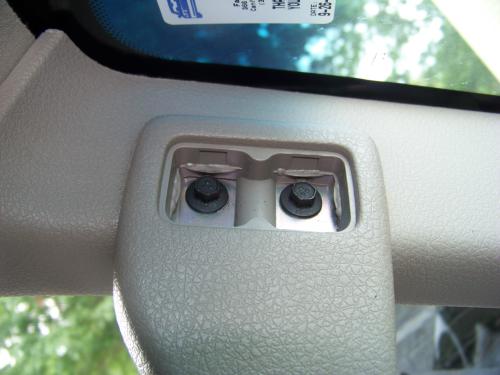
Once all (4) bolts are removed, you can remove the handle, and then remove the windshield post cover by pulling on it (it snaps in place).
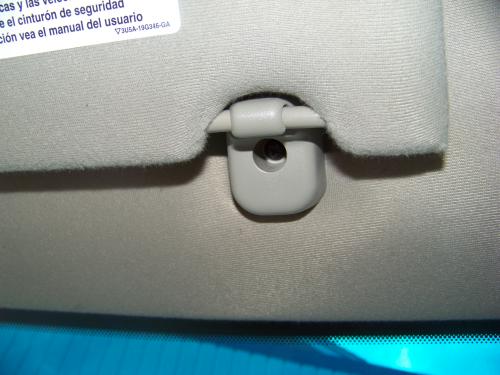
You’ll also need to remove the visors. They have (2) phillips head screws holding them in at the base, and (1) screw holding the the clip it snaps in to.
You’ll also need to remove the overhead console. It just snaps in to place as well.
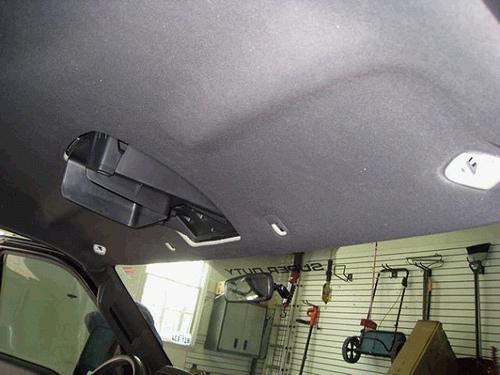
Once you have all these pieces removed, you can finally lower the headliner.
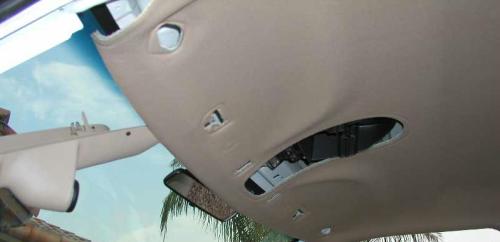
Now comes the hardest part…
You’ll have to mark out the location of your lights so that you can drill holes and mount them. This is where people start to panic.
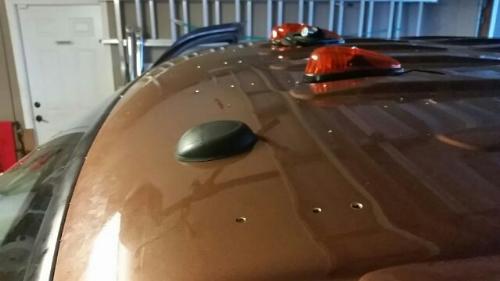
You’ll want to lay out some masking tape on your roof. This will give you something to mark all your reference points on, and keep you from scratching the paint.
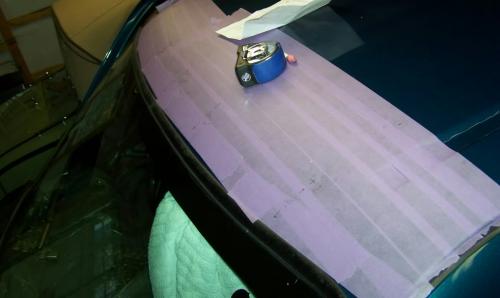
The Haul Master (Harbor Freight) cab lights have a thick foam base. This will be the template you’ll use to mark your points. When you have them in the position you want, just use a marker to mark each hole.
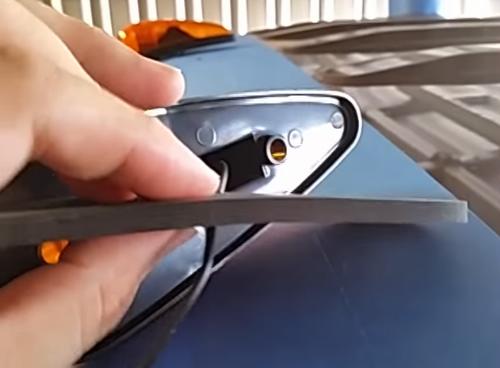
As you can see in the photo above, these lights only have (1) wire. The black wire is your power wire. It will go through the center hole. The lights are grounded when you screw the base to the roof.
The first this is to find the center of the roof. Run a tape measure across your roof, and find the center. Your first light will be placed in the center
The ‘0’ below represents where your lights will go:
0<—-13″—->0<–8″–>0<–8″–>0<—-13″—->0
As you can see, your next (2) lights will be 8-inches right and left of the center light, and then the last (2) lights will be 13-inches right and left of those.
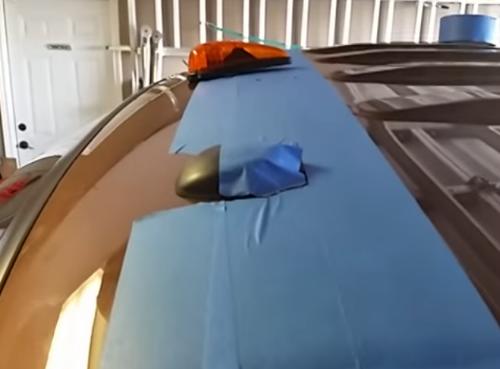
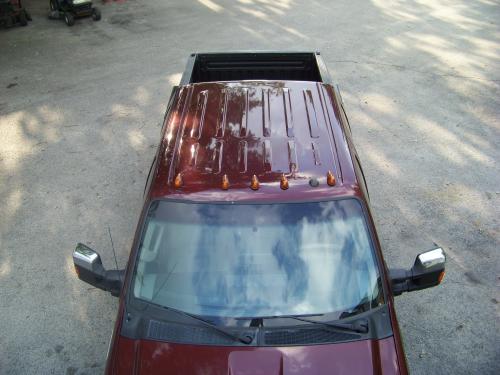
I’m not going to tell you how far back to mount them. My suggestion would be to lay the light on the roof and make sure it’s going to lay flat on the roof. If not, the base could get a slight bend when you tighten it down, causing the lens to not seal correctly.
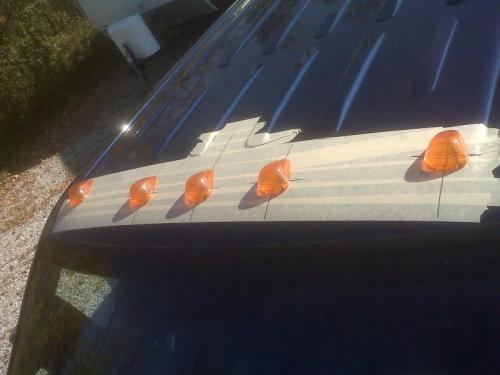
Make sure your lights are mounted straight and follow your roof lines.
Once you have your holes drilled, remove the tape, and mount your lights. I would suggest using a little silicone sealant around the holes to be certain moisture doesn’t leak in.
Once you have them mounted, it’s time to wire them up.
If you look up under the dash on the drivers side, you’ll find a gray plug (with nothing attached to it) just above the parking brake cable assembly. This is the plug that Ford plugs the factory cab lights in to. The violet wire with the white stripe is your power wire. Use the red wire in your kit, and the blue wire taps, and wire tap the black power wire for each cab light in to the red wire, as you run the red wire along the cab towards the drivers side.
With all your connections made, route the red wire down the drivers side windshield post, and stick the wire all the way down through the openings until it’s under the dash. Then use a wire tap to tap in to the violet / white striped wire. I added an inline fuse. In the event my cab lights short out, I don’t want them to blow the fuse for my factory parking/tail lights.
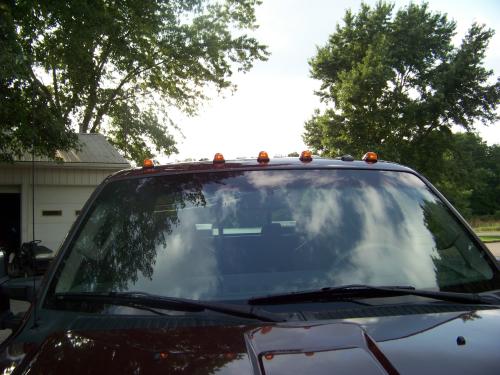
Once completed, turn on your lights to make sure your cab lights come on.
If everything checks out, reinstall all the pieces you removed.
Here you can see the gray plug above the parking brake cable assembly
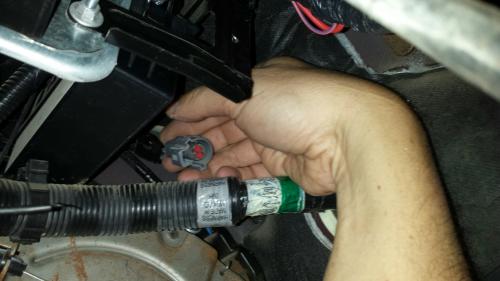
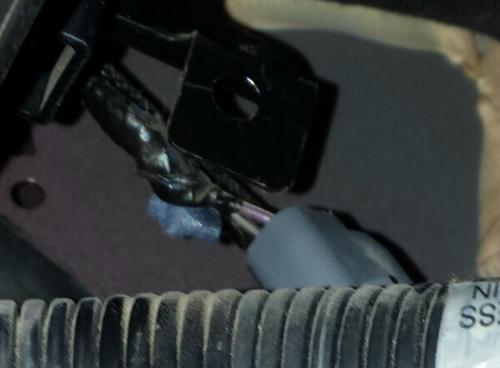
Note the violet (purple) wire with the white stripe. This is your power wire.

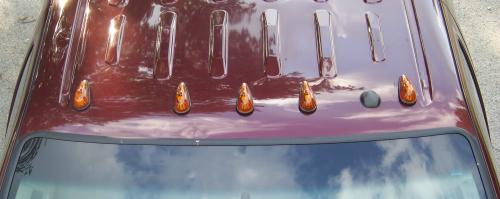
Finished!
About The Author
Growing up, my father always believed that every family needed a truck—there’s just something about having a vehicle capable of hauling anything at a moment’s notice. That philosophy stuck with me, and it’s been the foundation of my lifelong passion for Ford trucks.
While I’m best known for my work with Ford Rangers, I’ve owned a wide variety of Ford trucks over the years—including F-150s, F-250s, F-350s, and even larger rigs like the Ford Excursion, Ford Expedition, and a 1982 Ford Econoline Sportsmobile camper van. I’ve used these vehicles for everything from family transportation to towing car trailers and campers, and each one has fueled my love for Ford’s versatility and durability.
I especially enjoy the styling of 1970s and 1980s Ford trucks—the bold designs, rugged presence, and classic charm are timeless. Sharing my passion for Ford trucks, vans, and SUVs with other enthusiasts online brings me a great deal of joy, and it’s why I created Blue Oval Trucks.
This website is dedicated to helping Ford truck enthusiasts explore, learn about, and celebrate these incredible vehicles. While I share my expertise and experiences here, Blue Oval Trucks is an independent enthusiast site and is not affiliated with Ford Motor Company.