a
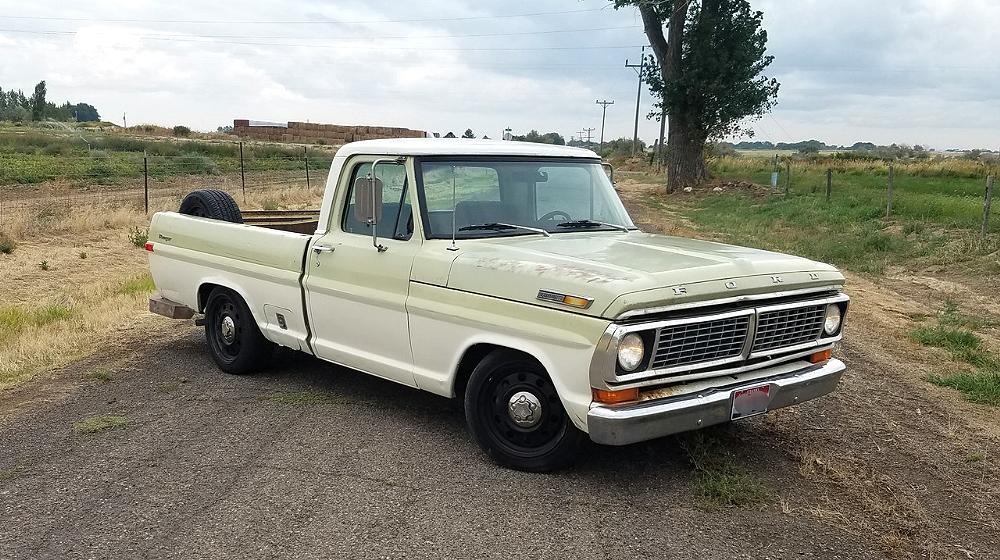
Note: This page discusses swapping out the frame of your Ford F-100 truck for the frame of a 2003-2011 Ford Crown Victoria. This page is not meant to be a “how-to” but simply provide you information on what to expect, and what others have done.
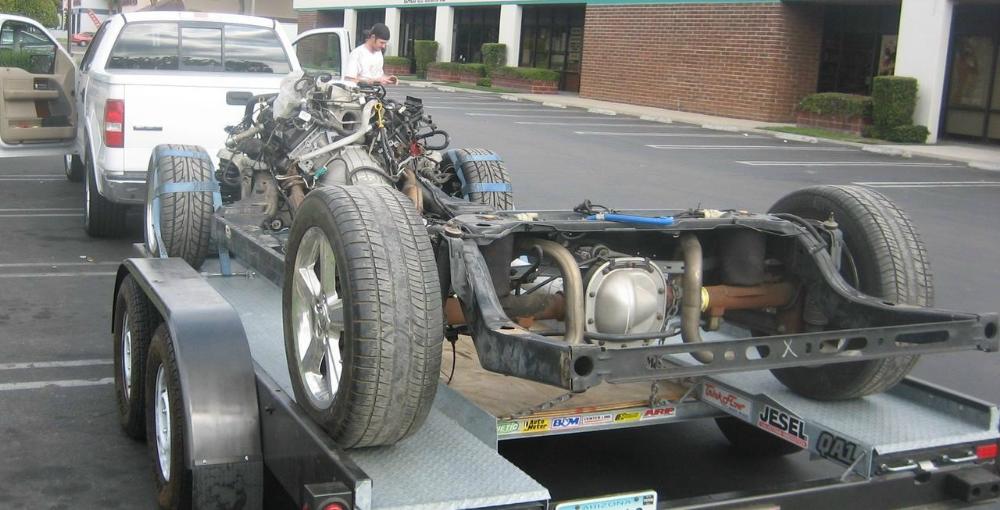
Swapping the frame from a 2003-2011 Ford Crown Victoria under a Ford F-100 has grown in popularity. There are several reasons for this.
- From 2003 the Marauder, Crown Vic and Grand Marquis used the same upgraded chassis with the Aluminum front cross member, rack and pinion steering and a 4 link watts rear end. It’s a pretty neat chassis. The front suspension is actually similar to a Corvette in Design. A true coil over shock and
Aluminum components. - These Crown Victoria’s are plentiful in the junkyards.
- The components are tough. Designed for police work, the parts will take a beating.
- Replacement parts are cheap and can be found anywhere.
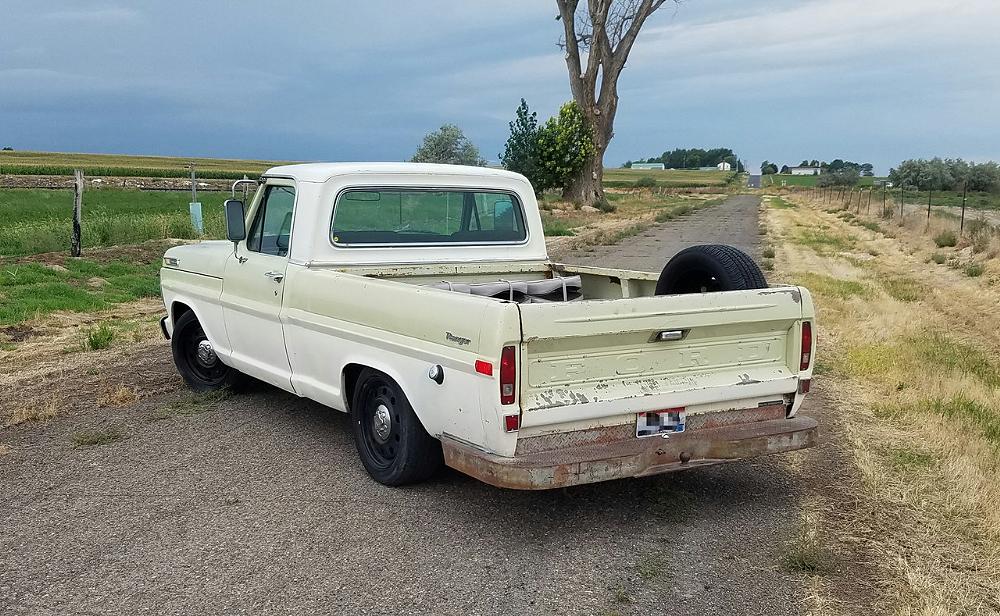
- The Crown Victoria’s 114.7-inch wheelbase is very close to the 115-inch wheelbase of the 1966-1972 Ford F-Series short bed. The 1973-1996 short bed wheelbase is a little longer at 117-inches.
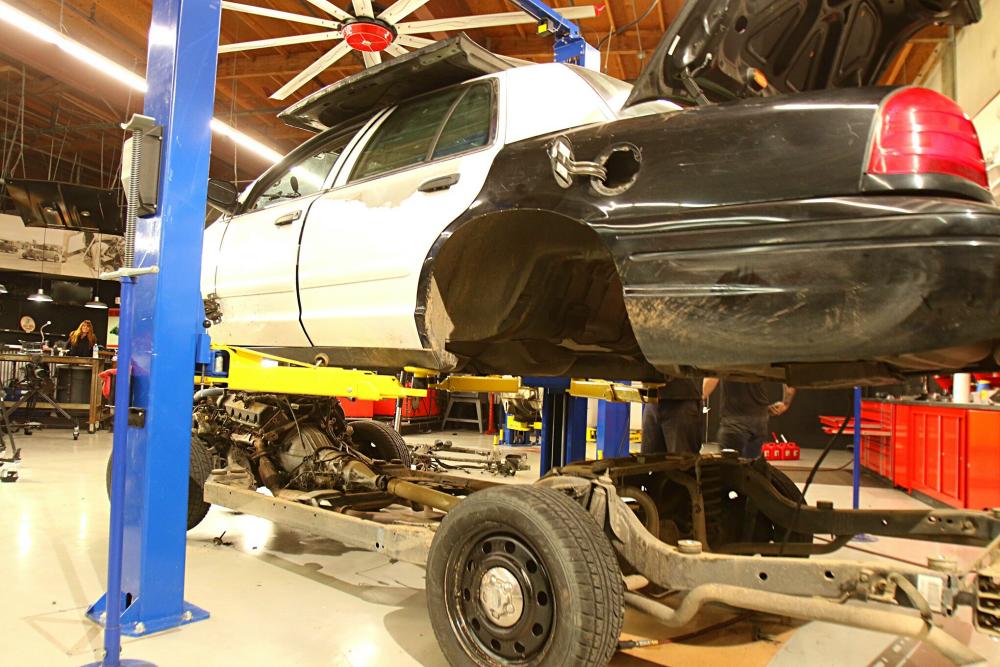
While some have been able to remove the Crown Vic (Victoria) body with a lift, others have stripped the Crown Vic’s down to their shell, and then cut the body apart with a sawzall.
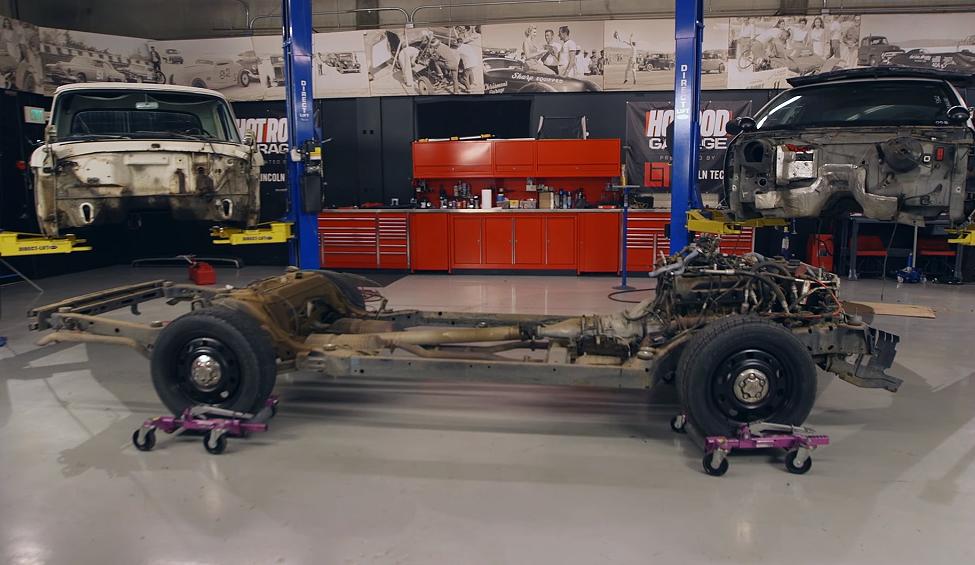
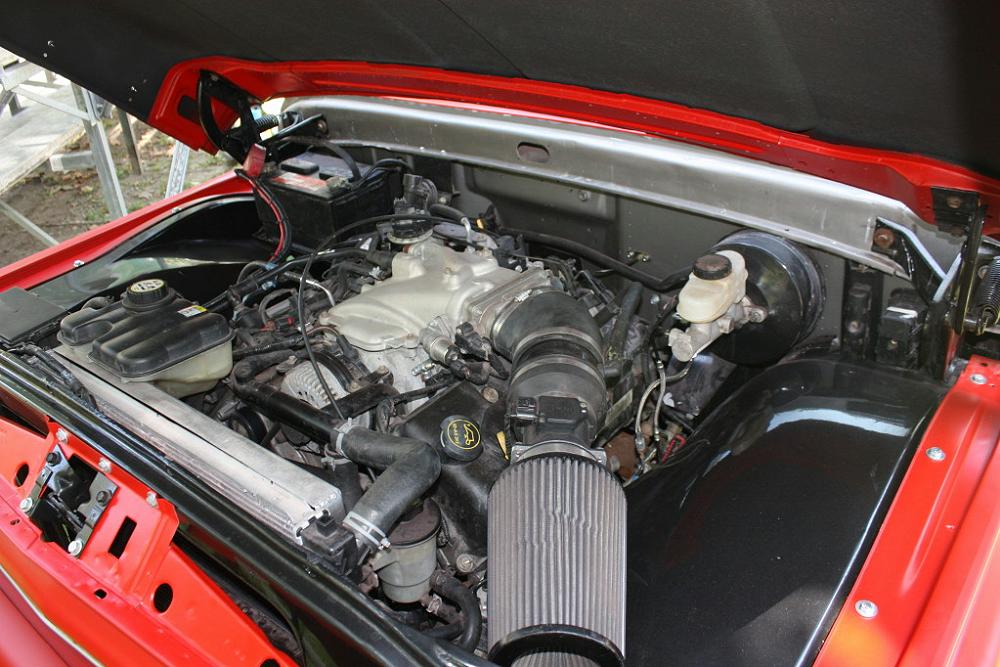
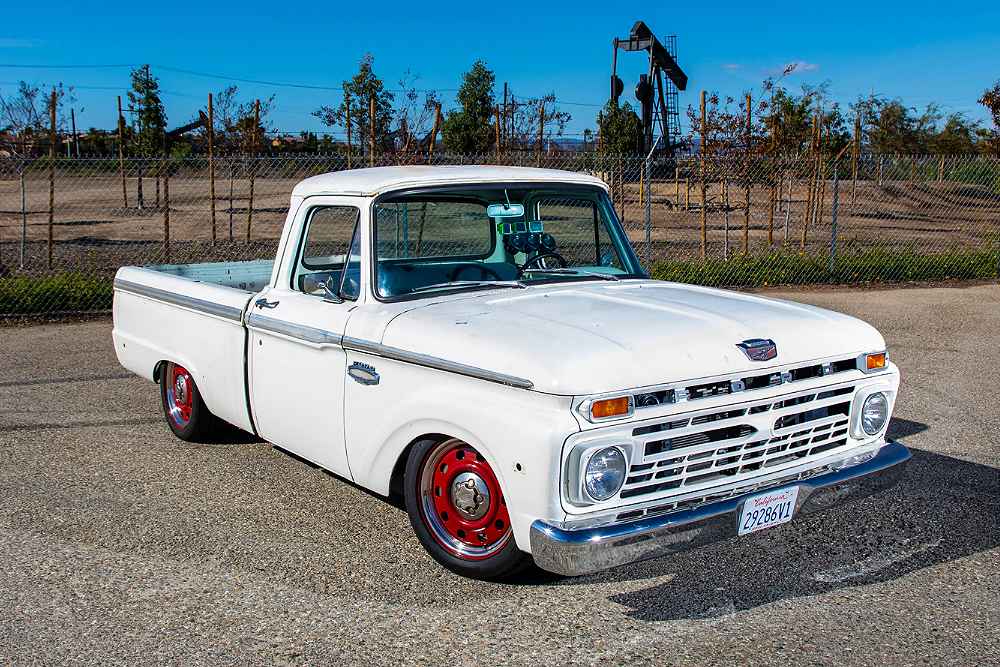
Here you can see this 1966 Ford F-100 cab sitting on a Crown Vic frame.
Mounting The Cab To The Frame – Rear
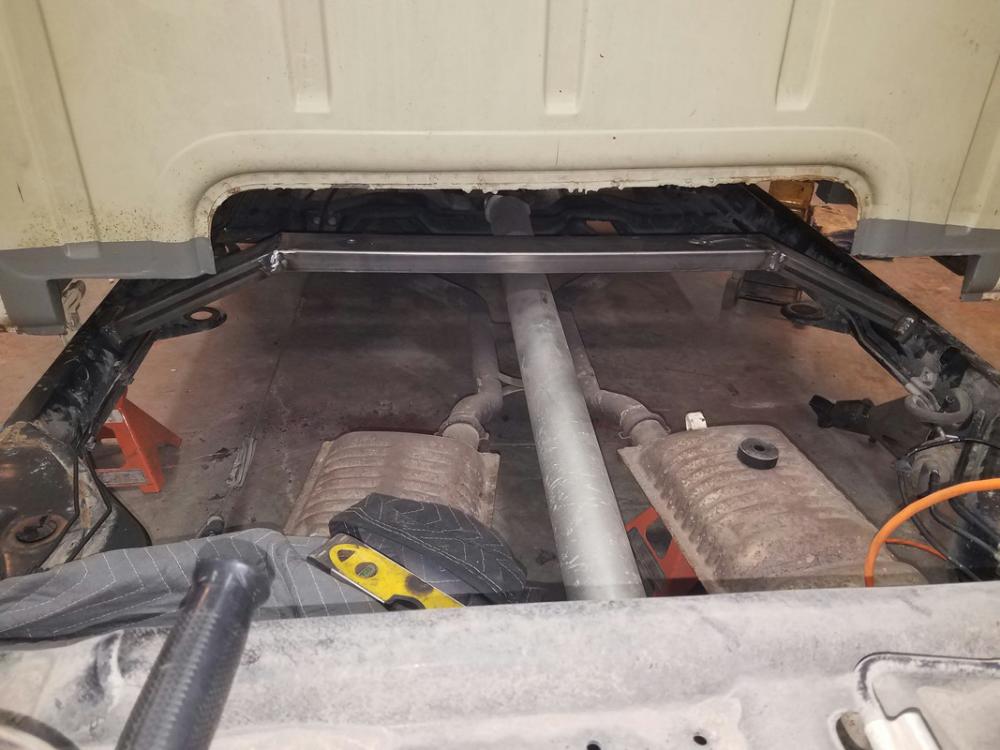
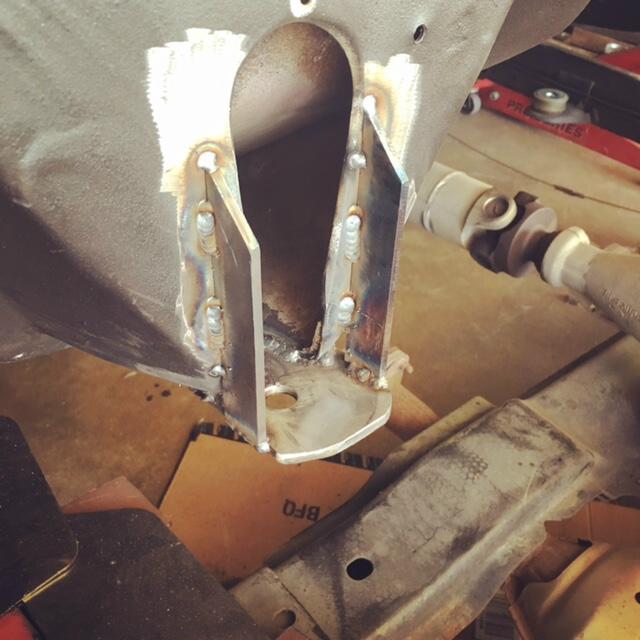
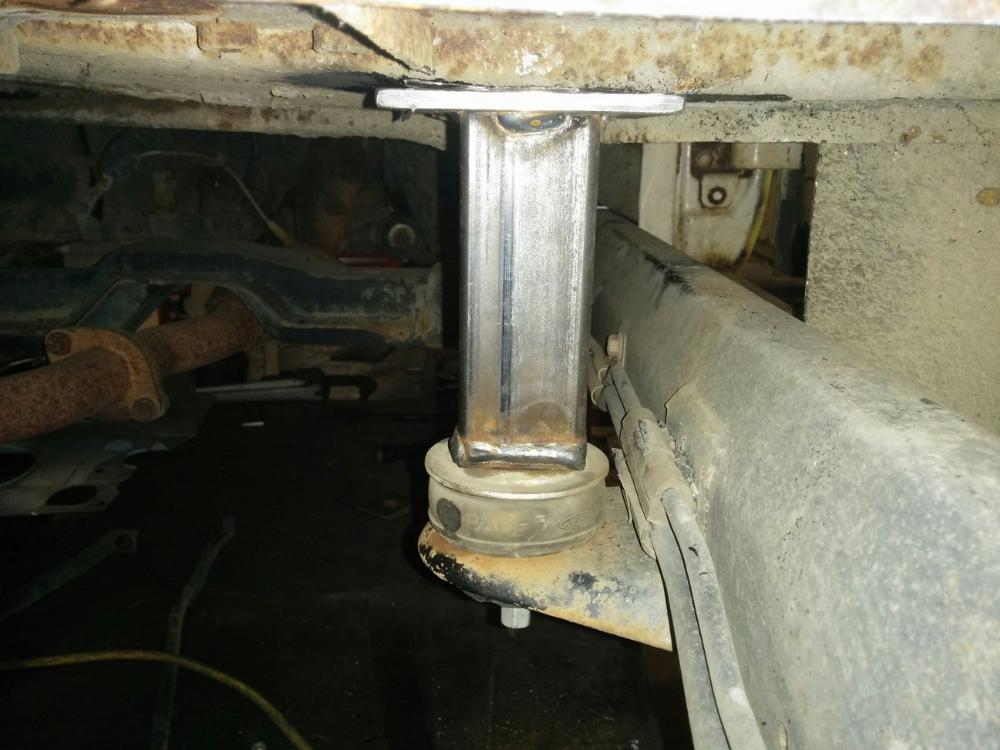
Below you can see a new rear cab support being built out of 1.5″x 3″x .125″ wall tubing.
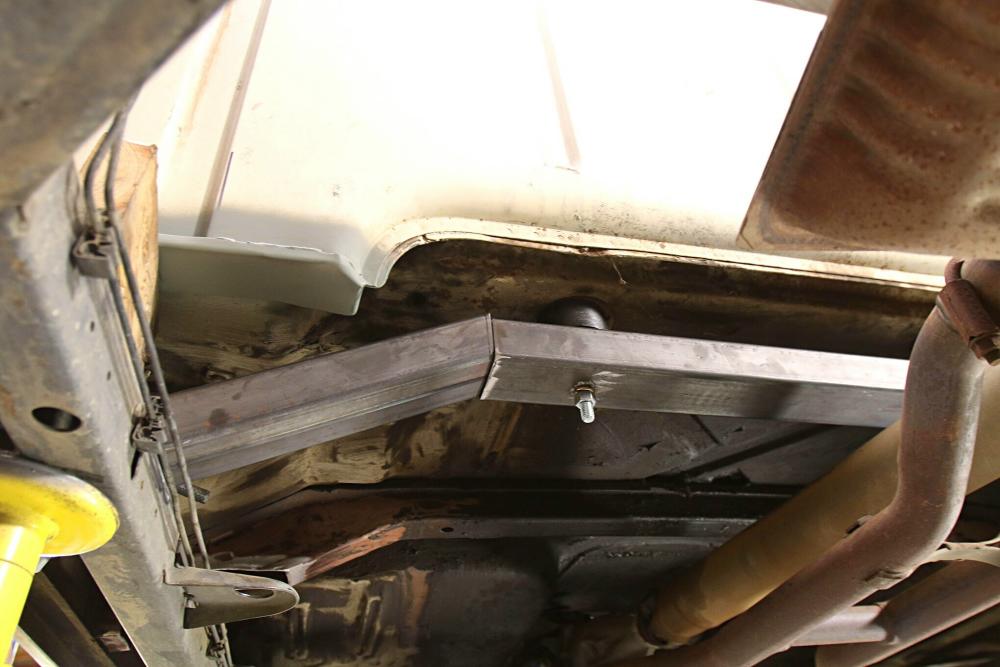

This builder cut off the crossmember from the truck, and then lengthened it to fit the Crown Vic frame. Also note where the back of the cab was cut to fit over the Crown Vic frame.
They then added additional braces to it. I think the first example was a much simpler approach.
Mounting The Cab To The Frame – Front
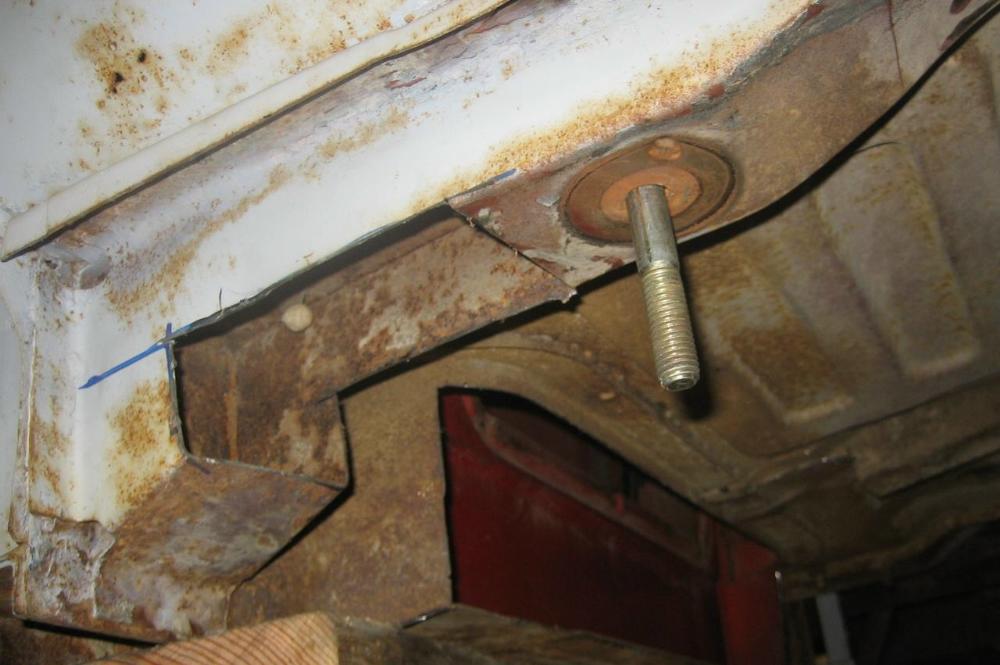
At the front of the cab, the cab mount doesn’t line up with the mount on the Crown Vic frame.
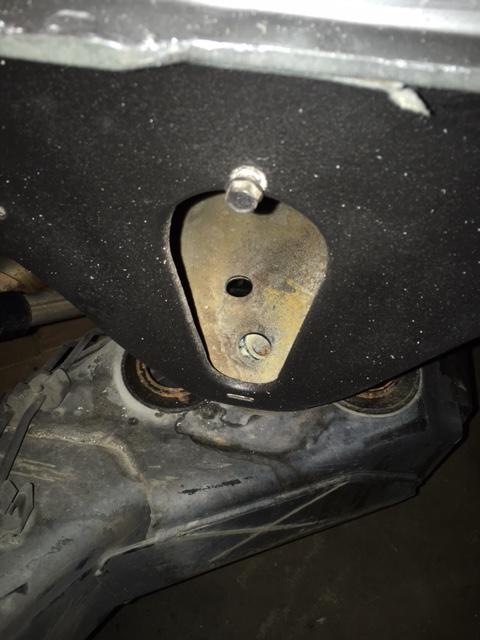
This builder created a new mount and added it to the front of the cab.

This builder used a plumb bob to see where the front cab mount would meet the Crown Vic frame.
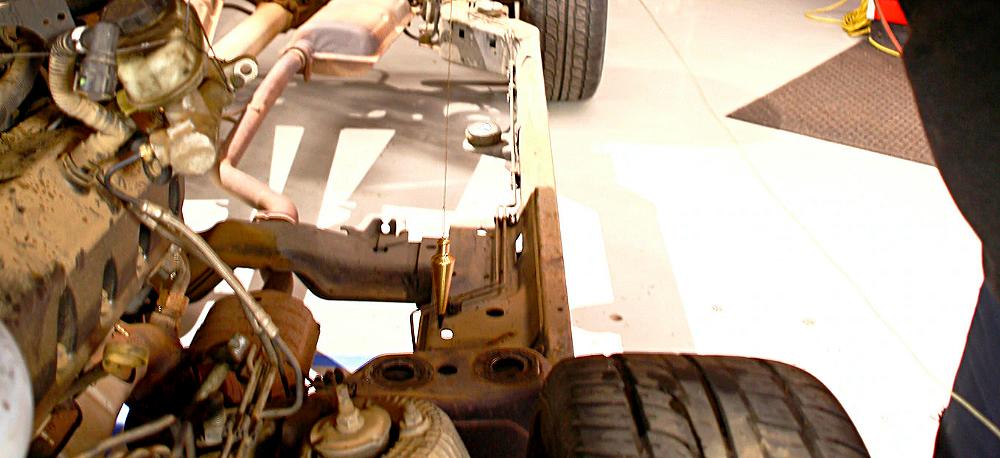
Then they made a metal plate with a nut welded to the bottom of it to bolt the cab to. You can see they added a bushing between the body and the plate.

They then welded the plate on to the Crown Vic frame over the existing frame mount location to line up with the trucks cab mount.
Other builders made custom brackets to mount the Ford cab to the Crown Vic frame.
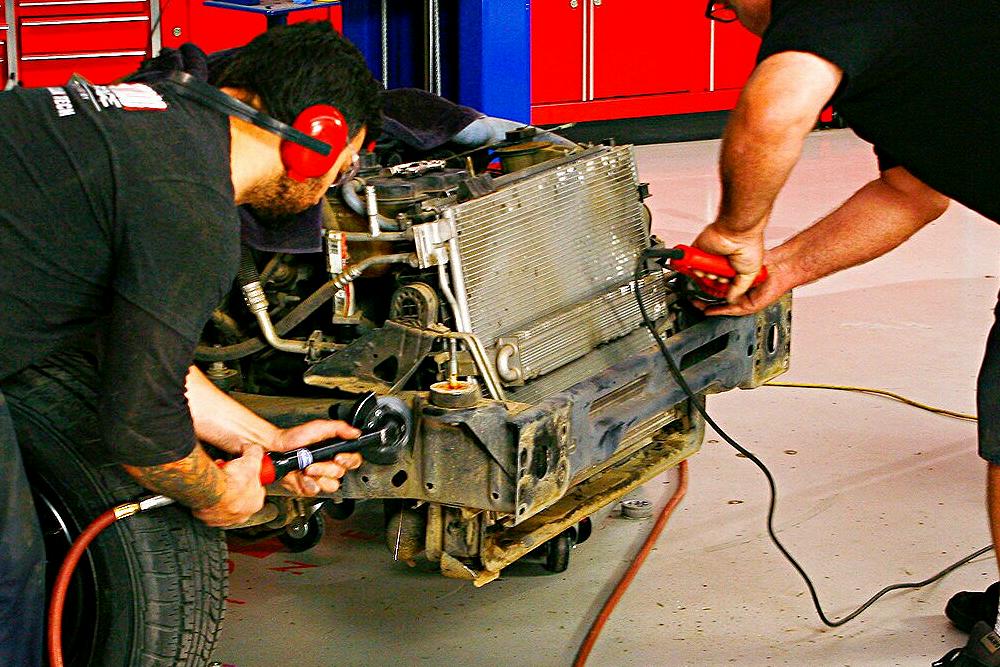
Mounting At The Core Support
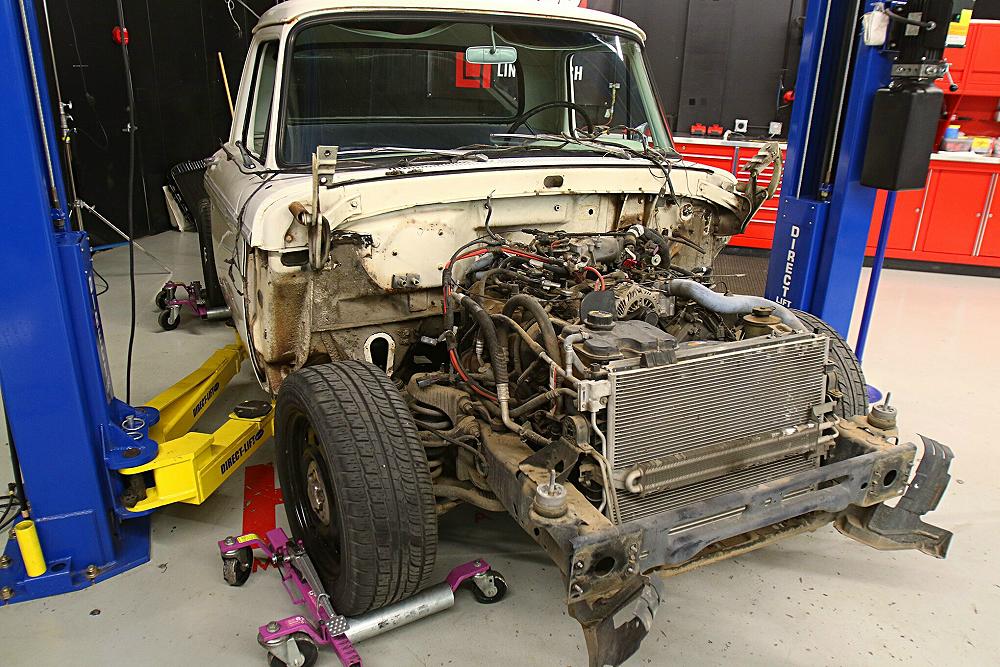
The frame will need cut just forward of the radiator.
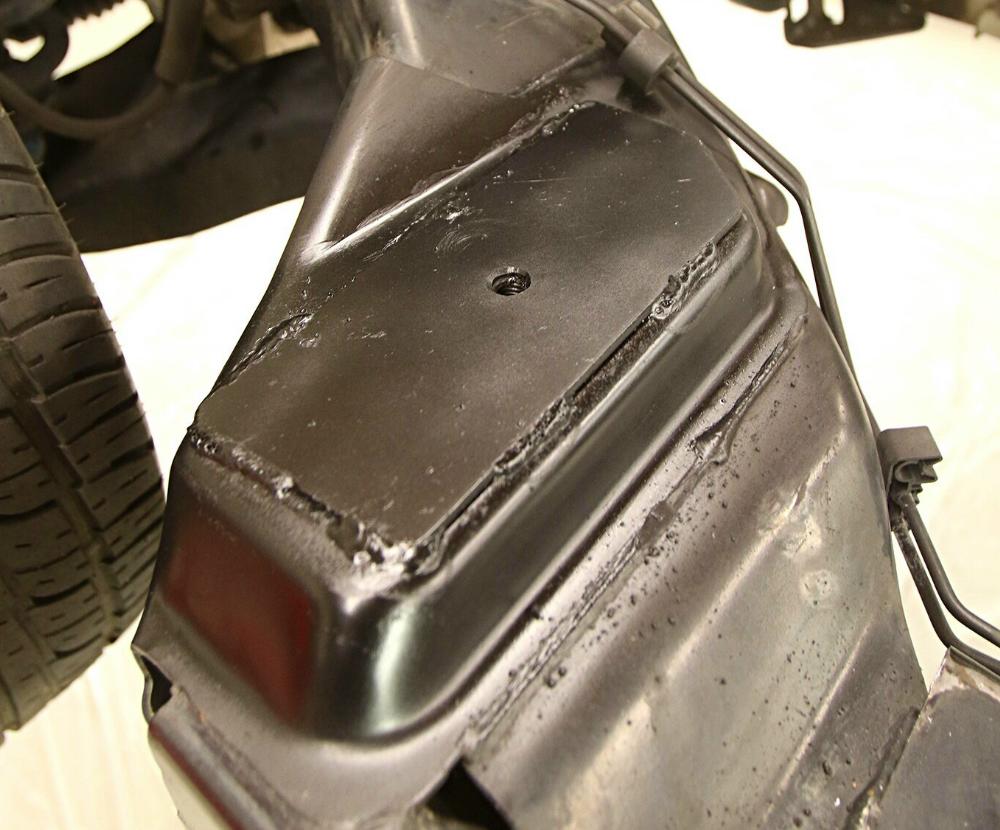
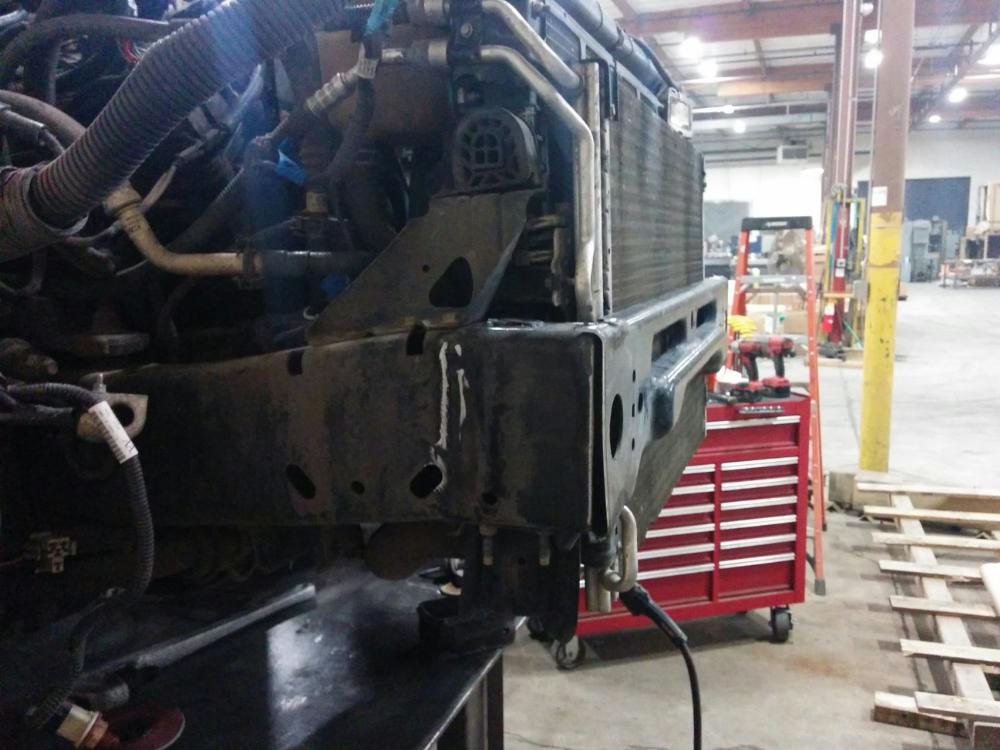
Here you can see where they reused the metal plate that spans across the front of the frame rail, and welded it back on. This will give them a surface to attach the front bumper to later.
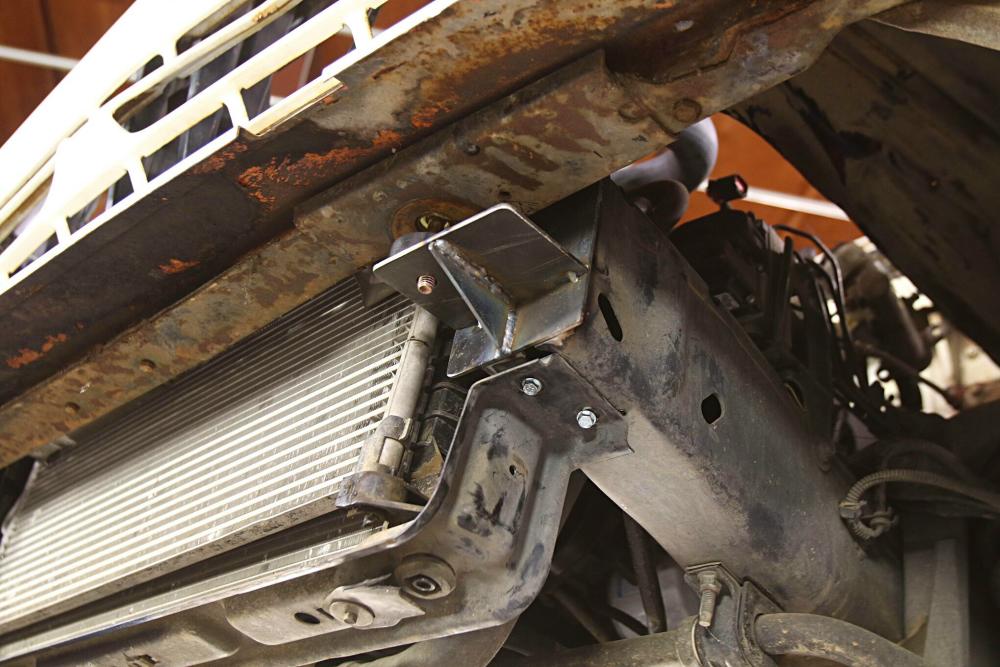
This builder made a mounting bracket out of steel plate to mount the F-100’s front core support.
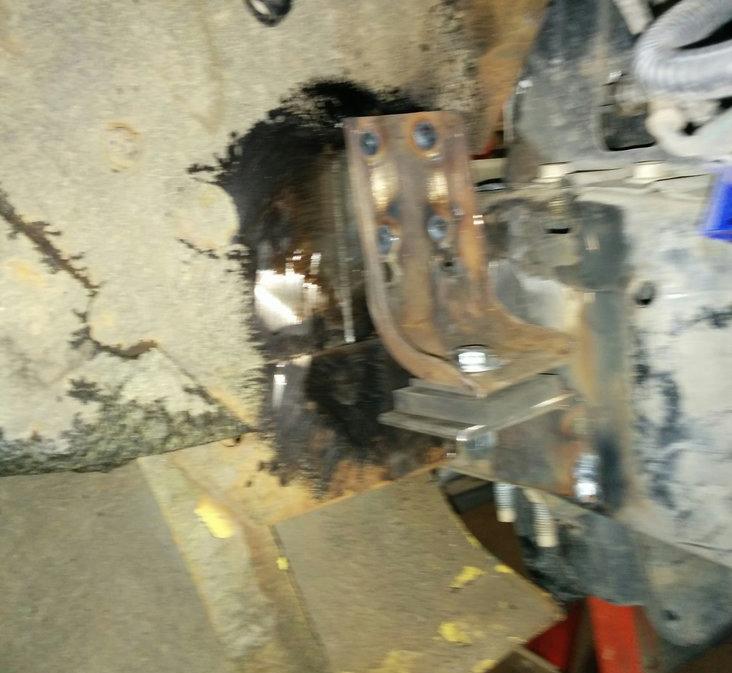
Others have created a mount on the side of the frame for the core support (sorry for the blurry photo). This method makes it easier to use the stock front metal plate that spans the frame (two photos up) and reattach the trucks front bumper.
Cab Clearances
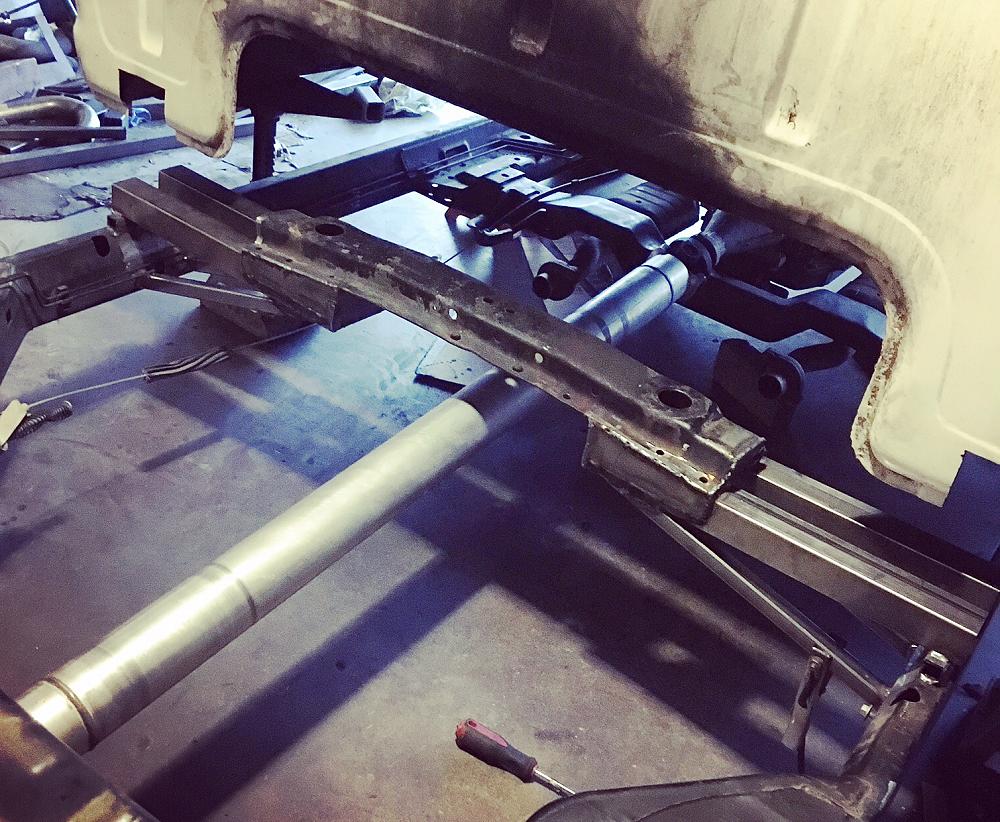
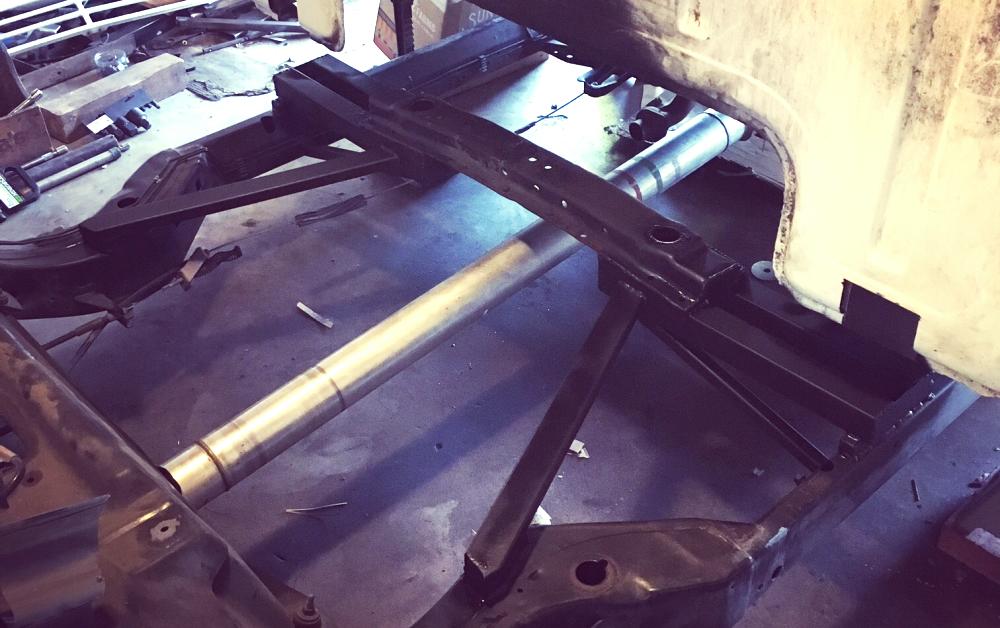
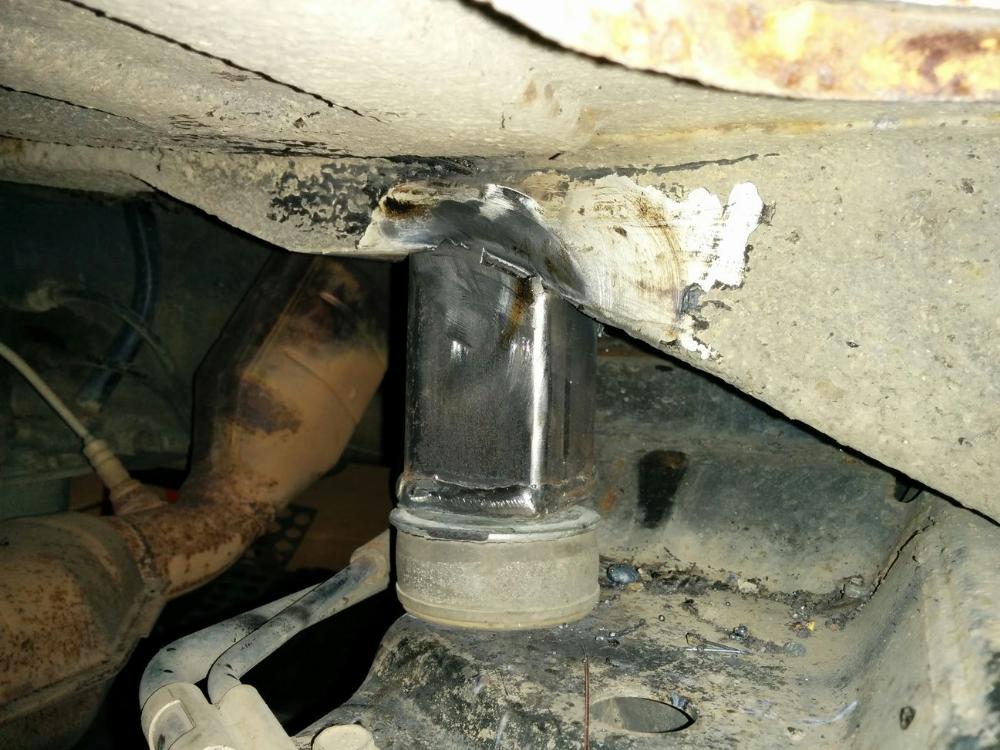
I’ve already mentioned where the back of the cab was cut out to go over the Crown Vic frame rail.
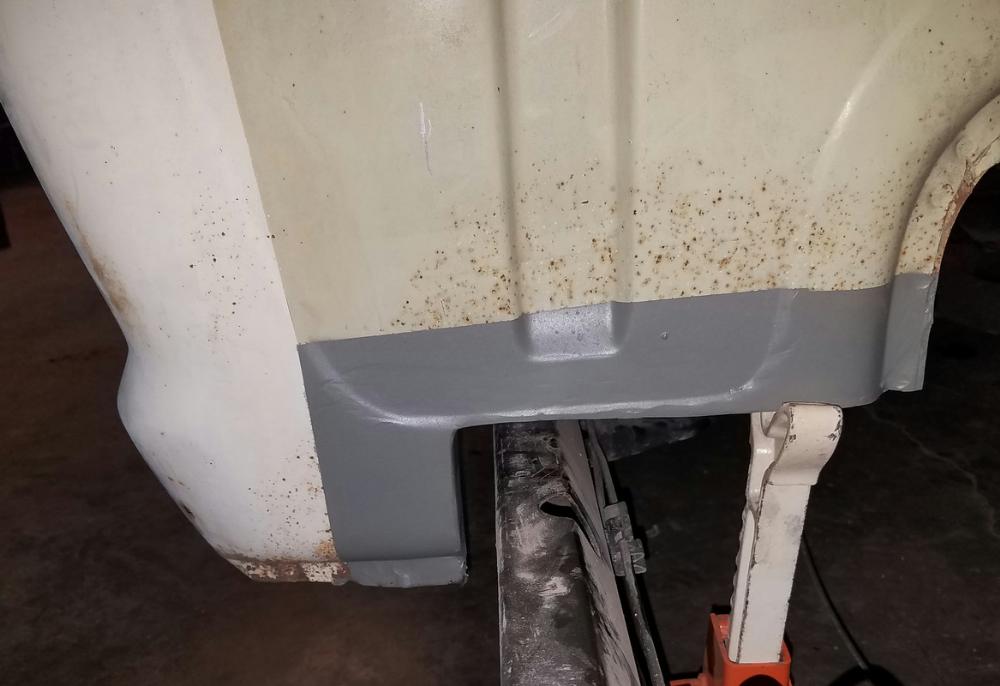
Since the Crown Vic frame is wider than the F-100 frame, these builders took an inch out of the footwell in the door and boxed it back in to clear the frame.
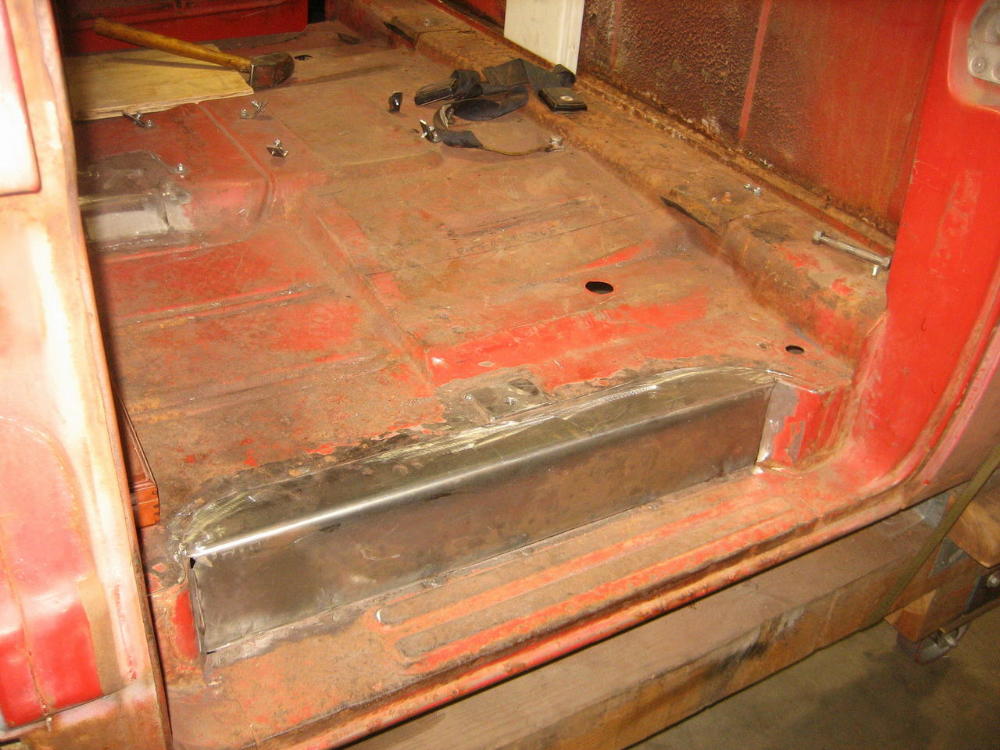
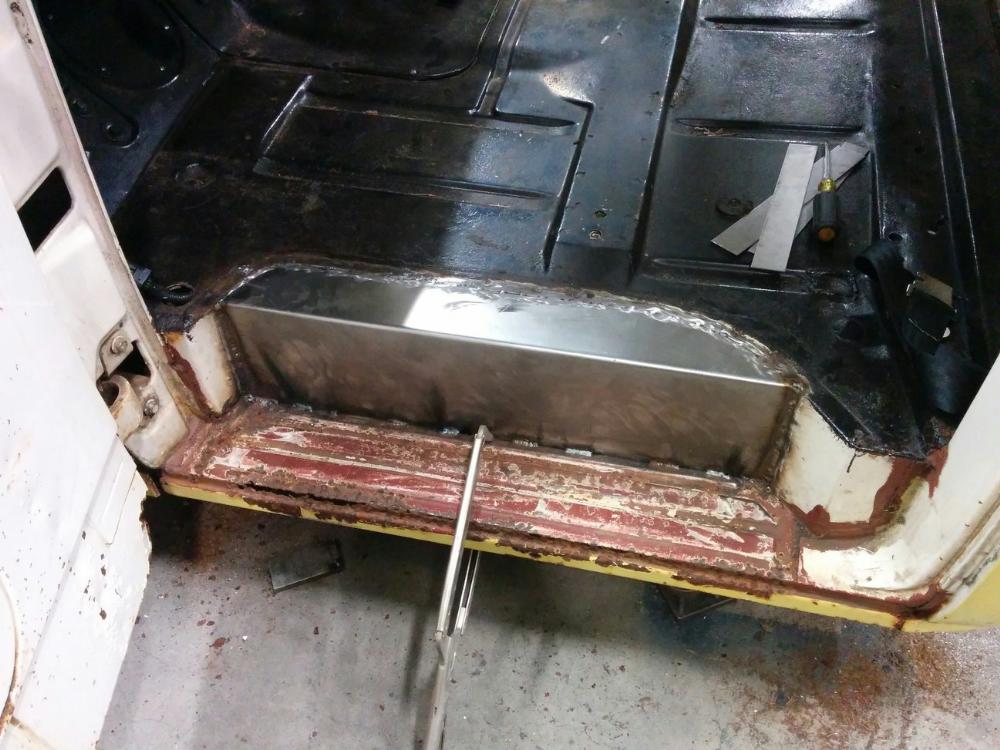
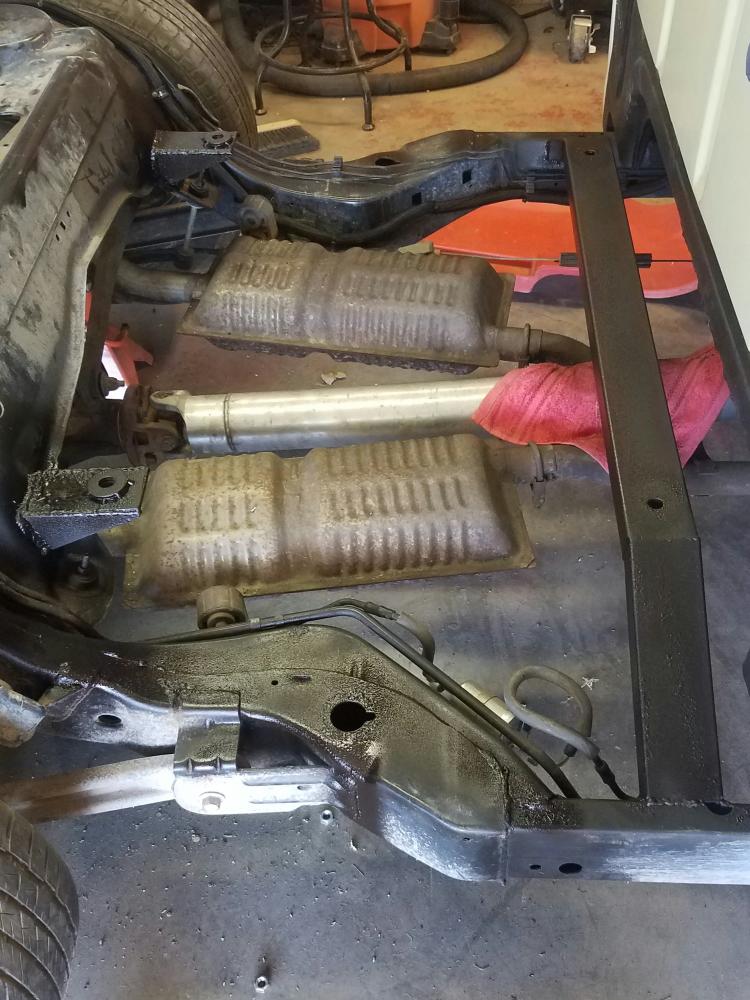
You’ll also likely find yourself having to cut the cab support to clear the frame rails. Here you can see them cut out. I would box them back in with some metal so they don’t lose any strength.
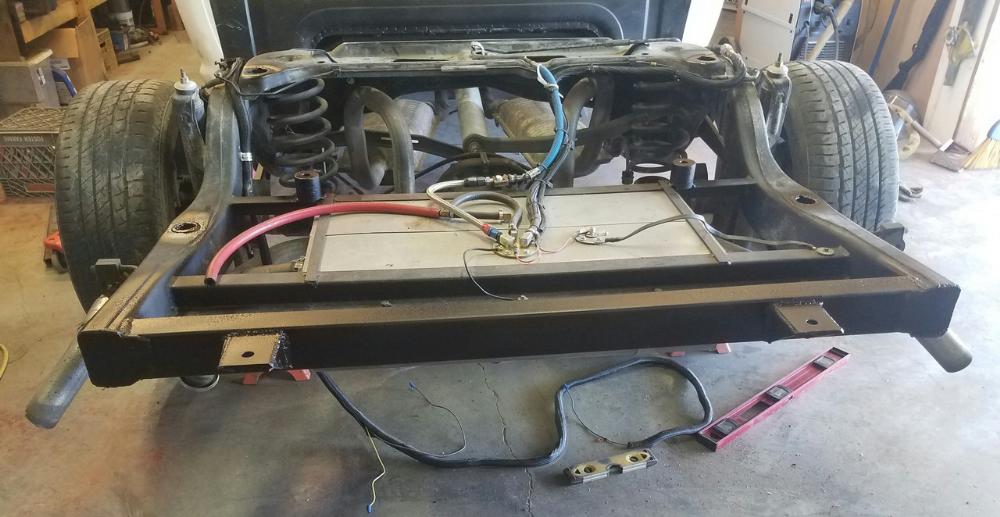
Mounting The Bed
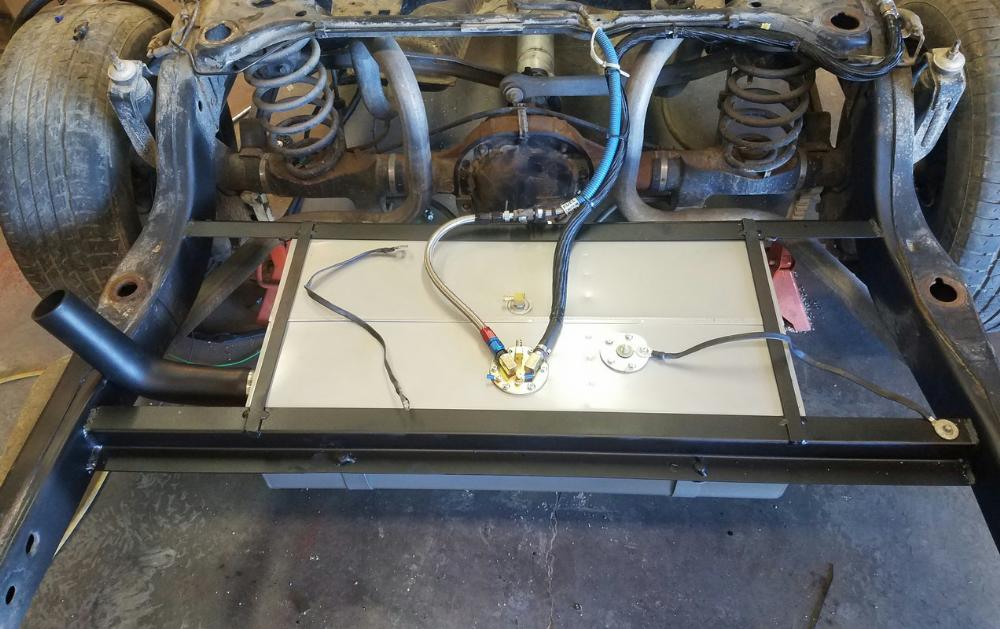
The biggest obstacle you’re going to run into is the gas tank in front of the rear axle. It’s mounted vertically instead of horizontally like most gas tanks.
Even if you relocate the gas tank, you still need clearance for the rear suspension.
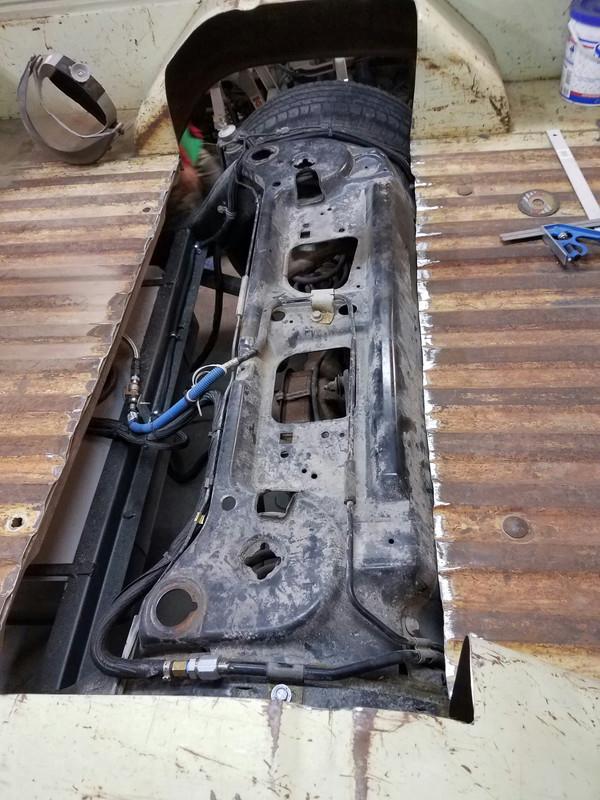
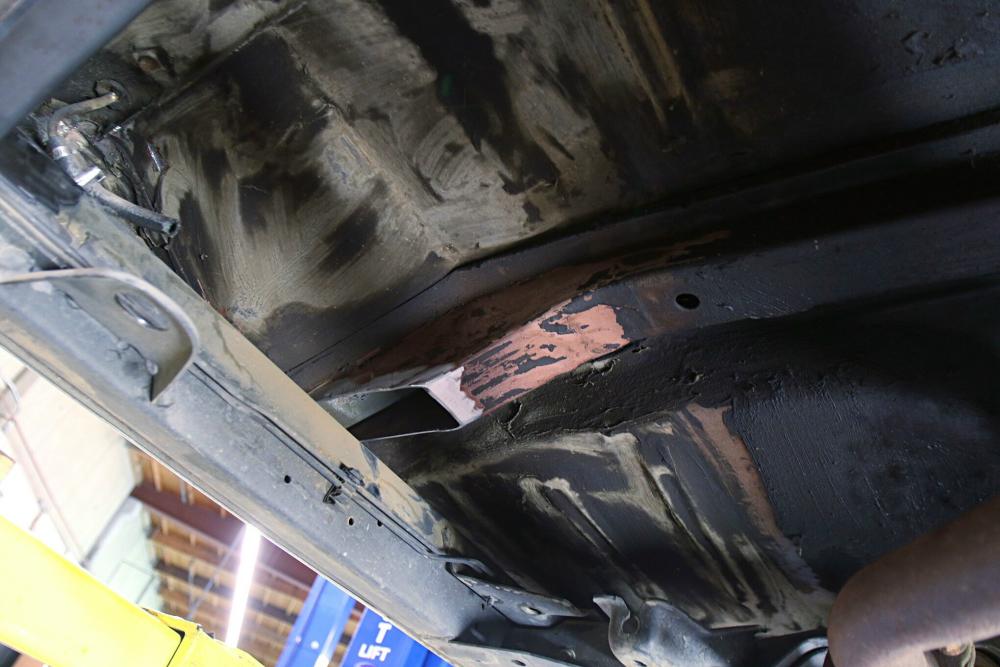
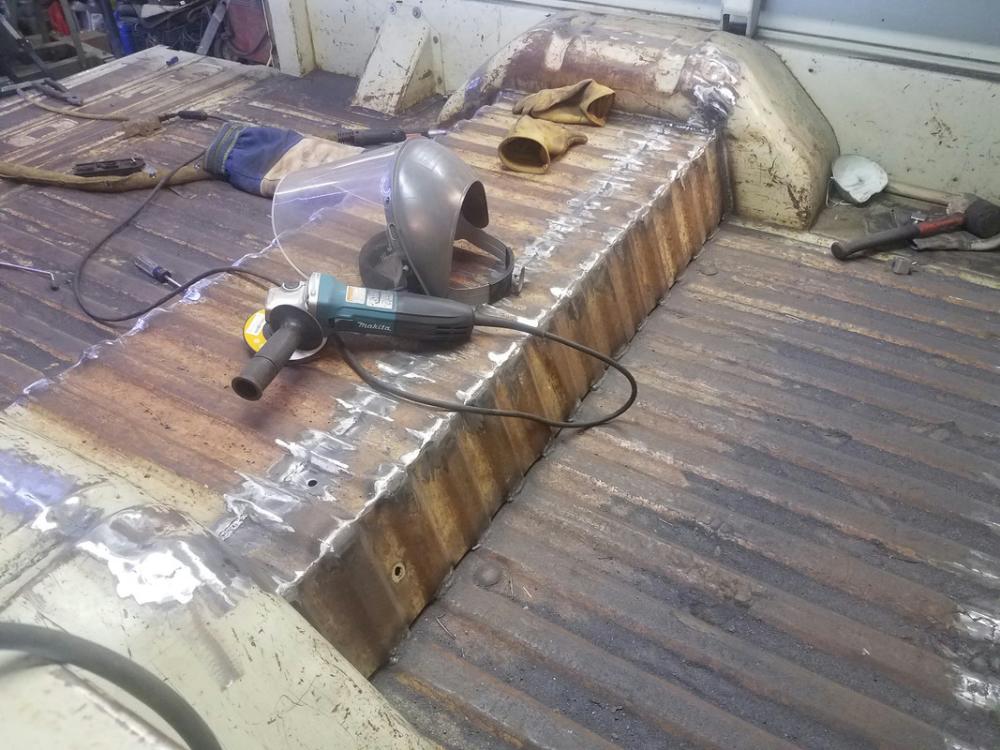
As a result, builders cut out the bed to clear this area, and then build the bed up and over it.

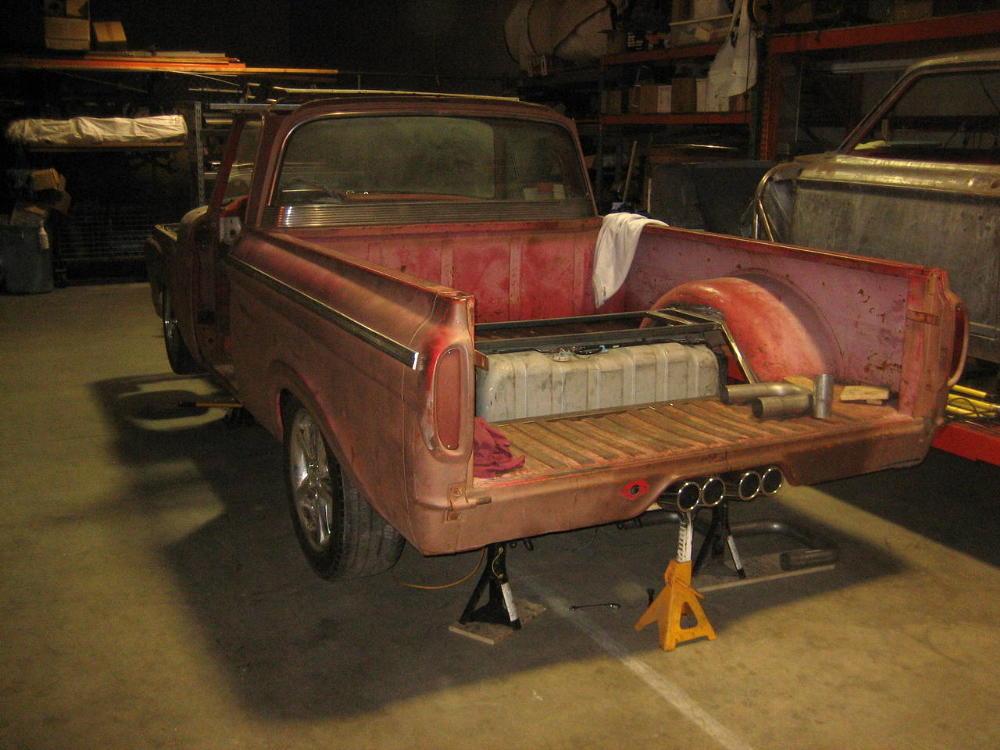

You can build a mount to hold a fuel cell between the frame rail and ditch the vertical gas tank, but the rear suspension is still going to protrude through the bed floor.

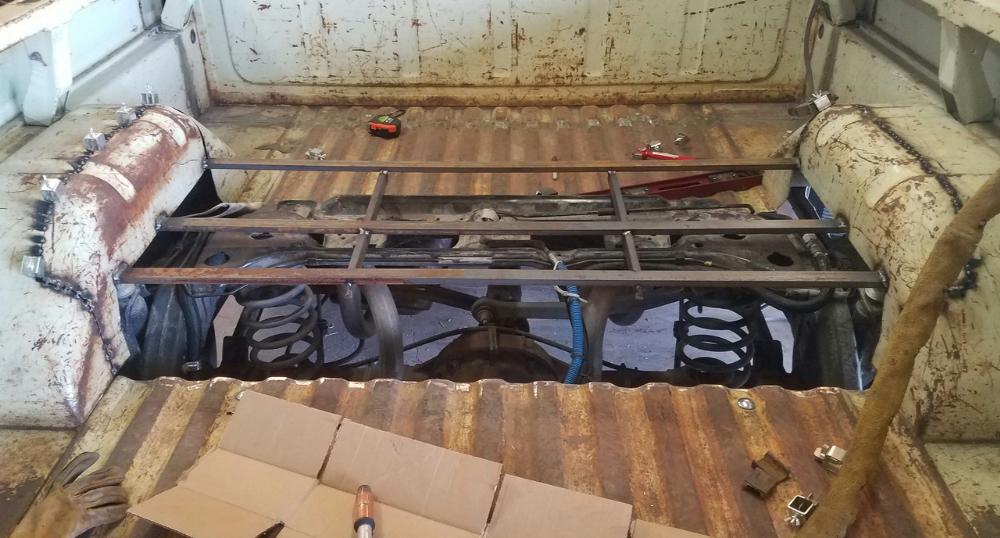
As far as mounting the bed to the frame, you’ll need to build a crossmember to mount the front and rear of the bed. You can see where a crossmember was built similar to the one built earlier for the back of the cab.
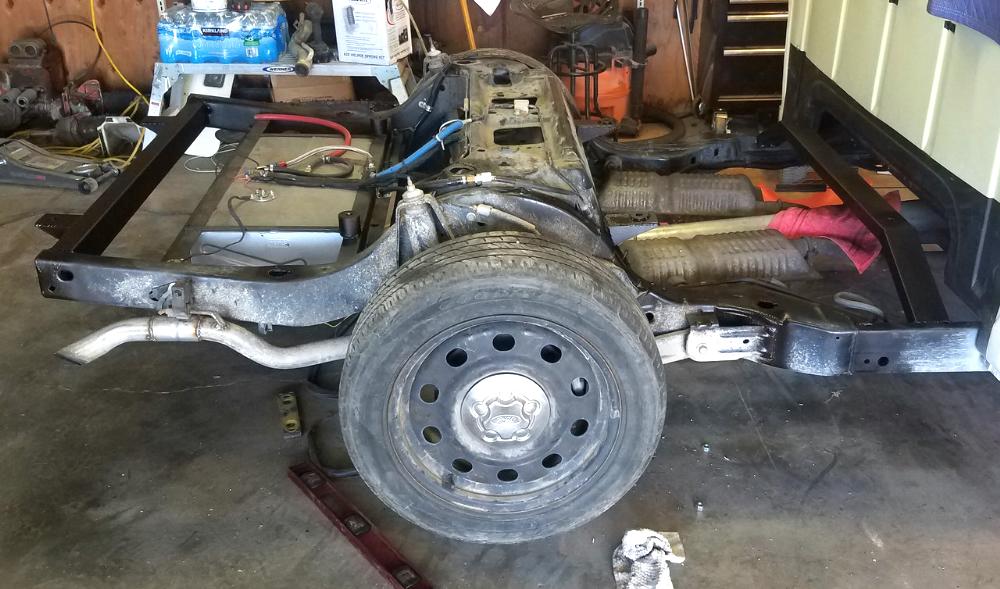
The rear portion of the frame rail is going to be to long. You’ll need to cut off the excess, and then you can weld some square tubing across the rear, and add mounts for the rear of the bed.

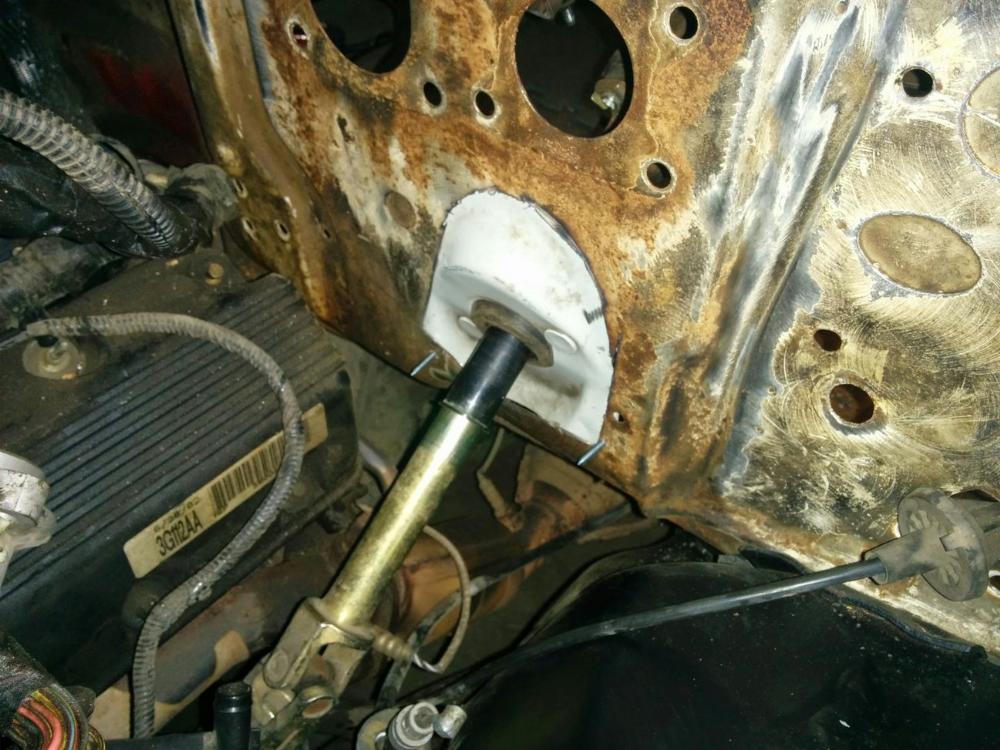
Steering / Brake Master Cylinder / Electronics
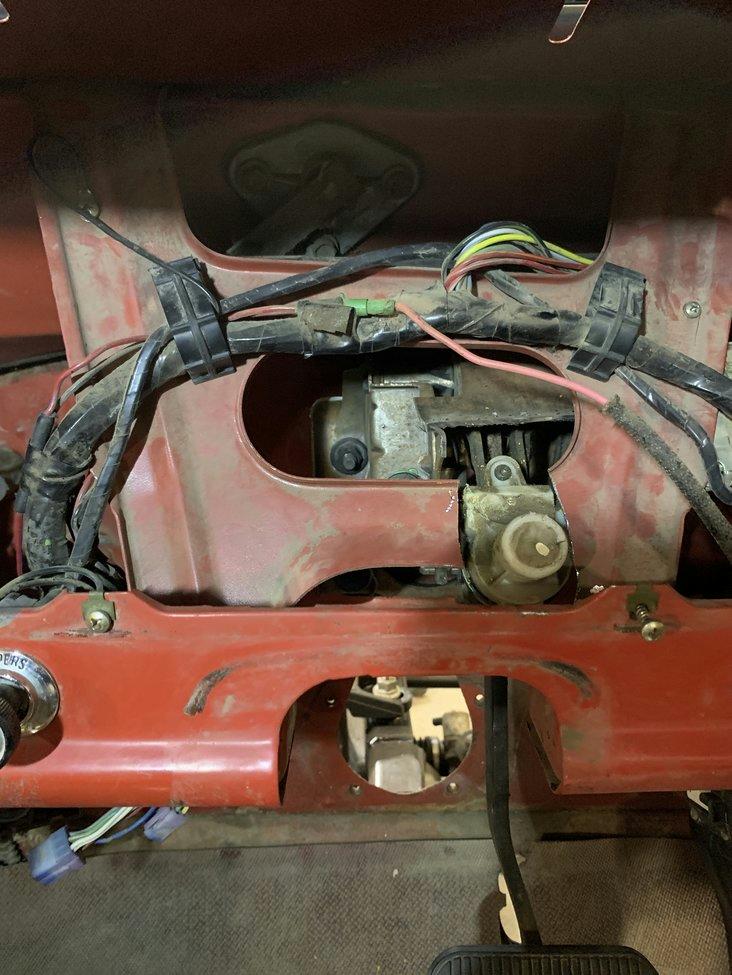
You’ll need to mount the Crown Vic’s electronic gas pedal to the firewall.

Here you can see the lower steering wheel mount is test fitted and held in with screws before being permanently welded in to place.
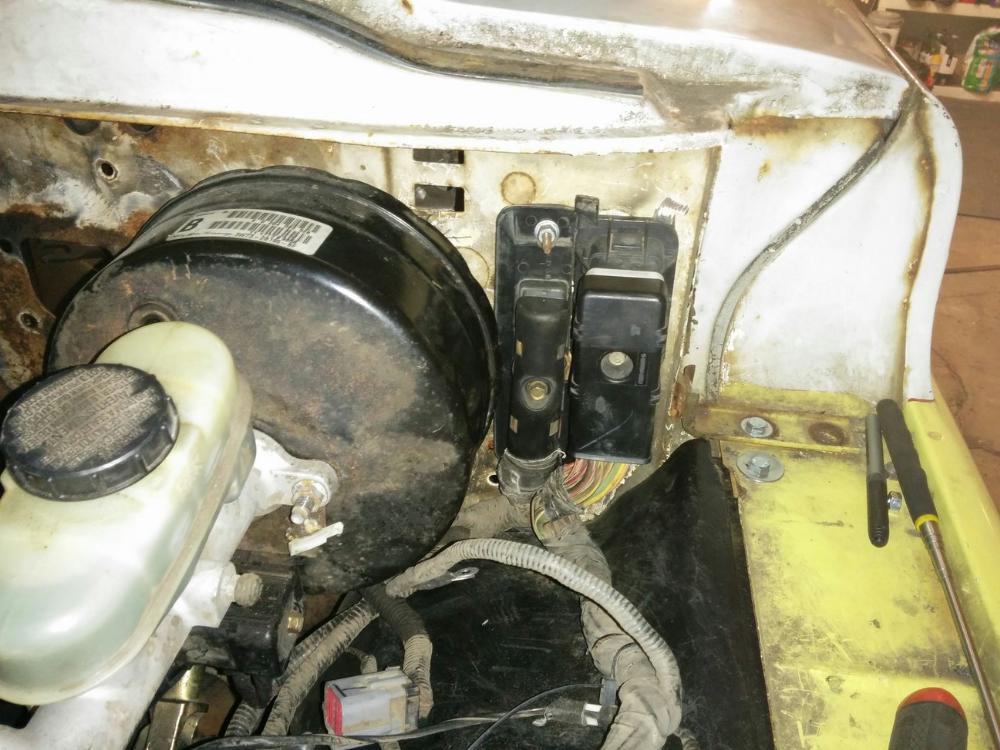
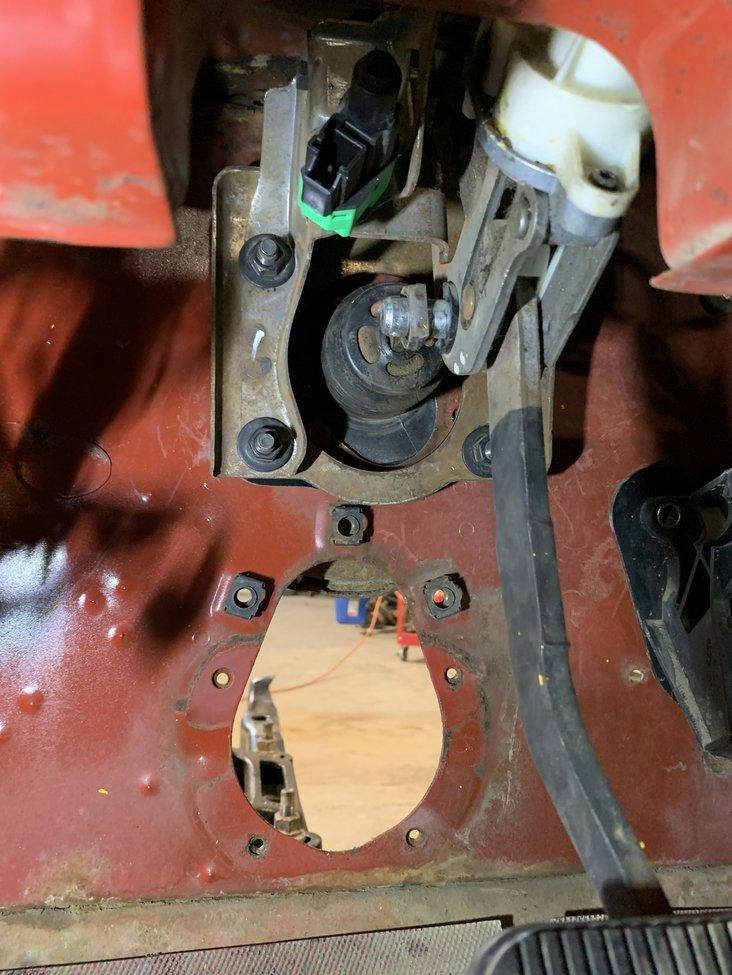
Here you can see that holes have been cut to mount the Crown Vic’s computer, harness, and master cylinder.
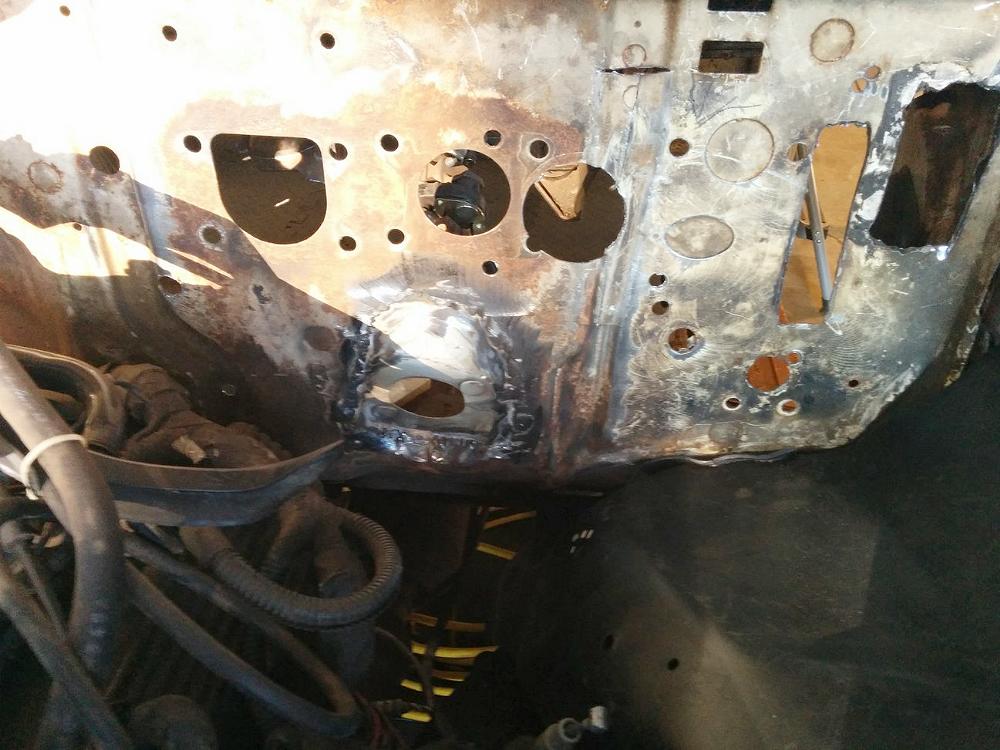
Here a new piece of metal is being welded in to the firewall to replace the section with all of the unnecessary holes in it.

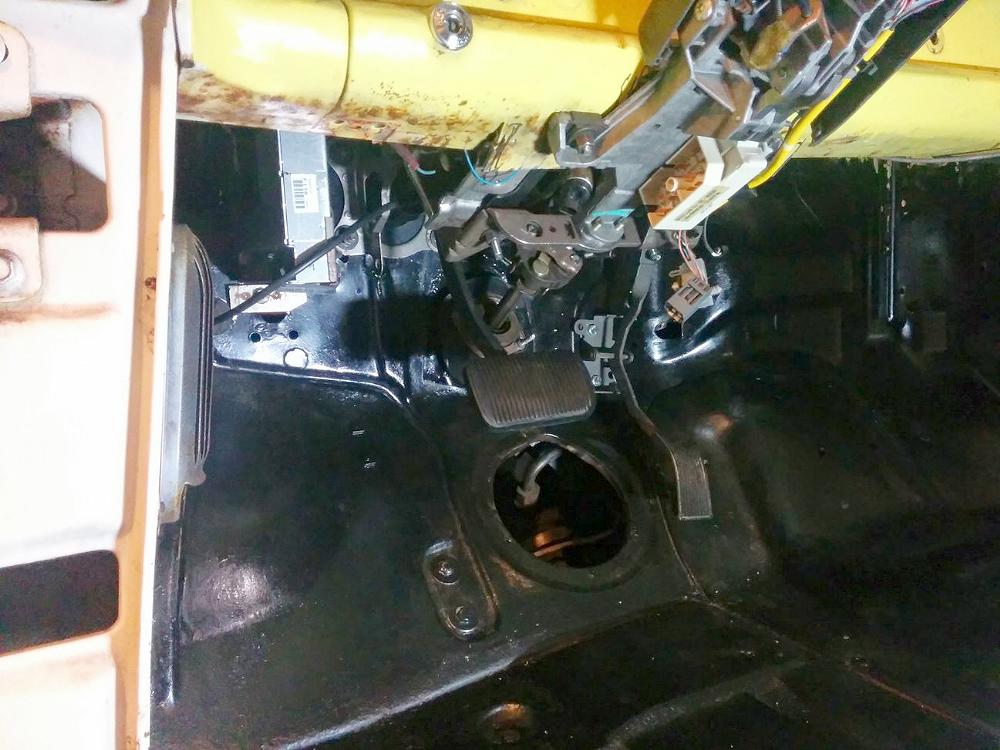
Now the steering column will just need to be bolted to the underside of the dash.
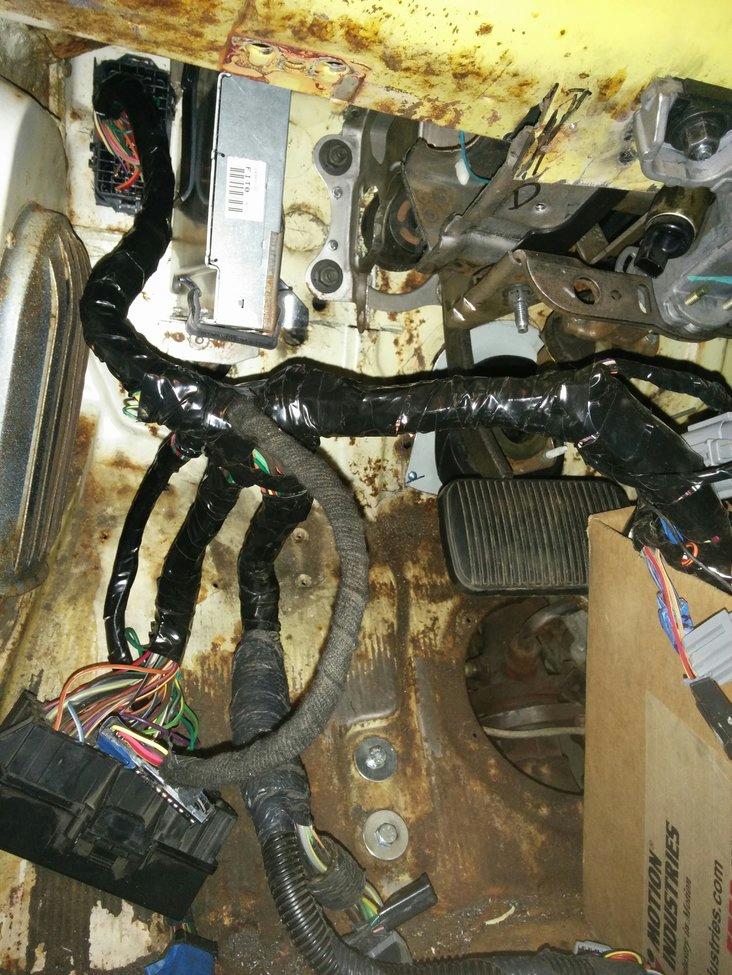
Here the computer and harness has be mounted to the firewall.
Here’s a look from inside of the cab. You can see that the steering column has been bolted to the bottom of the dash. You can also see that the Crown Vic brake pedal has been mounted.
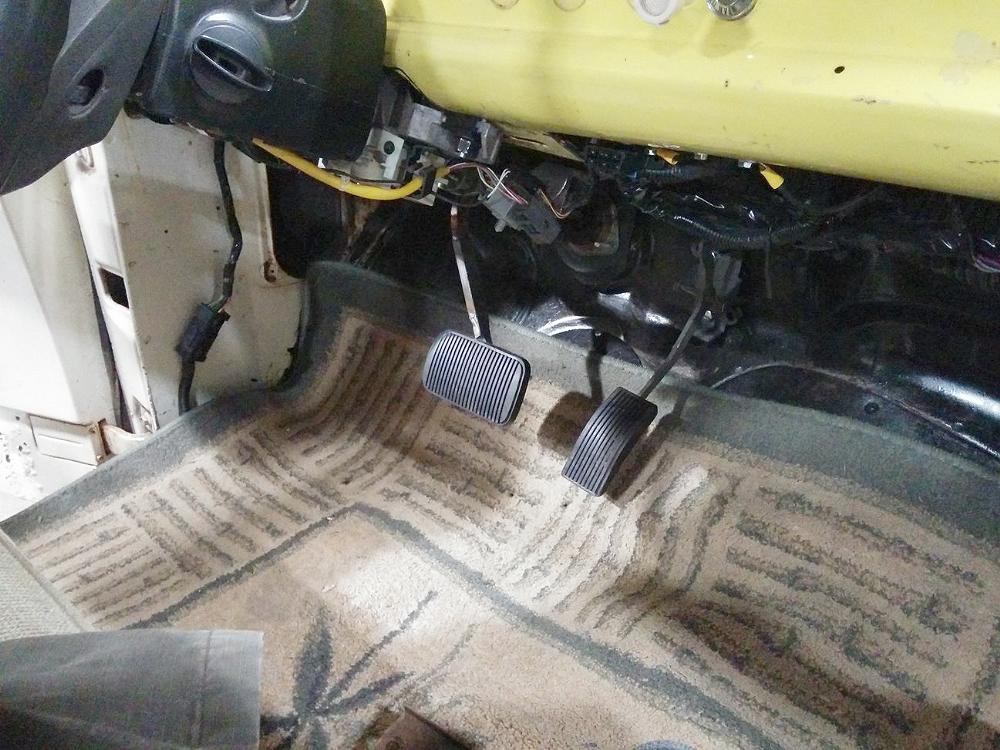
Here’s a look at another Crown Vic brake pedal mounted.
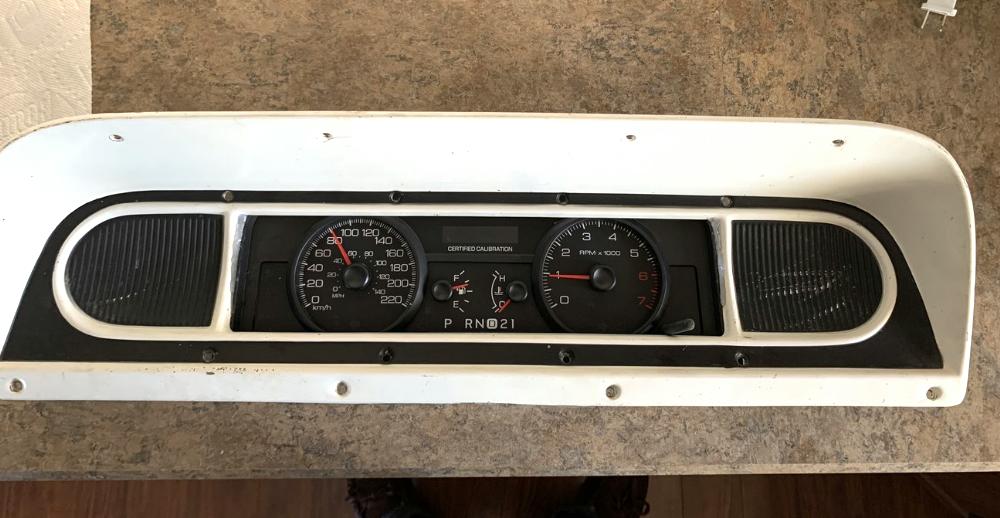
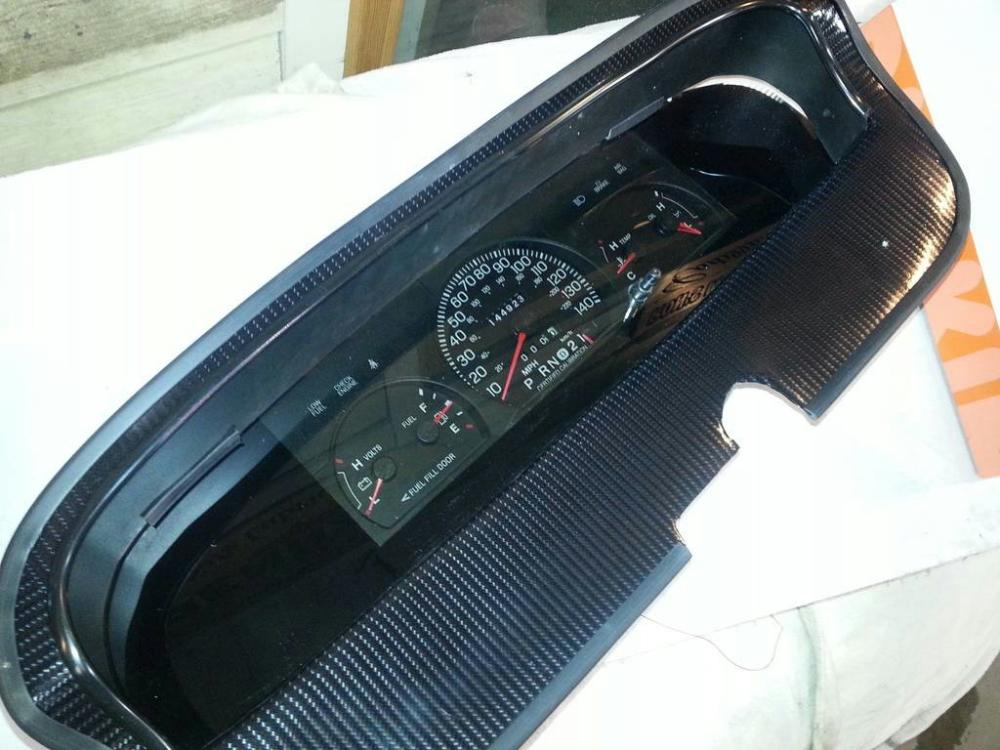
As far as the instrument cluster, people have trimmed them up and placed them behind the F-100’s instrument cluster bezel.
This builder took the F-100 instrument bezel…..
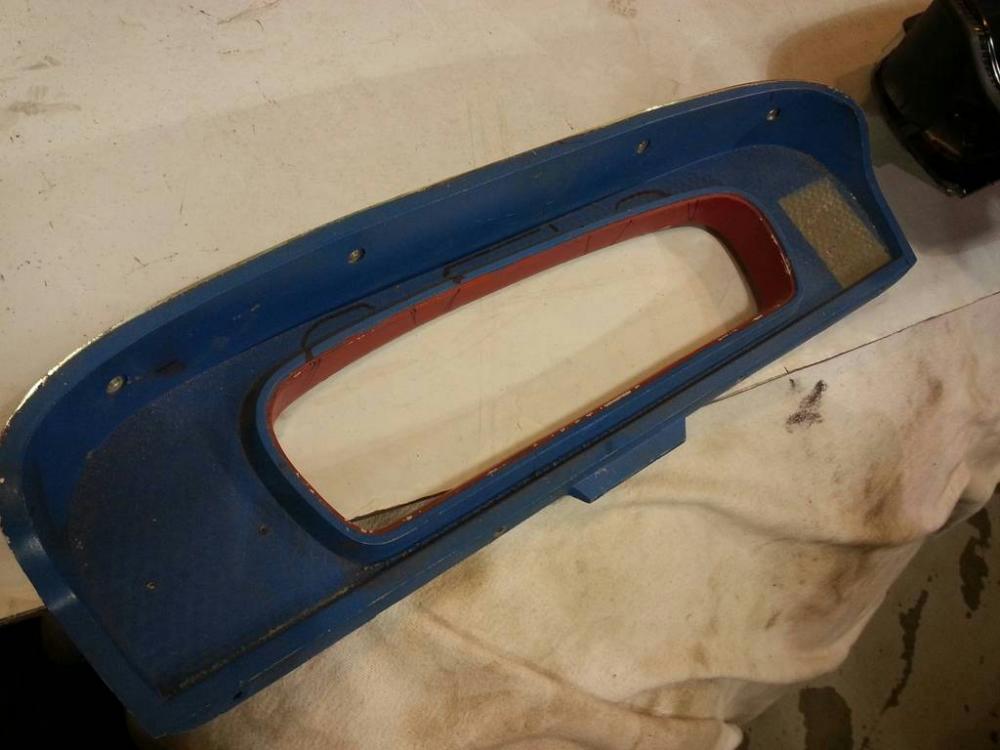
added the instrument cluster behind it, and then covered the front with a piece of plexiglass that had the unused areas blacked out. The ‘carbon fiber’ is just vinyl applied to the dash panel.
Conclusion
As I mentioned, this was not intended to be a how-to, but rather some insight and suggestions as to how others have swapped the Ford Crown Victoria frame and drivetrain under their Ford F-100.
If you have information to contribute, please use the contact button below.