
Submitted By: Forum Member schlutzer
First off, I will say this is not for the faint of heart, I would bet I easily have 80 hours into doing this. Now I could do it faster if I were to do it again but I’m just saying, be prepared for it to take you about a week.
Getting started, you will need everything, I’m not joking, almost every wire in your interior will be swapped.
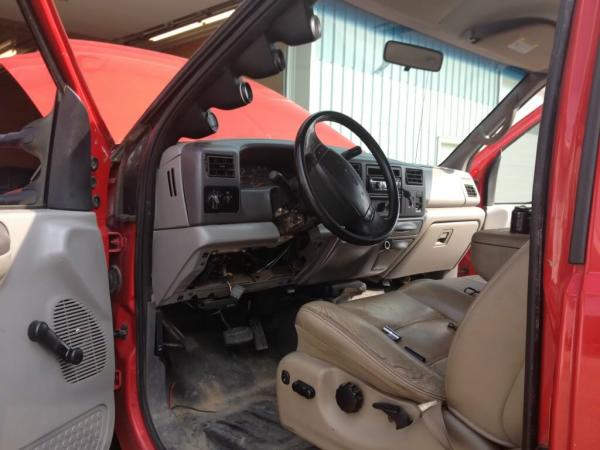
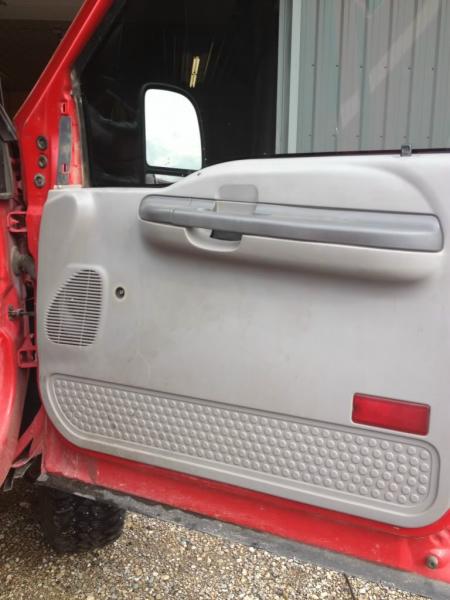
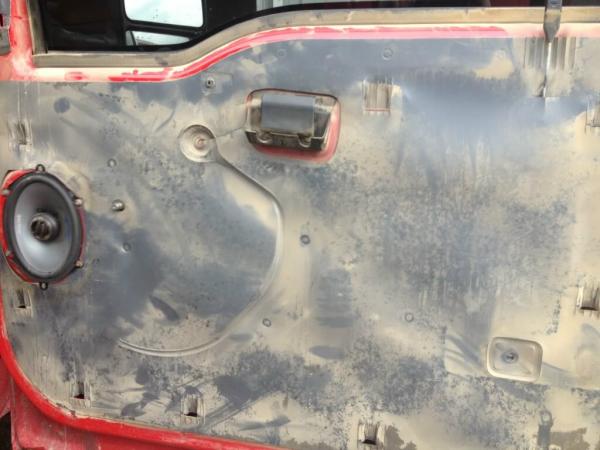
This is my before, nice tan Lariat seats, ugly grey XL everything else.
This is the other truck, the harness you see hanging down on the left hand side is what you want… well part of it.

A few hours later, here it is out of the parts truck, this was about 5 hours total, and that’s with the interior already dismantled.
I wasted some time here so I’ll give some tips. I spent a very long time getting the wires unclipped for the door lock actuators, I took them apart completely from within the door. Look up any of the “Foil Mod” or “Door lock actuator fix” videos/ threads for the easy way. Other than that there isn’t much I can give in the way of pointers, this part is fairly self explanatory, follow the harness and unplug/rip/pull as you go.
The one benefit to doing it the hard way is I was able to walk the door over to time truck, plug the harness in under the dash and test it out.
I also took a video at this time… yes I held my phone the wrong way, yes I wasted time screwing around… hey I was learning, but it does show some important things.
My comment about fuse panels was not entirely correct as I learned immediately after taking that video. I will go into more detail near the end of this write up as that’s when I dealt with the issues.
Now the part that made me nervous, this was the point of no return.
Pull my dash.

This is actually quite easy:
Remove the steering column covers.
Remove multi-function switch.
Disconnect everything else.
There are 4 bolts that hold the steering column to the dash, and 1 keyway bolt that connects tot he steering shaft.
Unbolt and wiggle it out ( much easier without the drivers seat but I left mine in)
Then:
Two bolts on each end of the dash by the doors, and there is one bolt up and to the right ( towards the center of the truck) of the gas pedal. The lower HVAC duct work somewhat covers it, but it’s the same greenish colour as the outer bolts.
Also up buy the windshield ( forgot the take pictures ) There is 3 covers with 5 bolts that need to come out.
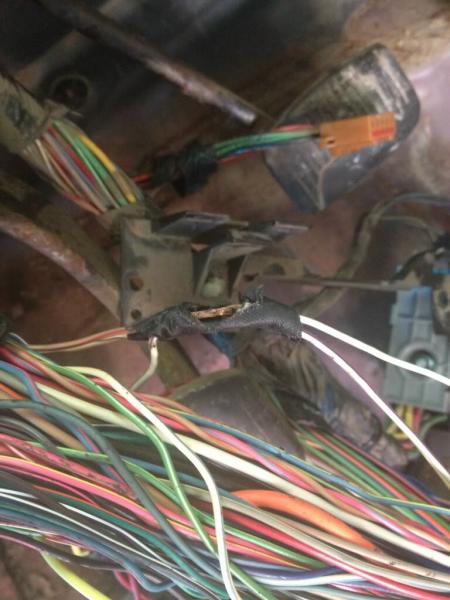
And that’s about it it should come forward, and you will be able to cut the main body harness away from the dash. Caution here.
In this picture, the thin harness on the firewall is the one for the interior functions, the big fat on near the bottom is for all kinds of other things. The big one is attached to the back of the dash in a very stupid fashion. Carefully cut the tape, and open up the holders with a screwdriver( you’ll see what I mean)
Some things are better to take out before you remove the dash:
Fuse box
Radio
Passenger side airbag ( makes me nervous to be part of a dash I’m moving around)
Heater controls
Both cigarette lighter and power point
“Air bag off” switch
Once you have everything disconnected, get a buddy and lift it out of your truck.
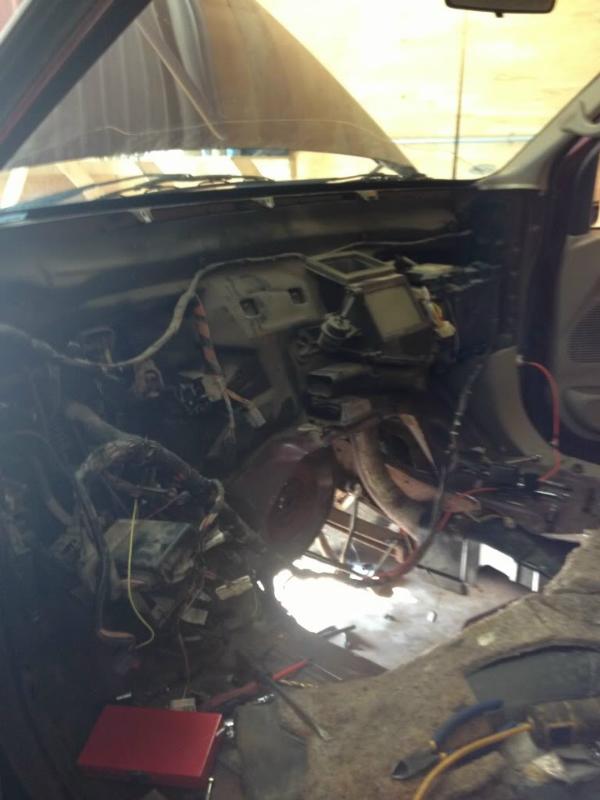
Then you will see this
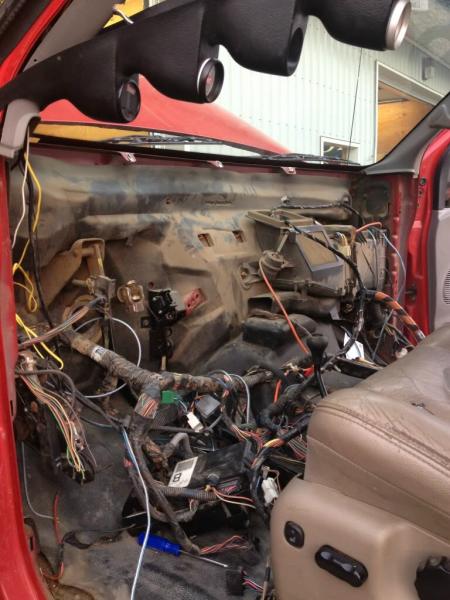
At this point I honestly had some thought’s of apprehension, it’s a bit overwhelming to look at, especially in your baby
I didn’t take any pictures of routing the harness back in behind the dash, you won’t need them it all only fits one way and if you’re tackling this I’m going to assume you are a good problem solver.
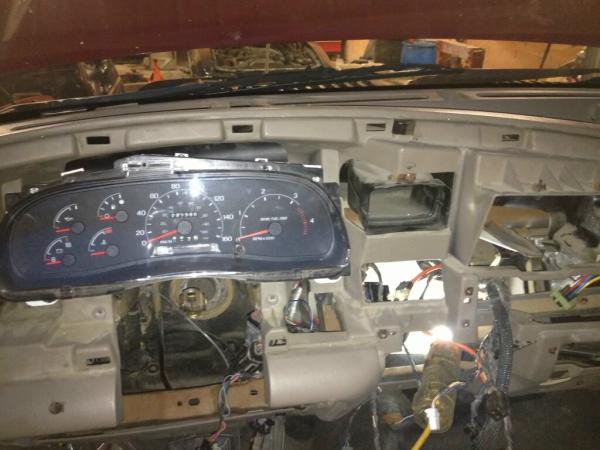
That was my next step though, I put the dash back together.
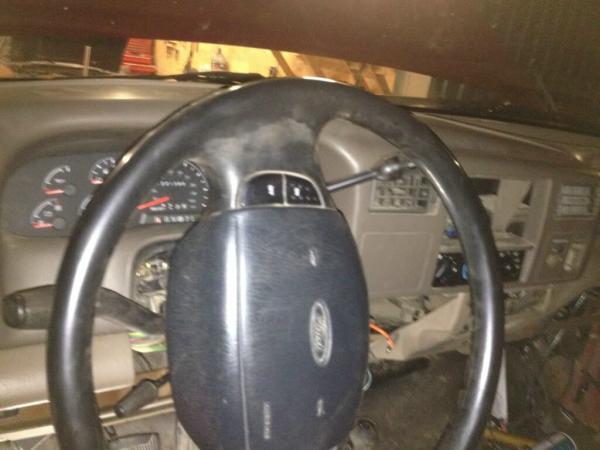
And now the fun part.
You have (3) options for dealing with this:
1) Cut the boot and tape it back up, would look like ***
2) Take apart every connector on the end of the harness so you can side the boot off, fish the wires into the door, then put that back together
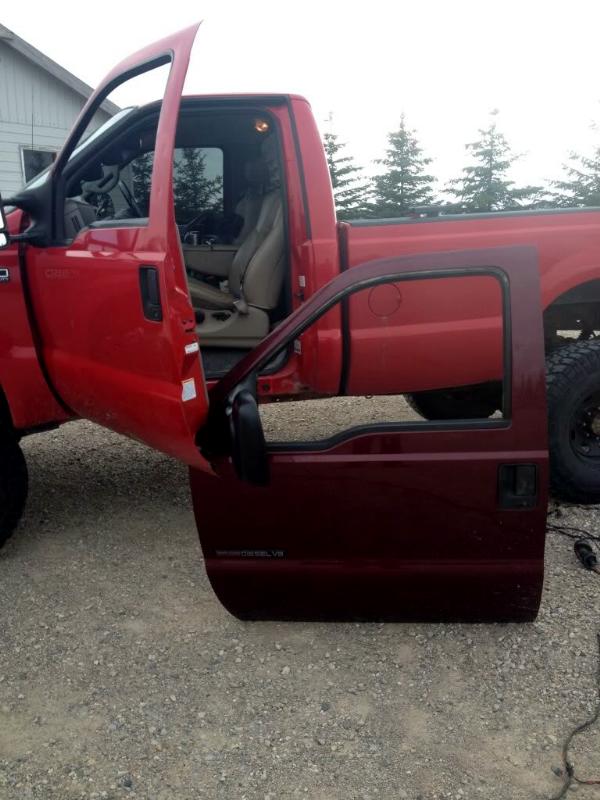
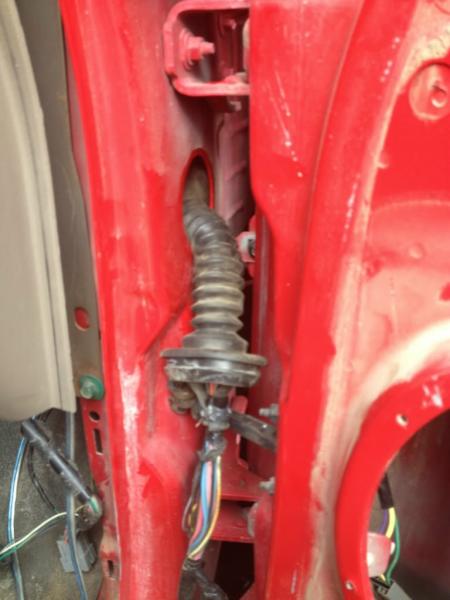
3) Be a man about it and stuff the whole damn thing though the door, as you can see that’s what I chose
It wasn’t a problem removing your old one because, if you’re anything like me, you just cut it out.
Okay back tracking a bit.
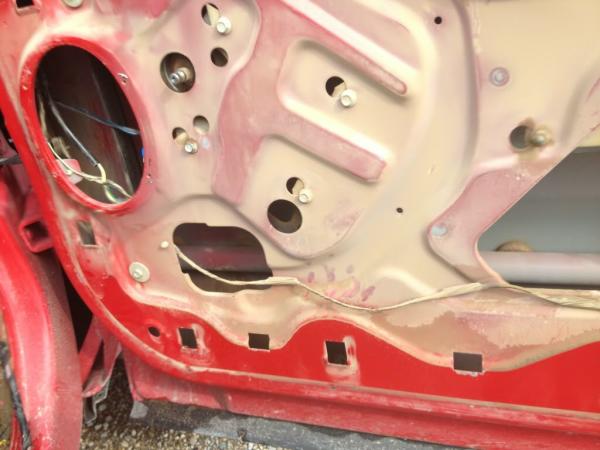
I had done the drivers door and realized I took exactly zero pictures. So I did much better on the passenger side.
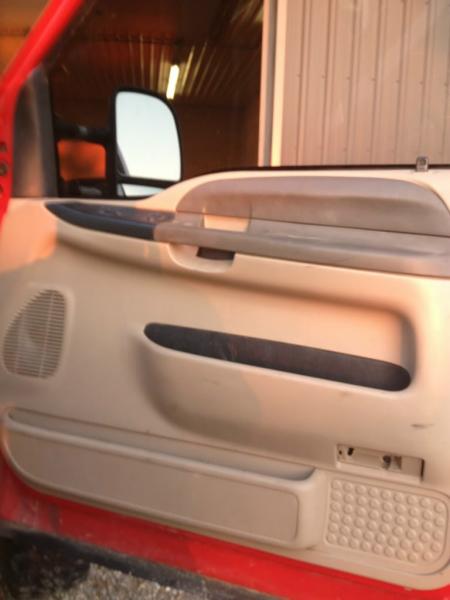
Ugly
Pop the black cover off up near the mirror then:
Screw in there
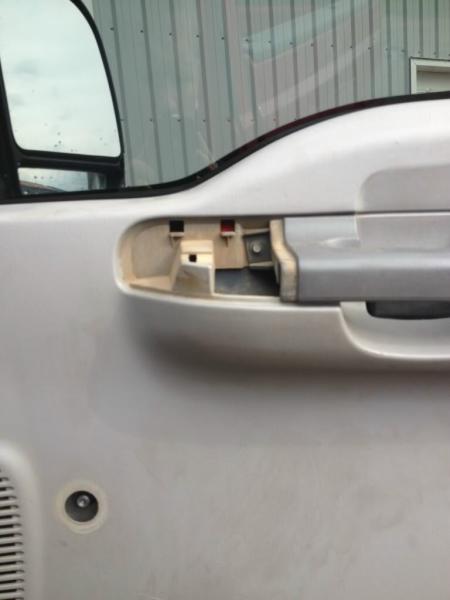
And screw in there
Then lift up and off she comes.
Peel all that stuff off, don’t rip it.
Now, empty out the door:
Take off the mirror ( it’ll drop on you when you take out the last bolt be careful)
Take off the weather stripping inside and out ( it just pops off)
Roll down your window until you can access the bolts that hold it to the track
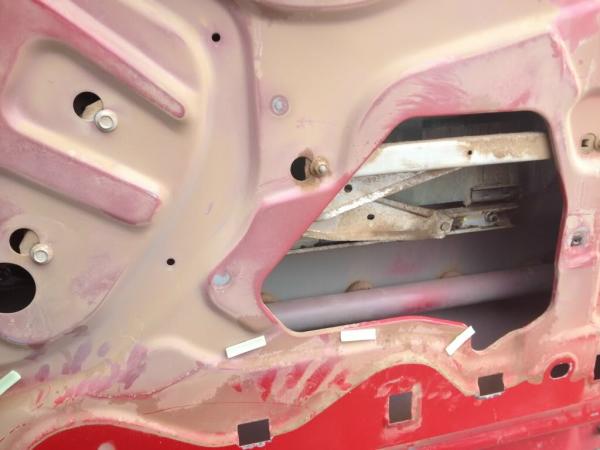

Then this is what I did:
Pop the window off the lifting mechanism and drop it to the bottom of the door.
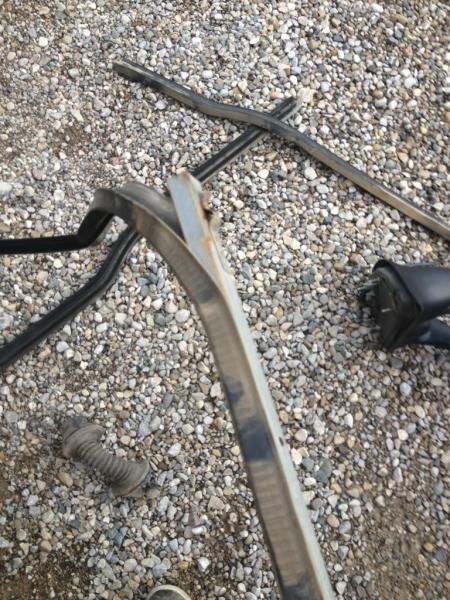
Unbolt the track ( I failed at pictures but it’s not hard to figure out)
The track bolts are 3 10mm bolts with big grey washers, two of the front of the door and one at the rear. Then there it a 4th up near where the mirror would be, this is a 10mm nut though.
Push the glass to the back of the door, then wiggle out the front bit of track.
Then push the glass to the front of the door and remove the rear bit of track. The rear has a trick to it, it pushes down first, then will lift free. It has a little clip you’ll understand as soon as you see it.
Now lift out the window:
Next remove the Manual crank assembly, 6 bolts, it fits out of the door MUCH easier if you have it cranked almost all the way down.
Then take out the manual lock actuator. 3 torx on the outside of the door and some disconnecting of the stuff inside, real easy with an empty door.
And the install is the exact reverse
Install the power door lock actuators
Install the Power window motor assembly
Then the window
And finally the mirror.
No pictures of that because if you’ve come this far, that is too easy, everything fits exactly the way it came out.
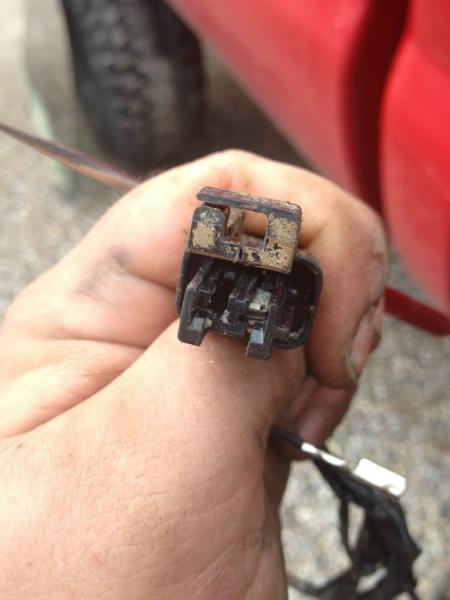
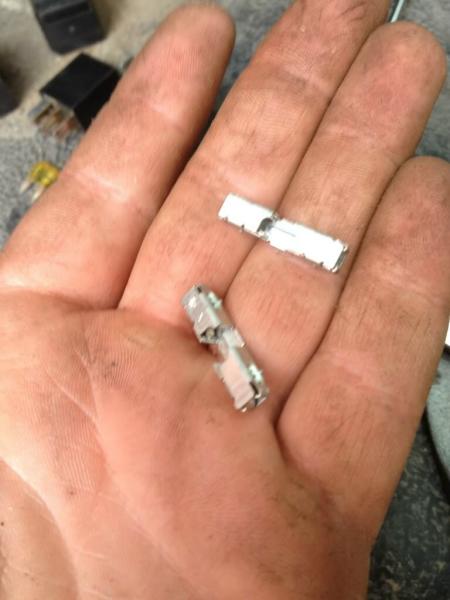
Now wiring, first off let me show you a mistake I made and how to fix it.
I busted a clip off a connector in a moment of frustration.
Here is the replacement I snagged from the old harness
A good set of pick’s is perfect for this job, precision screwdrivers will work too.
Pop the red bit out of the middle, it’s okay to break one, just don’t break both so make sure you figure it out the first time.

Pull the rubbery end out of the connector
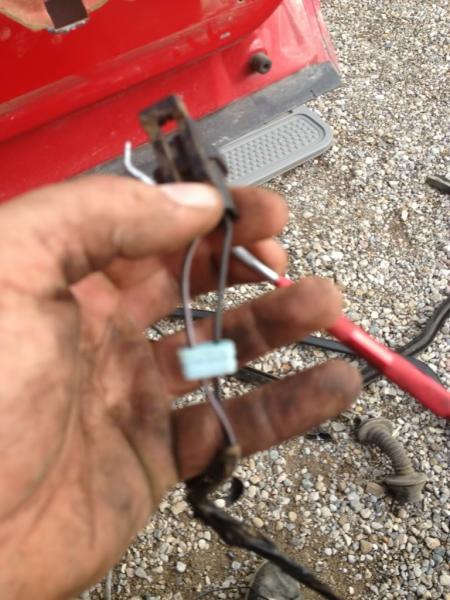
Then the wires are held in by some pressure clips, lift them up and the wires slide out.
Now push everything back in the other clip, good as new!
As for cleaning the wiring up I came up with a pretty simple solution, zip ties.
What I did was loop the zip ties through the holes that the stupid white clips went into and then cut the ends off. It holds tight and the fat heads don’t fit through the holes.
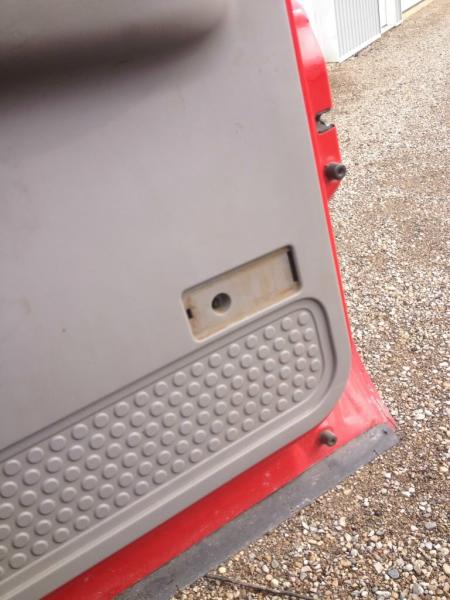
Put all the little things back together, run the wires up to where everything should be and put your pretty new door panel on.
This part made me smile.
And you’re done! Here’s my video
If you have a 1999 and you’re donor truck is a different year, at this point you are missing two very important things.
You have no ABS, therefore no speedometer either.
You also have no signals.
This took me forever to figure out, but it’s actually quite easy. I did all the tracing for you.
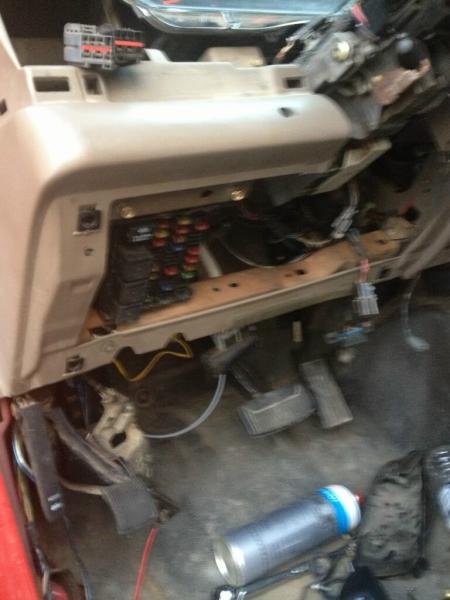
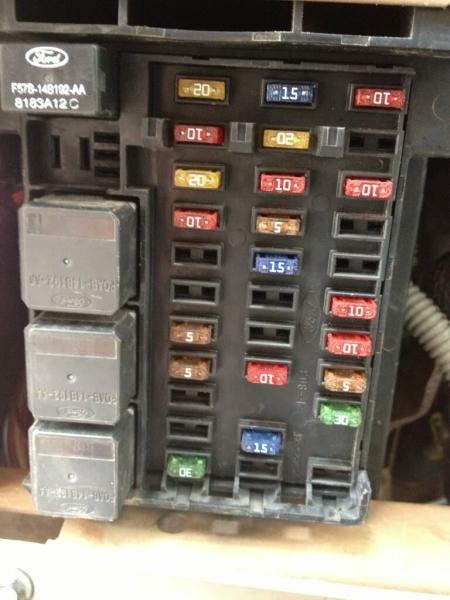
Here is the fuse panel legend for a 1999:

This is a written one for 2000. Look at 23,24,25 compare them.
Fuse/Relay
Location
Fuse Amp
Rating
Passenger Compartment
Fuse Panel Description
| Location | Fuse Amp | Description |
| 1 | 20A | Turn/Hazard Lamps |
| 2 | 10A | Airbag Module |
| 3 | 20A | Cigar Lighter, Data Link Connector |
| 4 | 10A | Glove Box Lamp, Map Lamps, Power Mirrors, Underhood Lamp |
| 5 | — | Not Used |
| 6 | — | Not Used |
| 7 | 5A | Power Window/Lock Switch Illumination |
| 8 | 5A | Radio, Headlamp Switch Illumination |
| 9 | — | Not Used |
| 10 | 15A | Dual Fuel Tanks |
| 11 | 30A | Wiper Motor, Wiper Run/Park Relay Coil, Wiper Hi/LO Relay Coil, Washer Pump, Relay Coil |
| 12 | 15A | Horn |
| 13 | 20A | Stop Lamps, Center High-mount Stop Lamp, Trailer Tow Stop Lamp, Speed Control |
| 14 | 10A | Dome Lamp, Cargo Lamp, Courtesy Lamps, Running Board Lamps |
| 15 | 5A | Stop Lamp Switch (Logic): Generic Electronic Module (GEM), Powertrain Control Module (PCM), Four Wheel Anti-lock Brake System (4WABS) Module, Brake Shift Interlock, Cluster and PCM, Keep Alive Memory |
| 16 | 15A | Instrument Cluster, Hi-beam Headlamps |
| 17 | — | Not Used |
| 18 | — | Not Used |
| 19 | 10A | Auxiliary Powertrain Control Module (APCM) (Diesel only), Instrument Cluster, GEM Module, Overdrive Cancel Switch, Idle Validation Switch (Diesel only), Overhead Console, Diesel PCM via Clutch |
| 20 | 15A | Starter Motor Relay Coil, Clutch Switch |
| 21 | — | Not Used |
| 22 | 10A | Air Bag Module, Passenger Air Bag Activation/Deactivation Switch, Blower Motor Relay Coil |
| 23 | — | Not Used |
| 24 | 10A | A/C Clutch, Blend Door Actuator, Trailer Tow Battery Charge Relay Coil, Four Wheel Anti-Lock Brake System (4WABS), Turn Signal |
| 25 | — | Not Used |
| 26 | — | Not Used |
| 27 | 10A | Ignition Run Power Feed (Customer Access) |
| 28 | 10A | Brake Shift Interlock, DRL Relay Coil, Speed Control Module, Backup Lamps, Trailer Tow Backup Lamp Relay Coil, Electronic Shift On The Fly Hub Lock Solenoid, Vacuum Pump Motor |
| 29 | 5A | Instrument Cluster (Charge and Airbag Warning Lamps) |
| 30 | 30A | PCM Relay Coil, Ignition Coil (Gasoline only), Fuel Heater (Diesel only), Wastegate Solenoid (Diesel only), Injector Driver Module Relay Coil (Diesel only) |
| 31 | — | Not Used |
| Relay 1 | — | Interior Lamp Relay |
| Relay 2 | — | Not Used |
| Relay 3 | — | Horn |
| Relay 4 | — | Power Window One Touch Down Relay |
| Relay 5 | — | Accessory Delay Relay |
For the 2000, Ford for some reason combined the circuits. I figured this out by accident because I was just sitting there staring.
I thought I was really smart here and it half worked. I thought, well I bet the connectors are the same, I can just put a fuse where my harness thinks it is and I’m golden.
So you pop the front piece off your old fuse box and take out some of these guys.
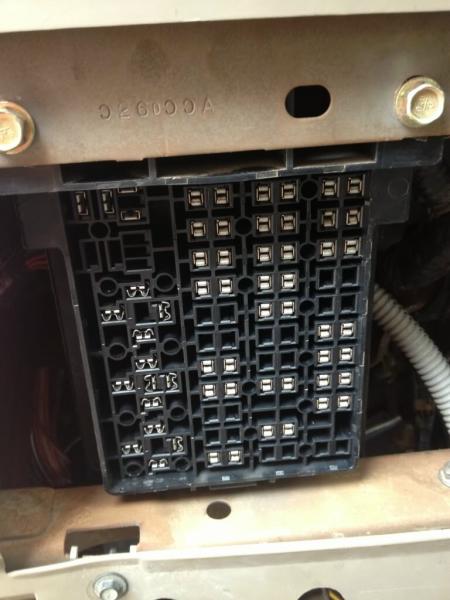
Now take the front piece off your new fuse panel and just push them back in. I had high hopes here I thought I was done. Adding the fuse to position 25 did get my ABS module back online, so I have speedometer again, but I still wasn’t getting power from position 23.
23 is your keyed on power to the signal flasher.
After much pondering and staring at the wiring diagram in my Haynes I make a discovery.
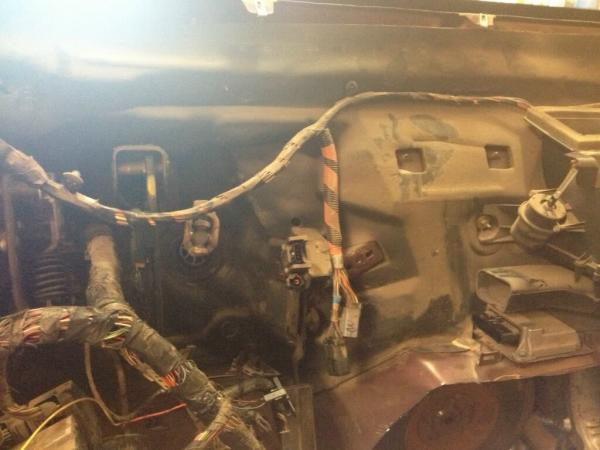
From your flasher relay ( which is behind the heater controls oddly enough) the white wire with blue tracer is the keyed on power. It is also not part of the interior harness so I sat in the parts truck and stared.
Turns out Ford decided to use White with a blue tracer int he same harness for two different things, that was annoying. But I trace the wire and tucked away in the big fat harness i find this:
This is Ford getting lazy.
The White with a blue trace is crimped into white with red trace (ABS) and white with purple trace (blend door) and runs somewhere else in the fuse box.
My solution to test. Here you can see I stripped some random wire ( pink) And stuck it in the connector on the back of my fuse panel where the white with blue trace goes, and to where the white with purple trace goes.
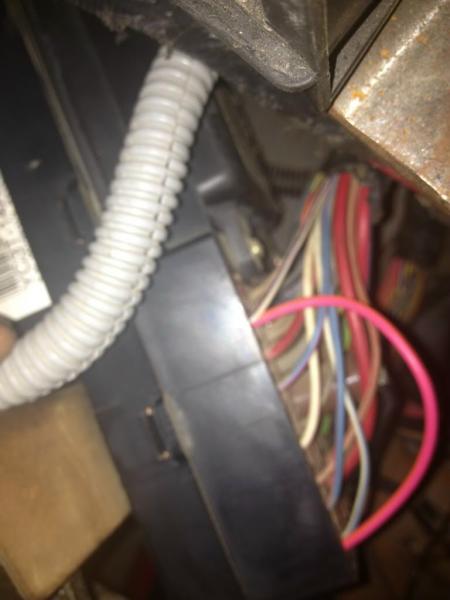
My logic was, Ford crimped them together, so I should be able to join them and get the same effect. I’m happy to say it worked.
So here is the .1% not factory.
My solution that will be permanent, I just used some of those splice connectors that bite into the wire and joined the white with blue tot he white with purple.
Running the harness up to the dome light is self explanatory, I left that part out on purpose
I think that’s it, this was not fun, any questions let me know!