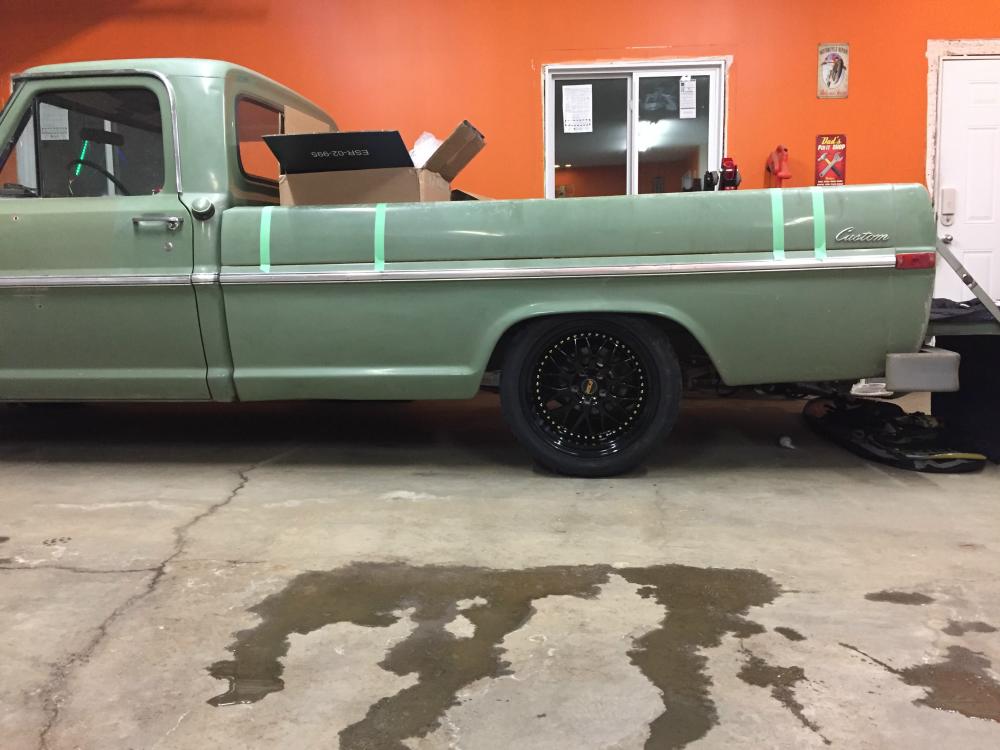
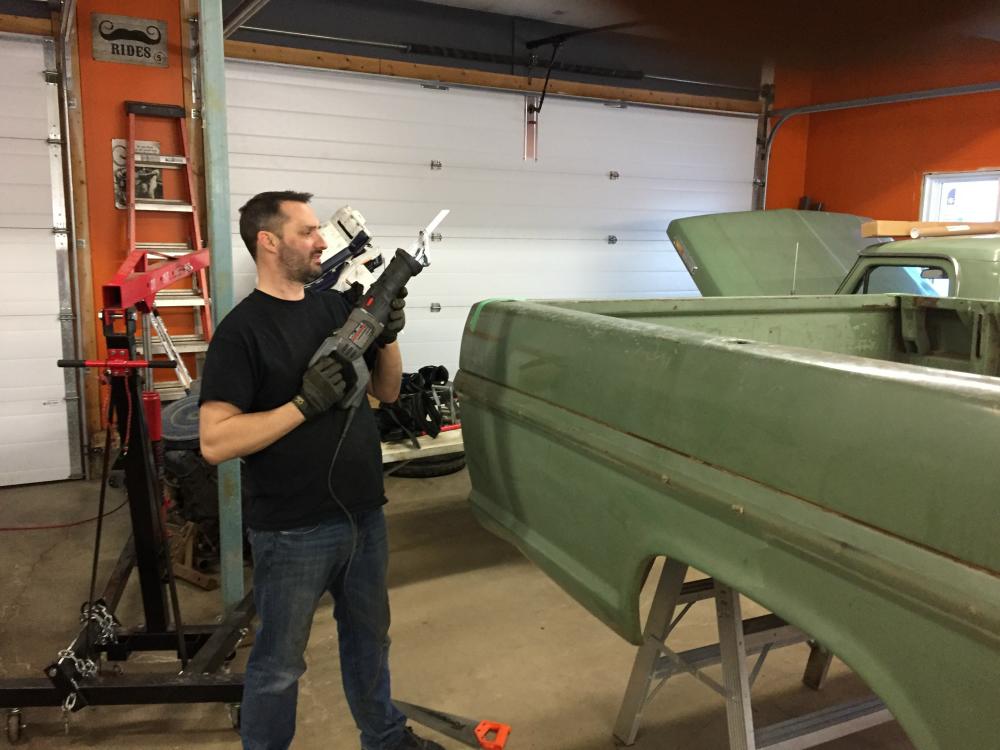
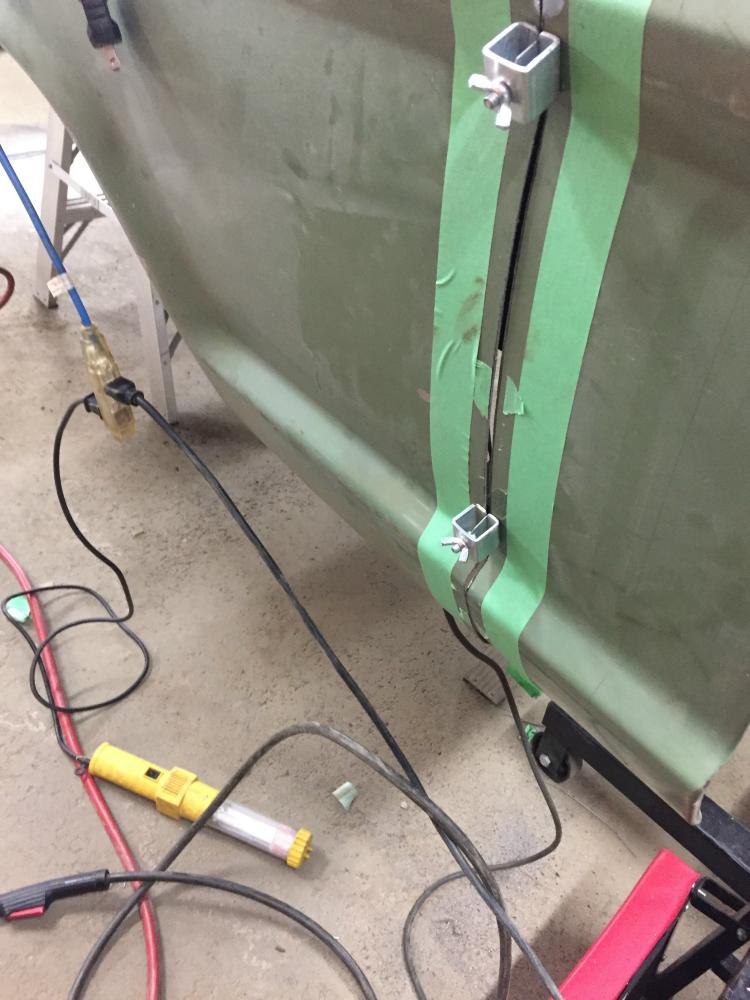
Whether you’re bobbing a bed for offroad, or shortening a bed for a custom street truck build, you may find the need to shorten your truck bed.
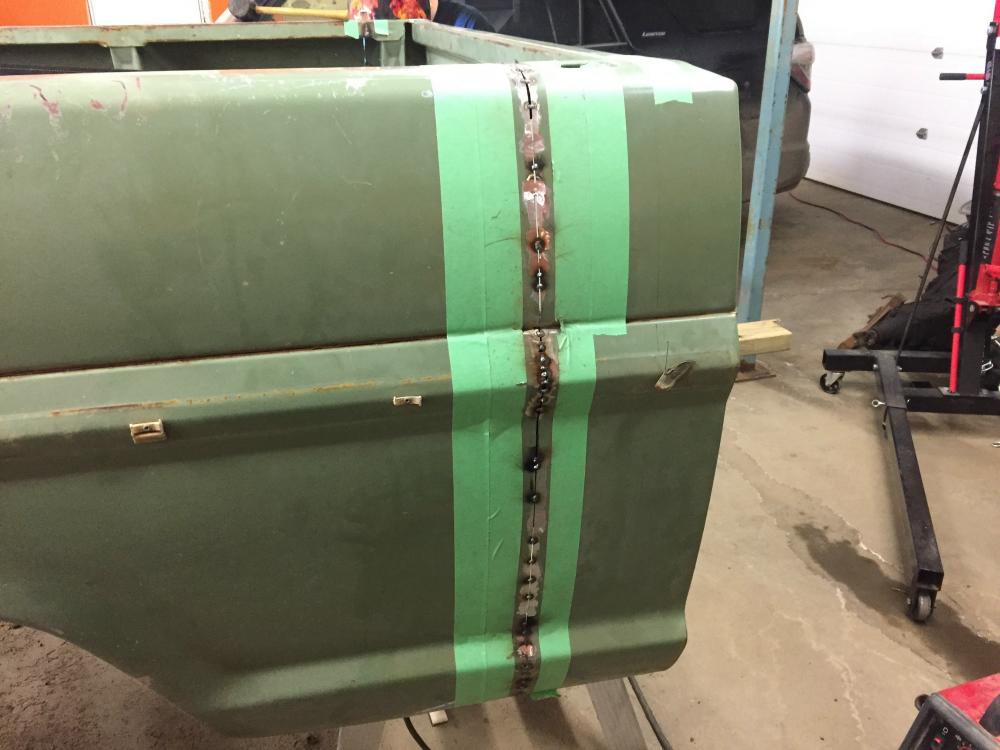
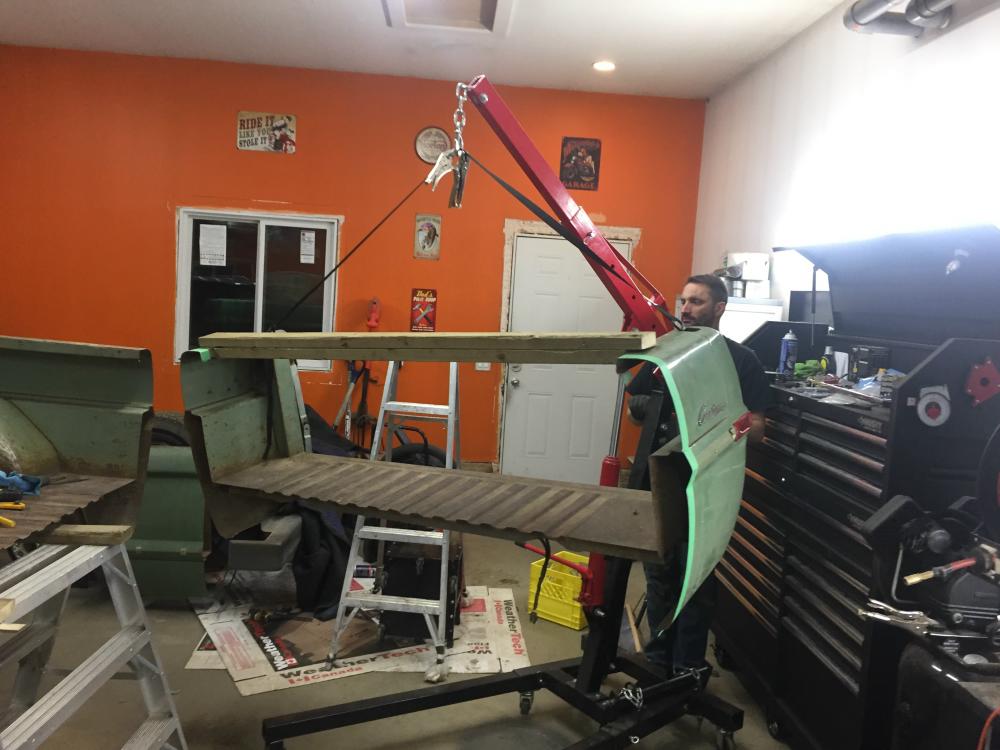
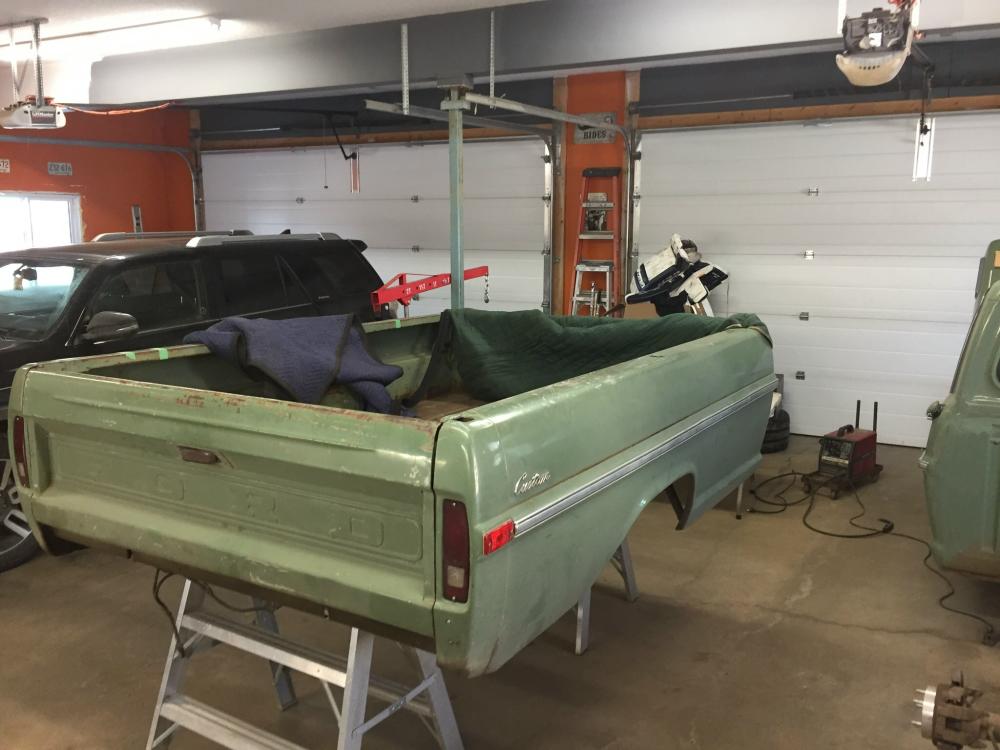
In the photo above you can see that the owner already taped off the suggested areas to be cut out.
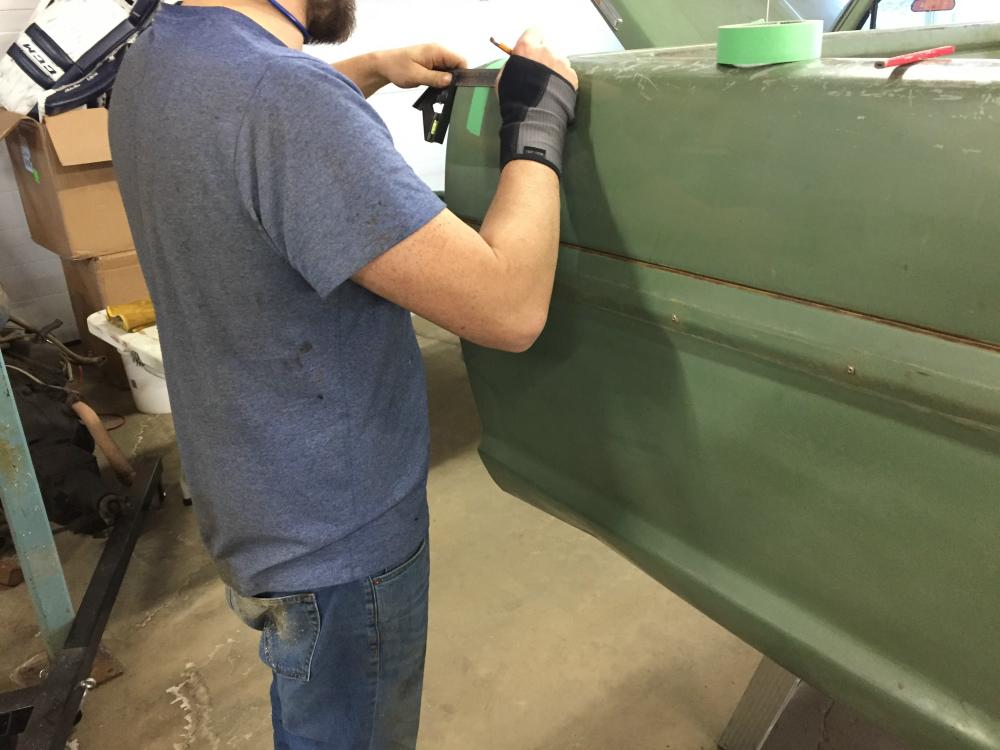
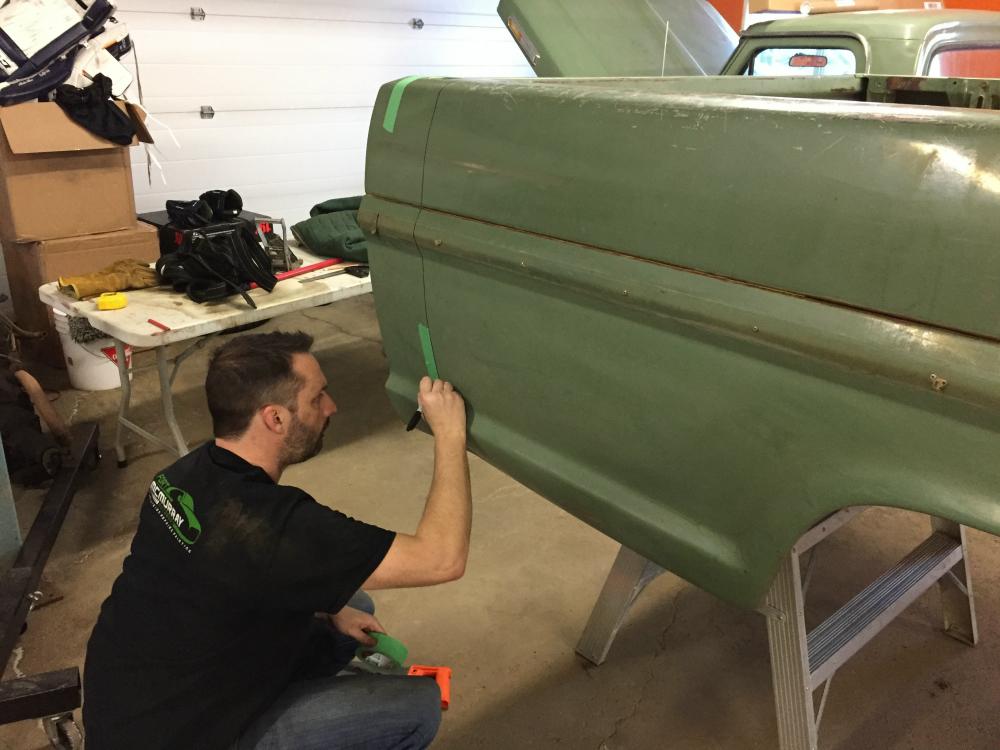
In actuality, you’ll need to measure the points where you’re going to cut, and then mark a straight line.
Mark the measurements on both sides of the bed. You’ll also have to mark the cut line across the bed floor.
It’s very important that your lines are straight, and that your measurements are accurate on both sides.
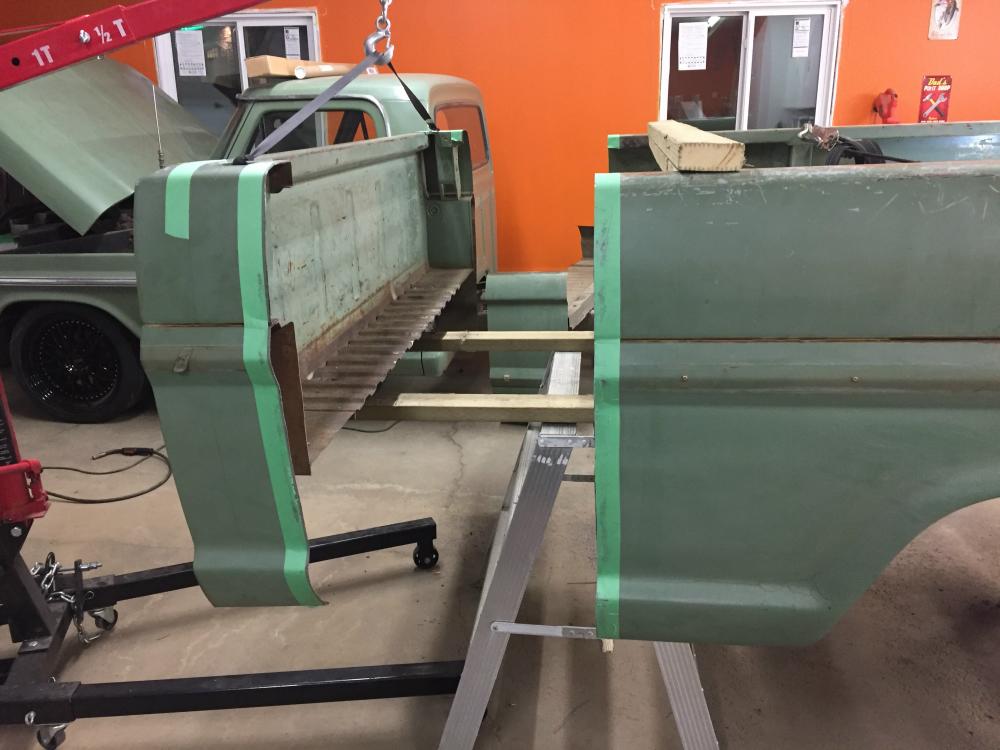
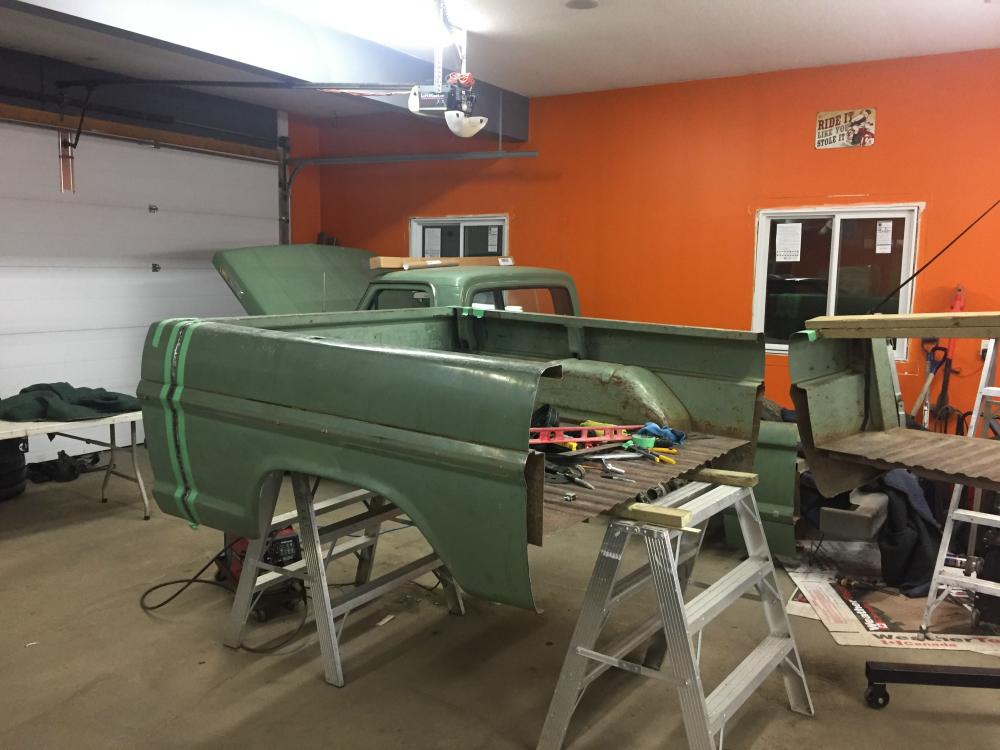
Use 2×4’s or some metal angle to create a brace to keep the bed from warping when you cut it.
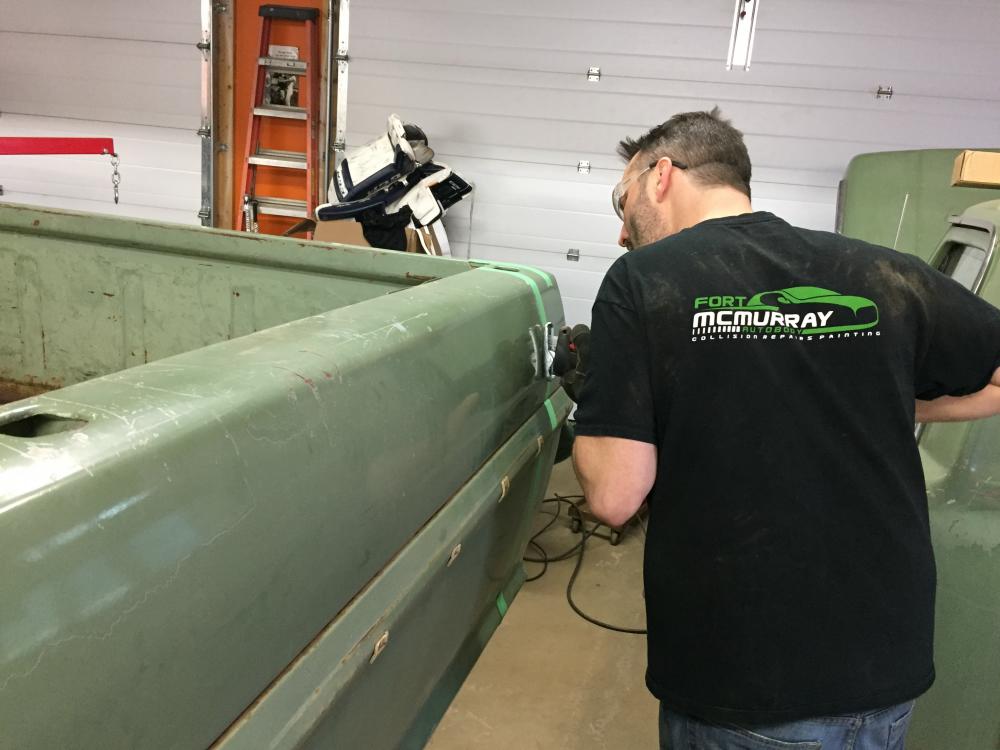
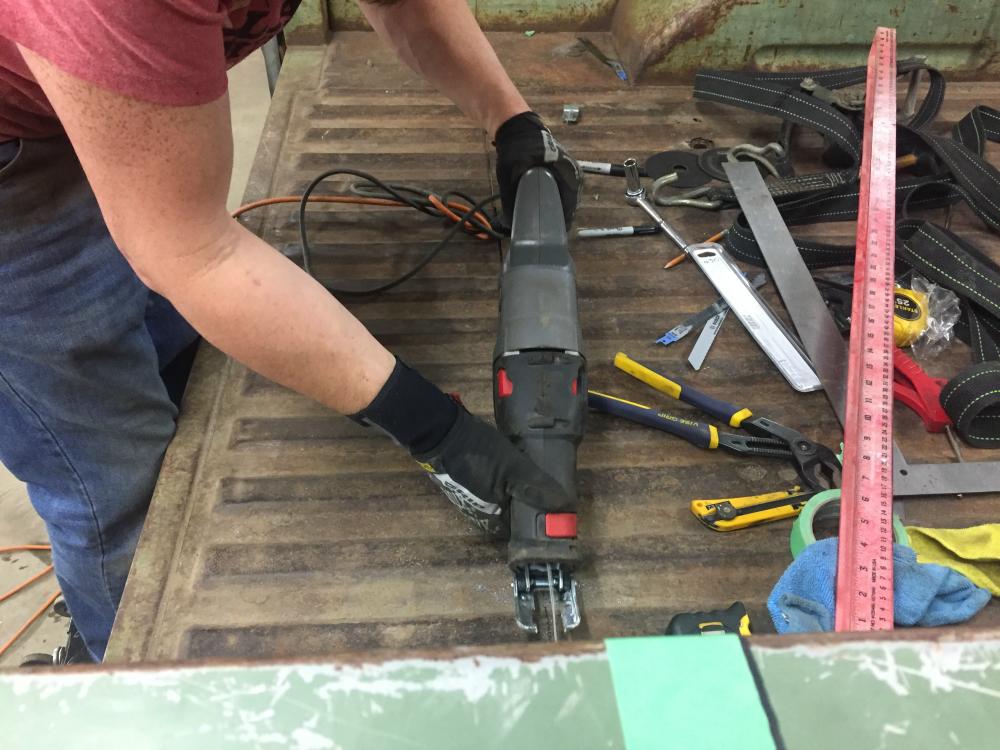
Follow the lines and cut the bed with a sawzall.
Below you can see the 2×4 brace keeping the bed from warping and properly spaced.
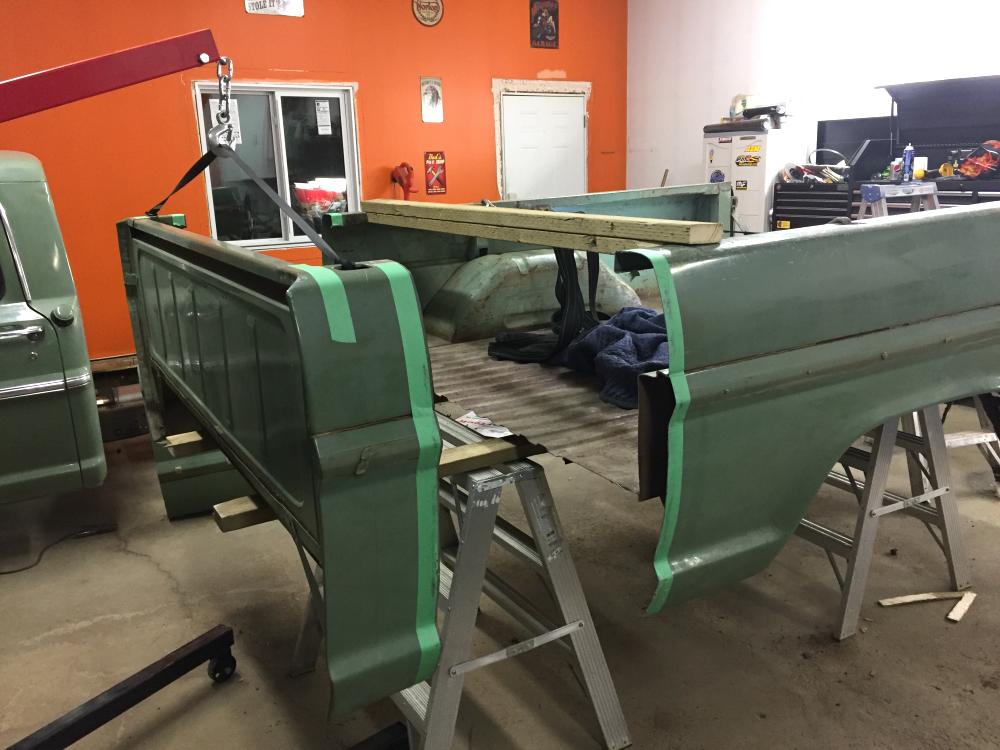
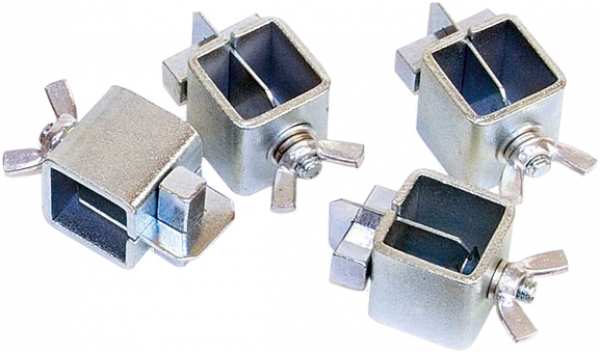
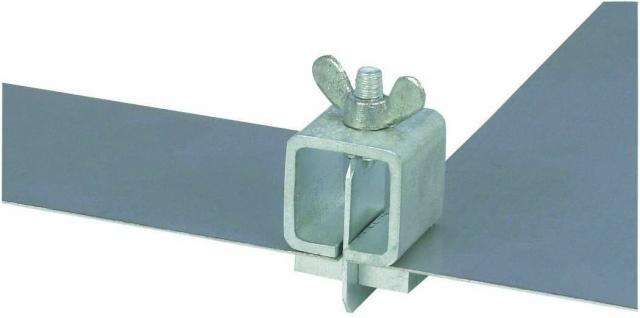
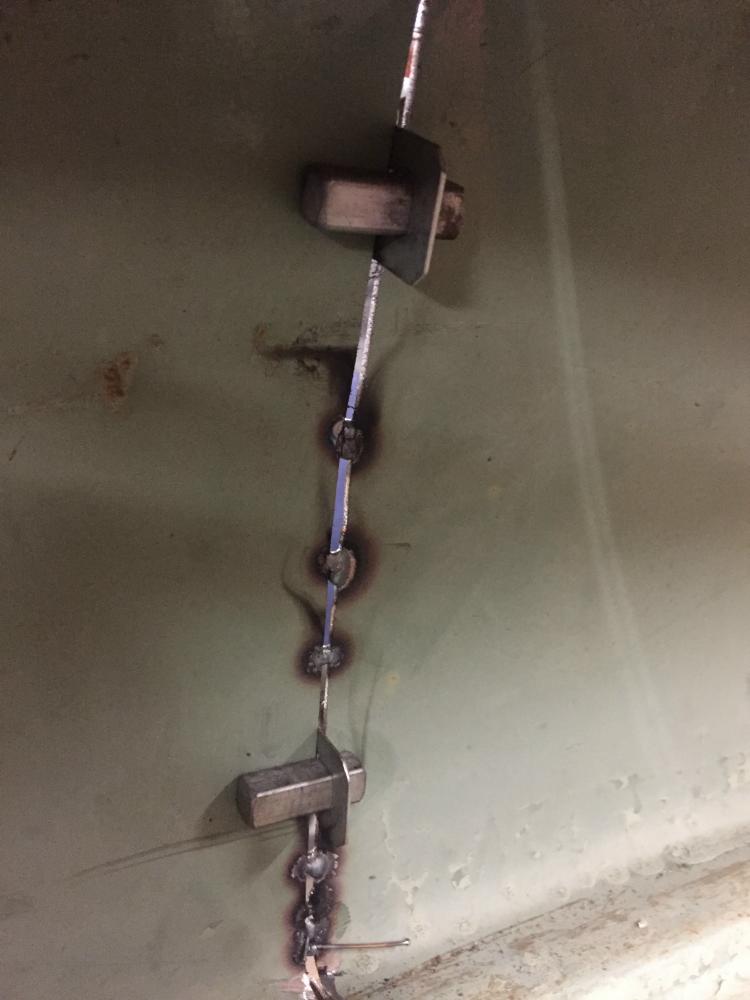
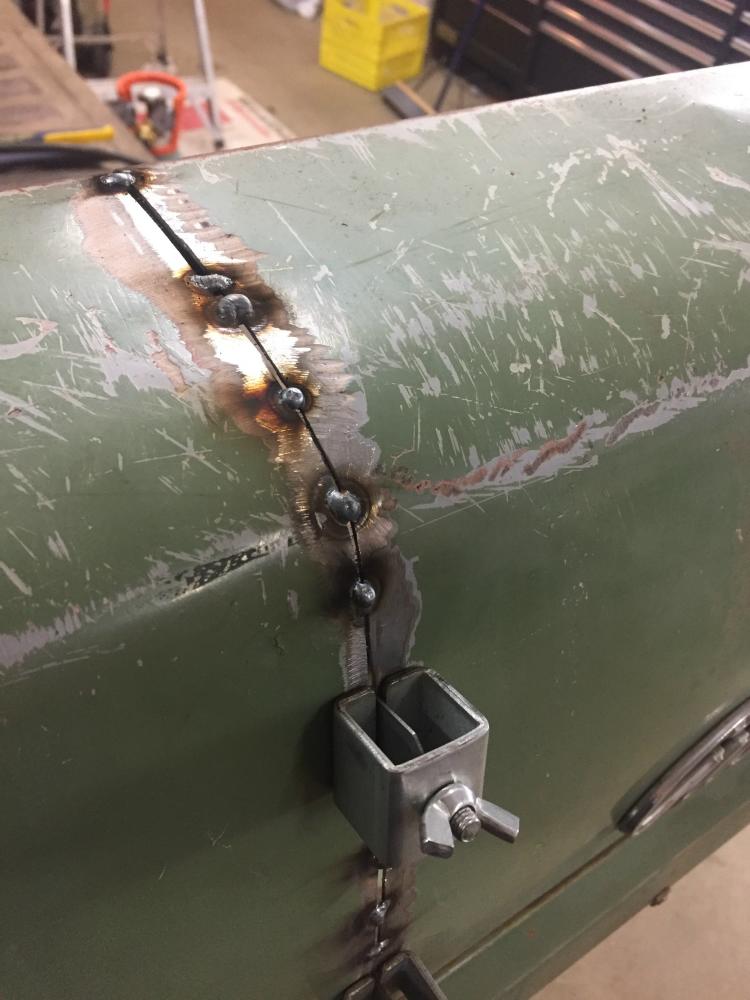
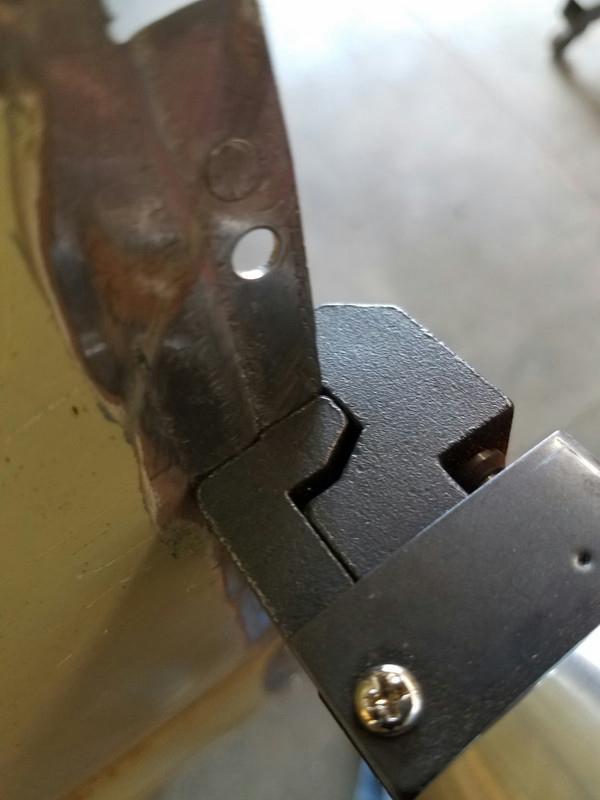
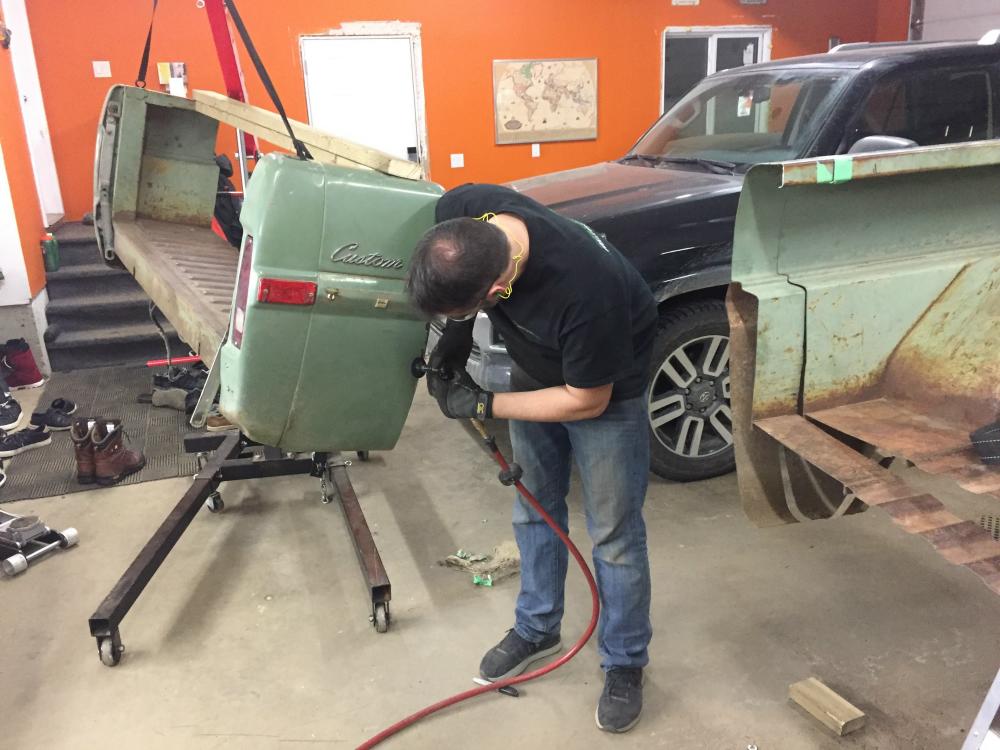
These butt weld clamps help hold the metal together so you can start tacking it together.
Slowly start tacking the bedside back together with a welder. Move the welder around so you don’t create excessive heat welding in the same area. The excess heat will distort the metal.
Another option would be to use a pneumatic flange tool as a simple butt weld is inherently weaker. The flange tool leaves a 1/2″ flange for you to overlap the metal, so you need to subtracted that measurement from your cut.

The process was completed on the rear of the bed as well.
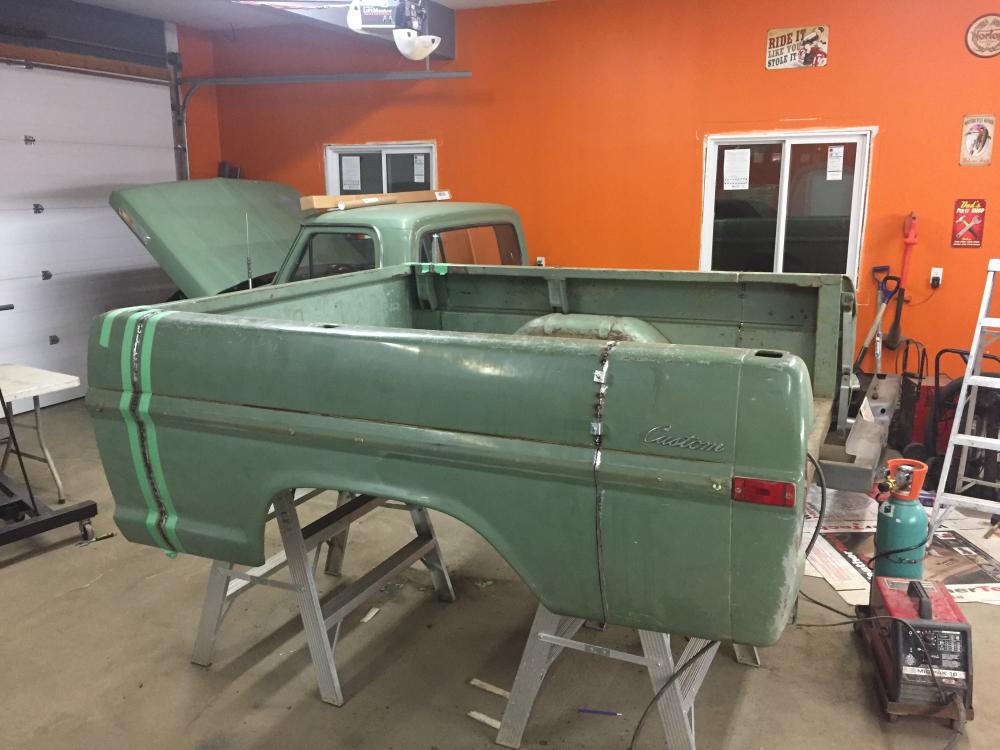
When everything is welded up you can smooth it out with a grinder and flapper wheel. You still want to be careful that you don’t create excessive heat in the metal grinding in the same spot to long.
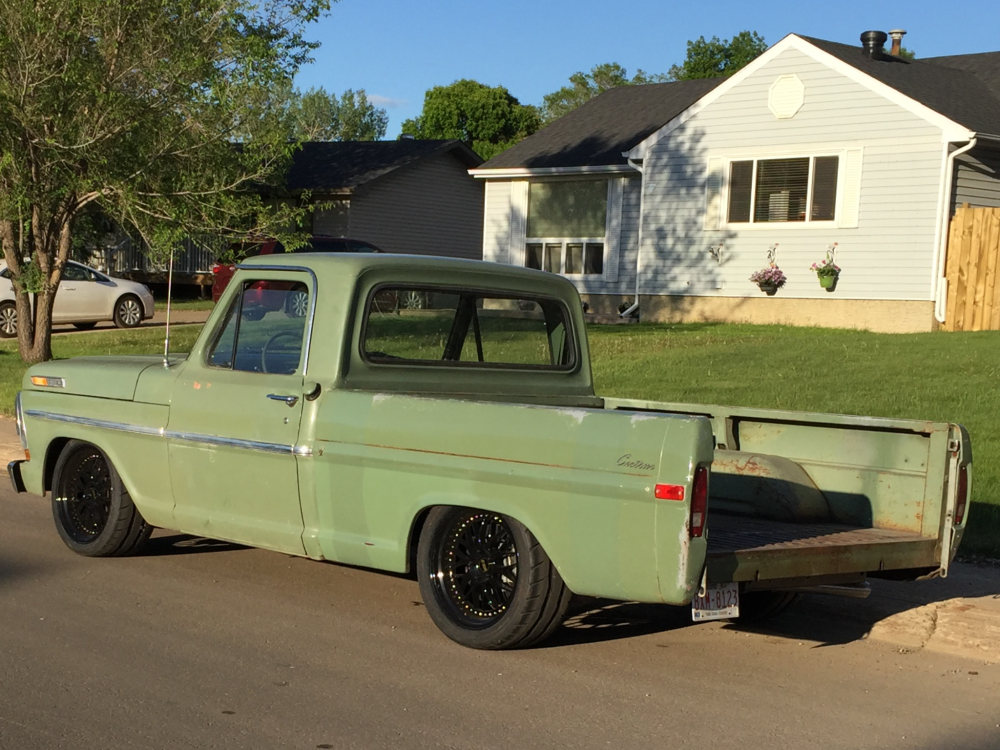
Here you can see the shortened and completed bed.