
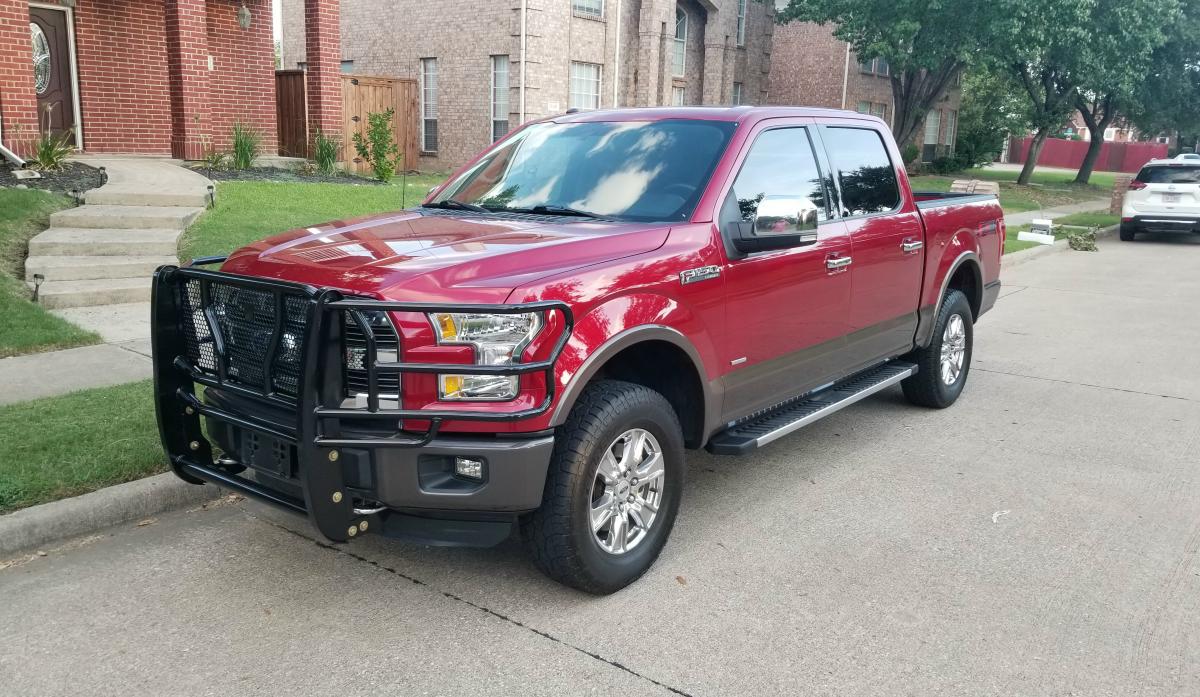
After purchasing a used 2016 Ford F-150 FX4, I searched and found a used Cattleman grill guard on Craigslist. It was actually listed by a business in Dallas Texas that sold truck accessories. They had quite a few used grill guards. I paid the man and took it home.
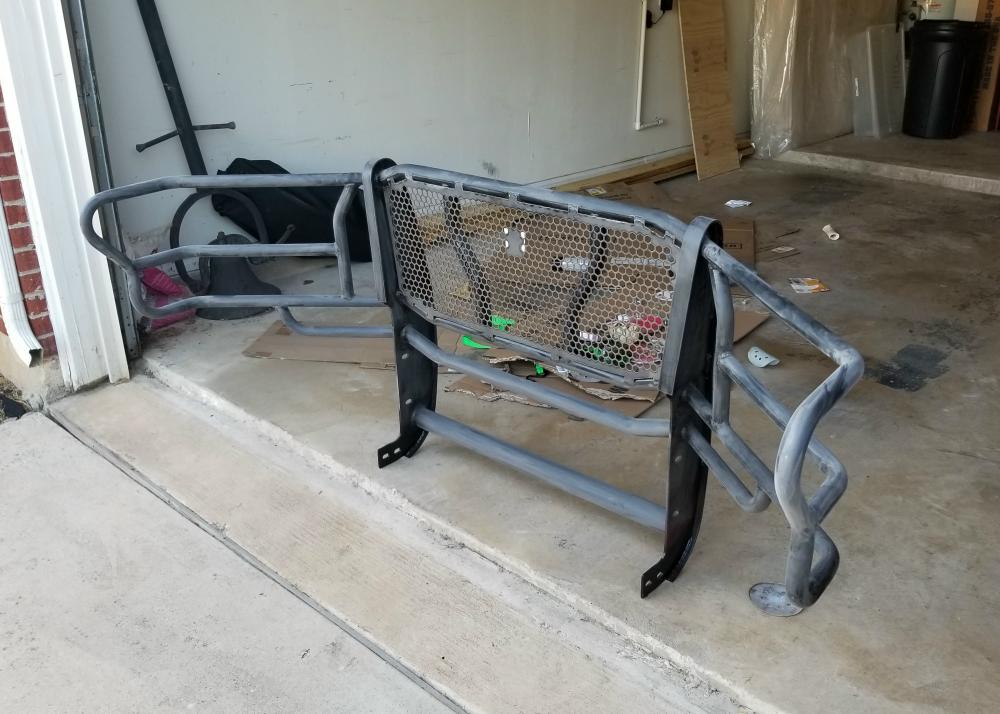
The grill guard was in good shape, but I decided to sand it down in some areas where there were nicks in the paint.
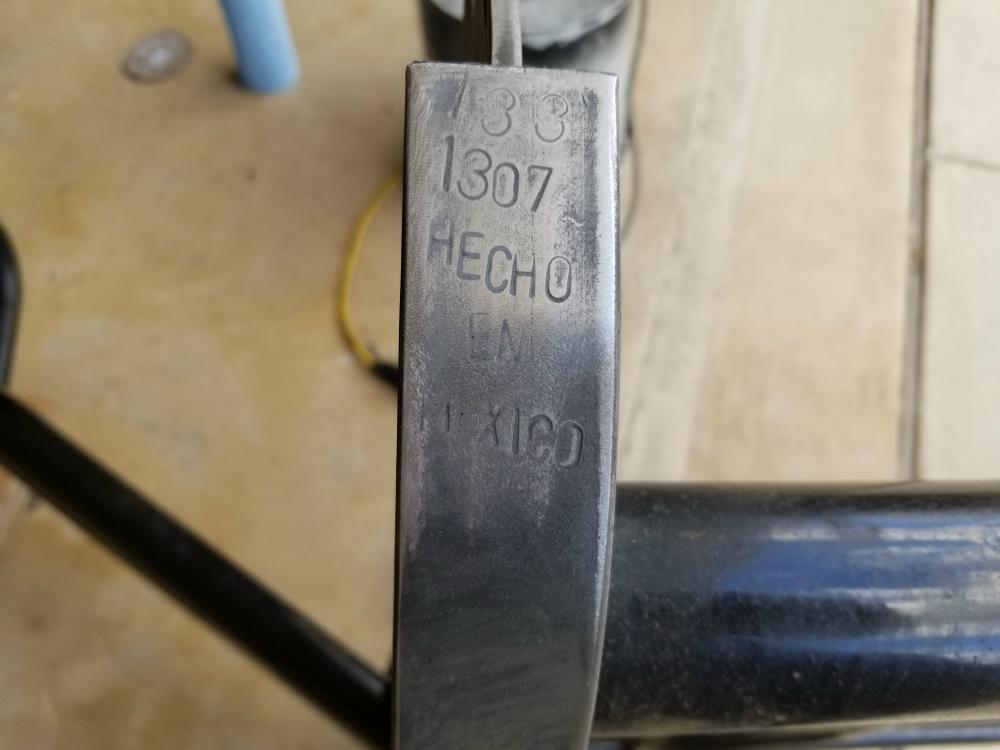
Here you can see the ‘1307’ part number stamped in to the bottom of the grill guard.
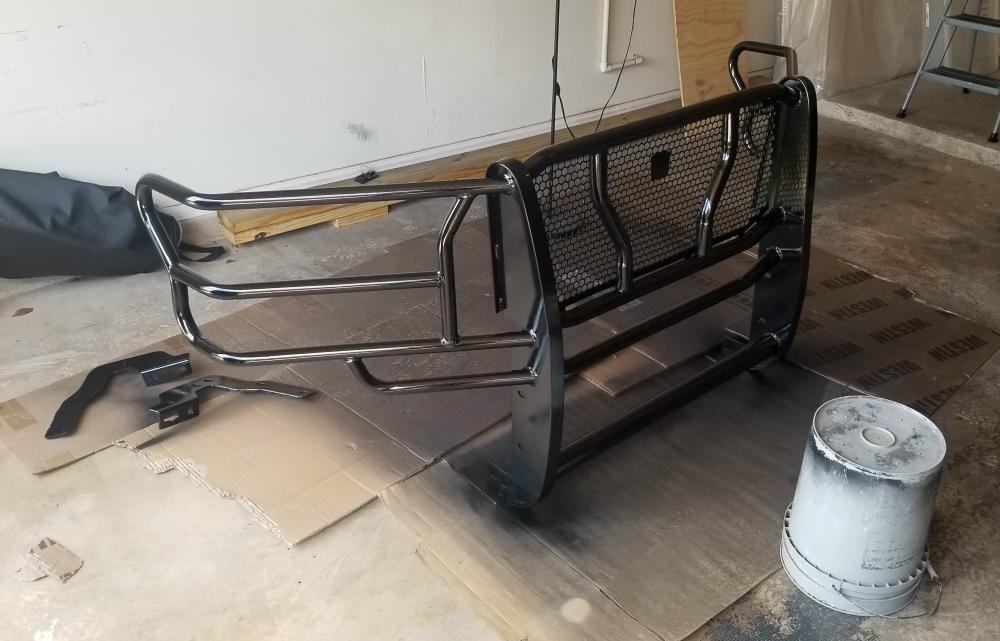
With the grill guard sanded down, I covered any bare metal spots with primer, and then painted it with Rust-Oleum Professional High Performance Gloss Black spray paint.
Cattleman Instructions:
Hardware:
- (2) 1/2″ x 6″ Bolts
- (8) 1/2″ x 1-1/2″ Bolts
- (14) 1/2″ Nuts
- (24) 1/2″ Flat Washers
- (2) 7/16″ x 2″ bolts
- (2) 7/16″ Nuts
- (2) 7/16″ Lock Washers
- (4) 7/16″ Square Washers
Step 1: For the bottom brackets, remove tow hooks if tow hooks are present. If tow hooks are not present you will have to cut out the plastic to get to the frame factory holes.
Note: Remove the tow hook cover. You will lose the tow hook cover. Put bottom bracket under center of the tow hook and bolt with the same factory bolt.
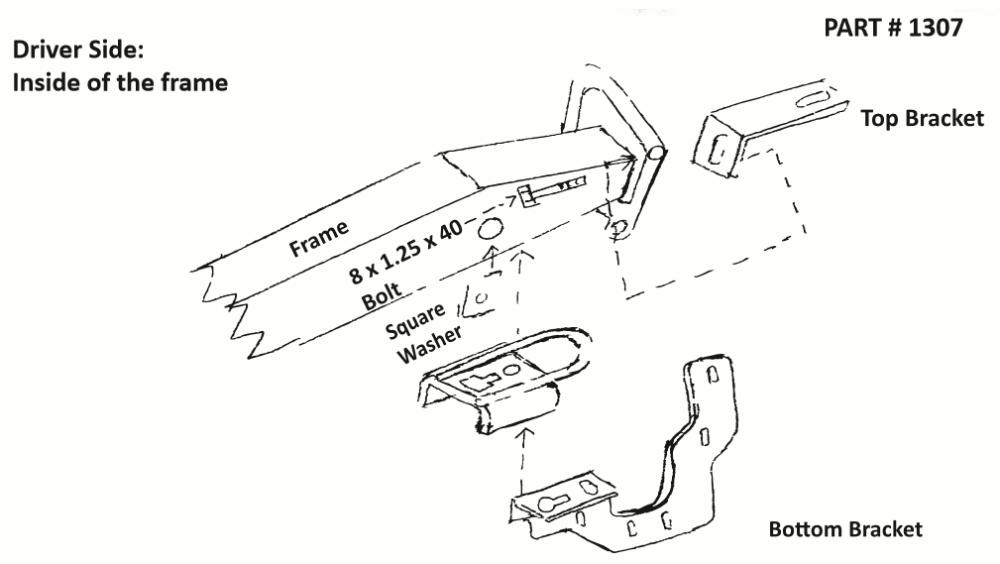
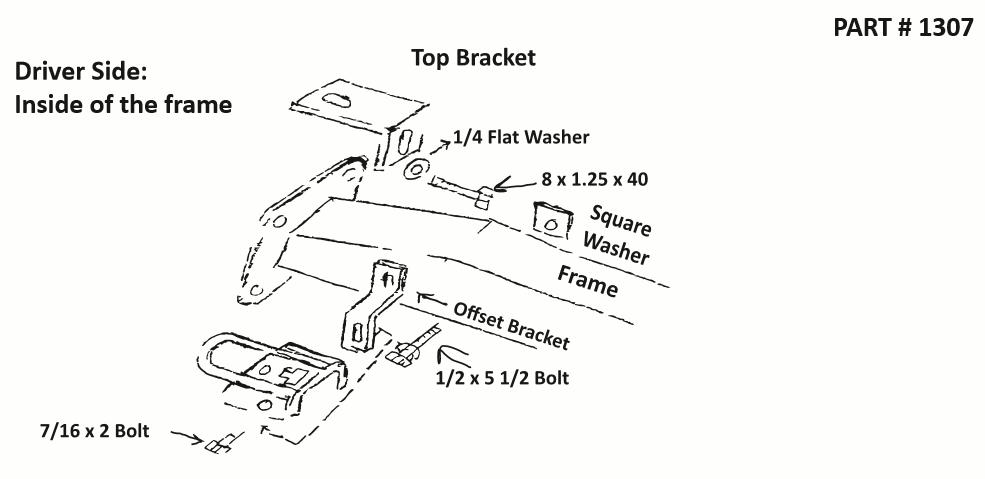
Step 2: On the side of the tow hooks there is a hole. Bolt offset bracket to the frame and to the tow hook bolt. The same on the passenger side.
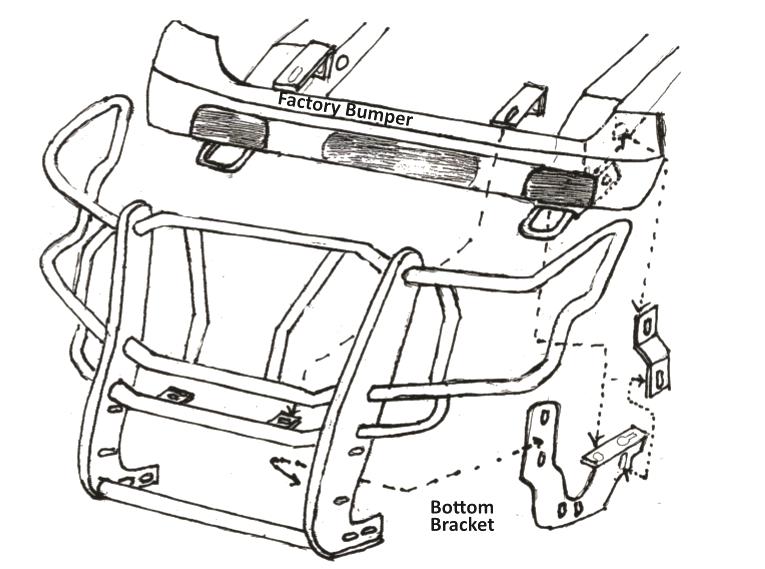
Step 3: Put grill guard in place and bolt on.
Step 4: Check alignment on the grill guard and tighten bolts. You may need to periodically retighten bolts.
My Installation:
The hardest part in my installation was just getting the plastic trim pieces out from around the factory tow hooks.
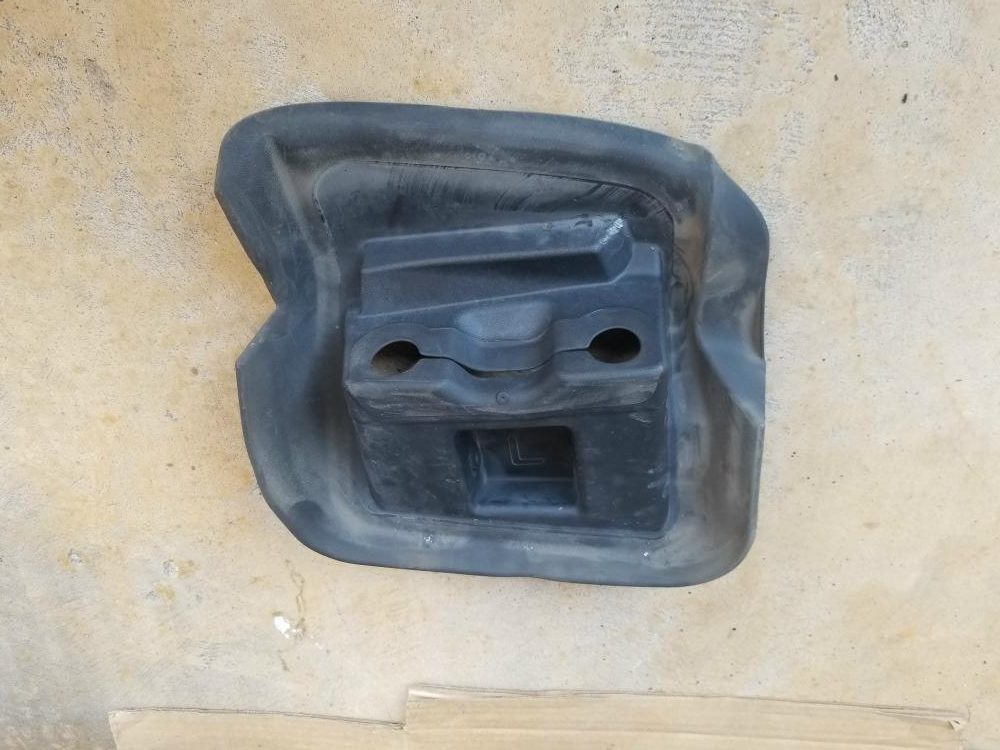
Here’s what they look like when they’re out.
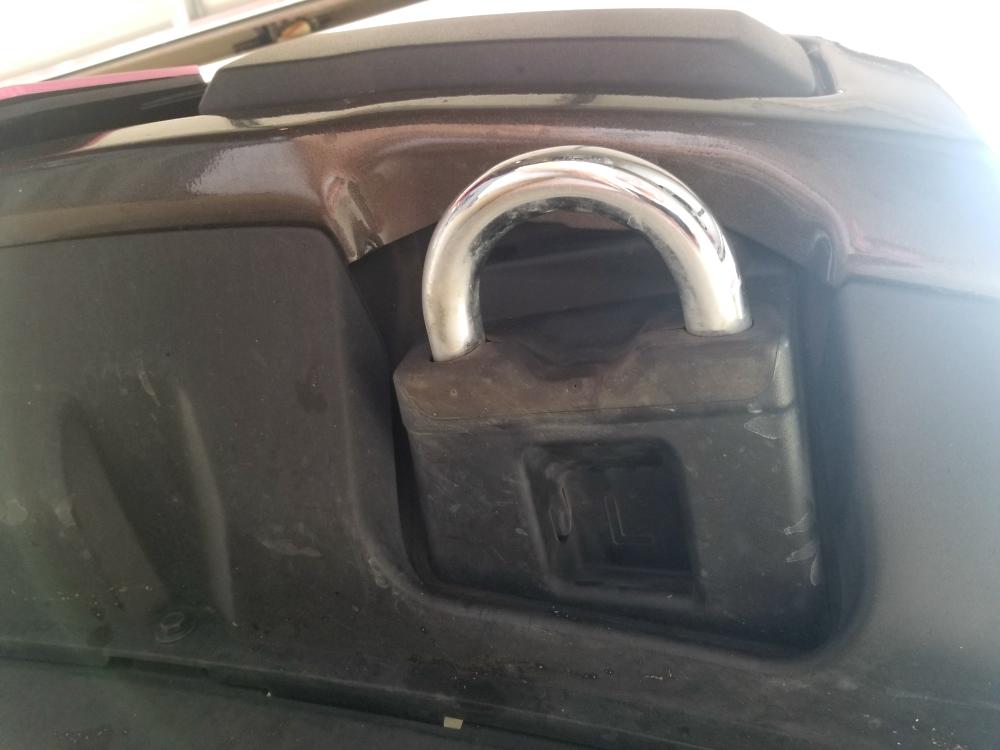
Here you can see the locking tabs that hook on to the tow hook. Pull those out towards you to unlock the cover.

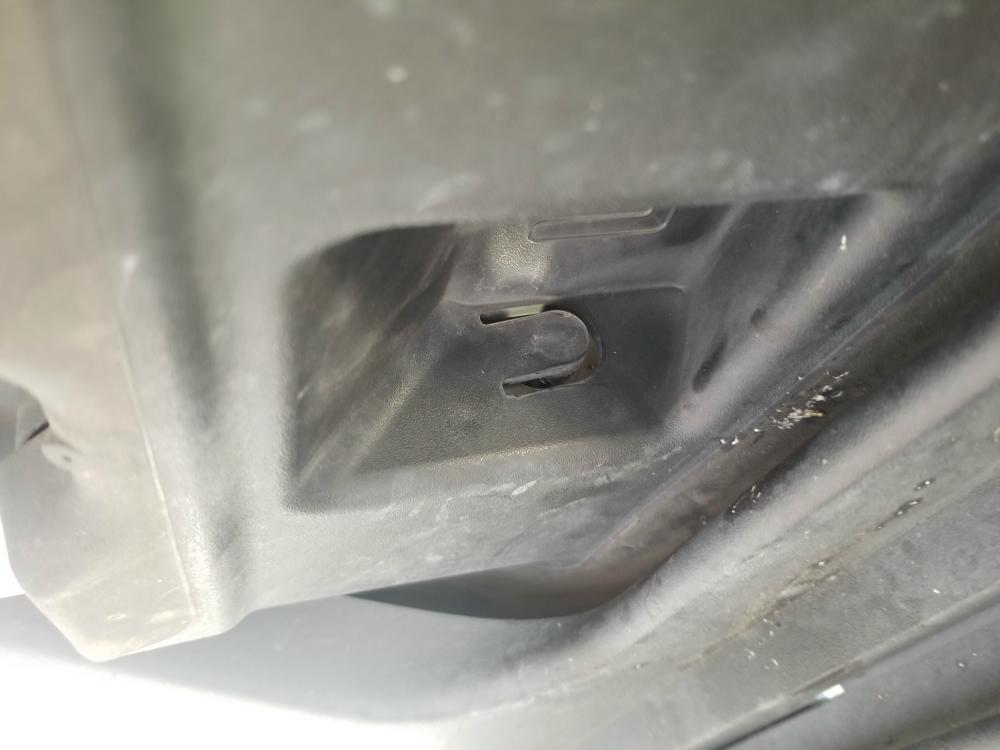
Here’s a look from the rear of the tow hook.
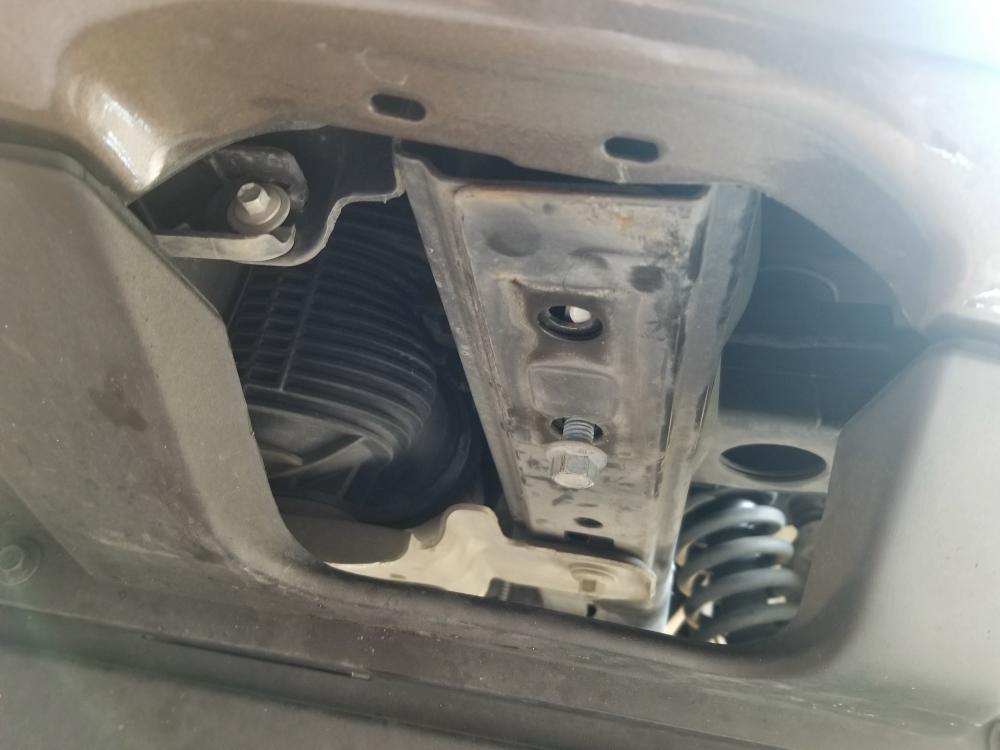
You’ll pull the tow hook down and out from the front. It may seem like it’s attached in the front, but it actually just gets caught between the front of the frame and the metal bumper.
You remove the front tow hook bolt completely, but not the rear bolt. It’s holding a metal plate in place with (2) nuts on it. The tow hook will slide back off of the bolt head so you can drop it down and remove it.
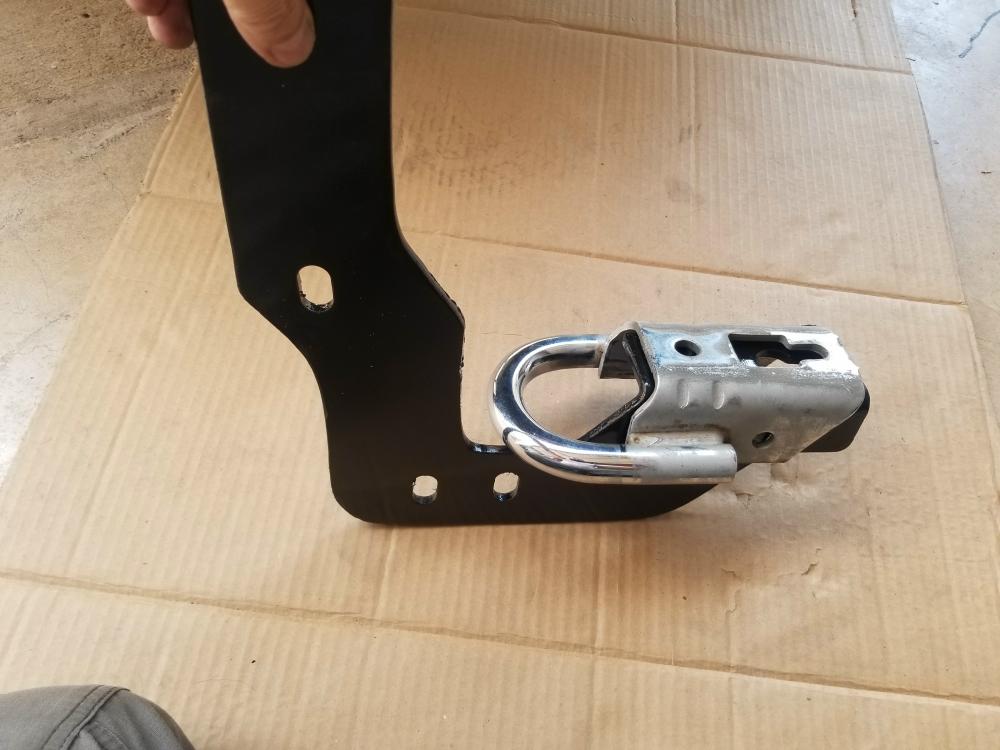
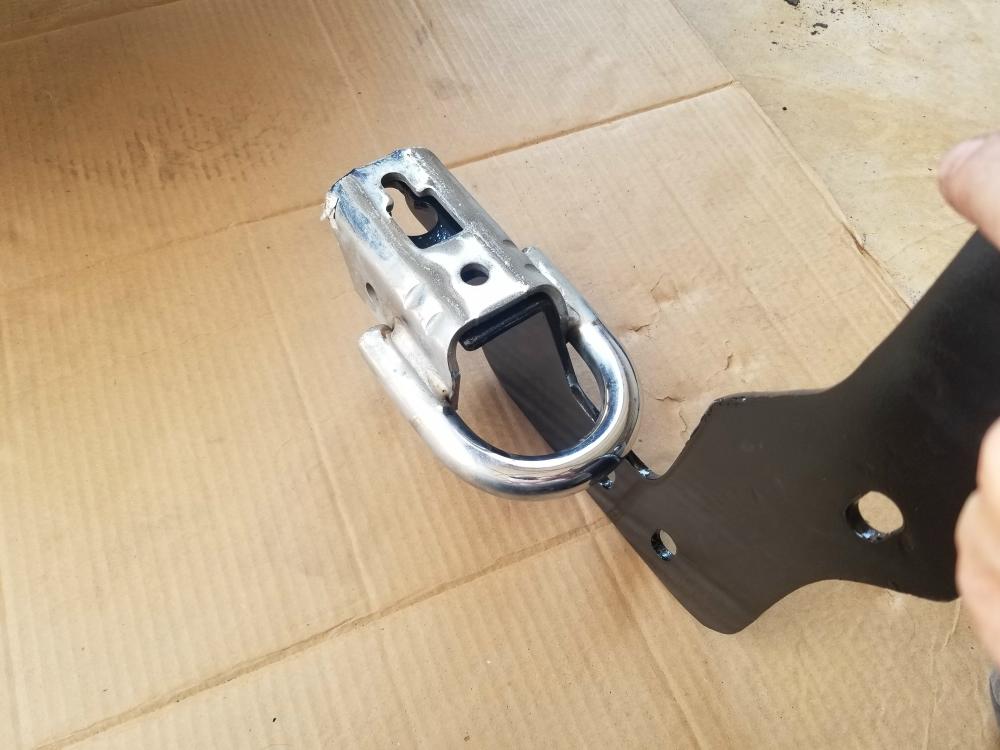
Remove the tow hooks and place them over the lower mounting brackets.
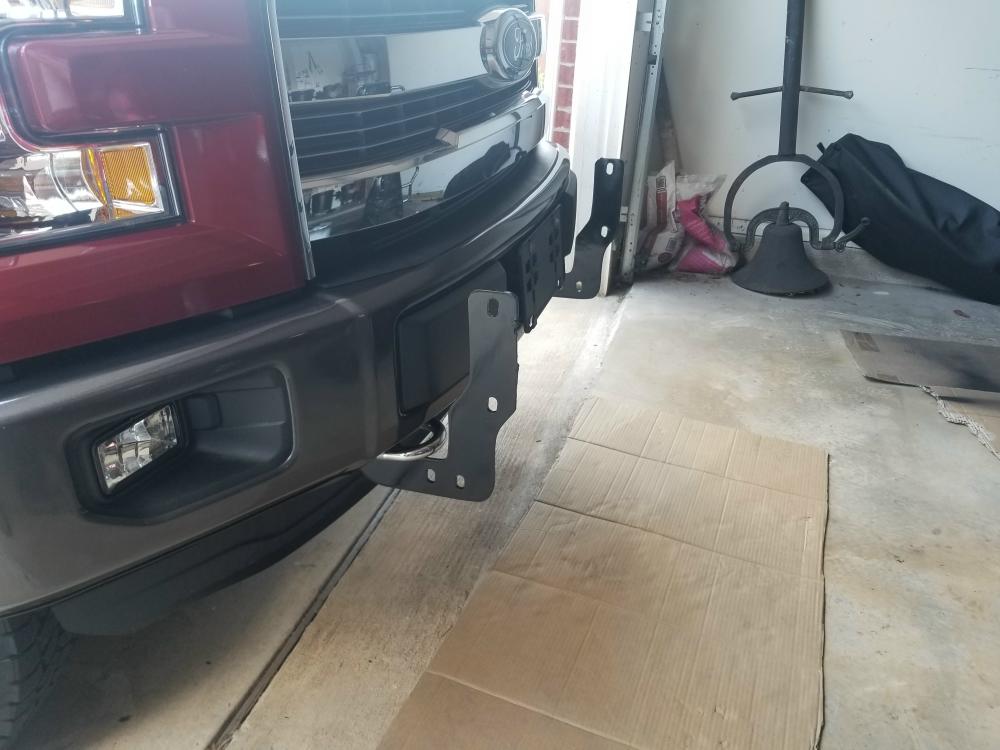
Install the lower mounting brackets with the tow hooks mounted between the brackets and the frame. Use the factory mounting bolts.
Do not completely tighten the bolts. You want them to be loose enough to be able to move and adjust the brackets.
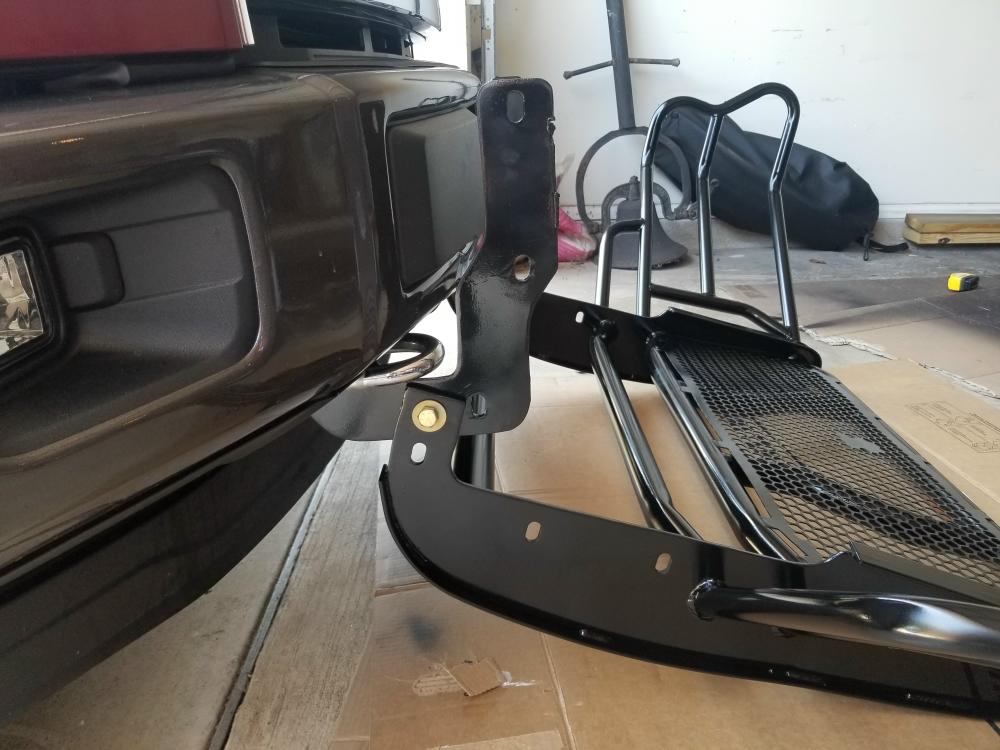
With the grill guard laying on the ground in front of the truck, lift the bottom of the grill guard up to the mounting brackets, and place a bolt in the very bottom rearward bolt holes. Add the washers, lock washer, and nut, but don’t tighten it.
Now pivot (rotate) the bumper up and add the remaining hardware.
Not only does this method make it easy for someone to install the grill guard by themselves, it also keeps you from bumping it in to the truck trying to line it up.
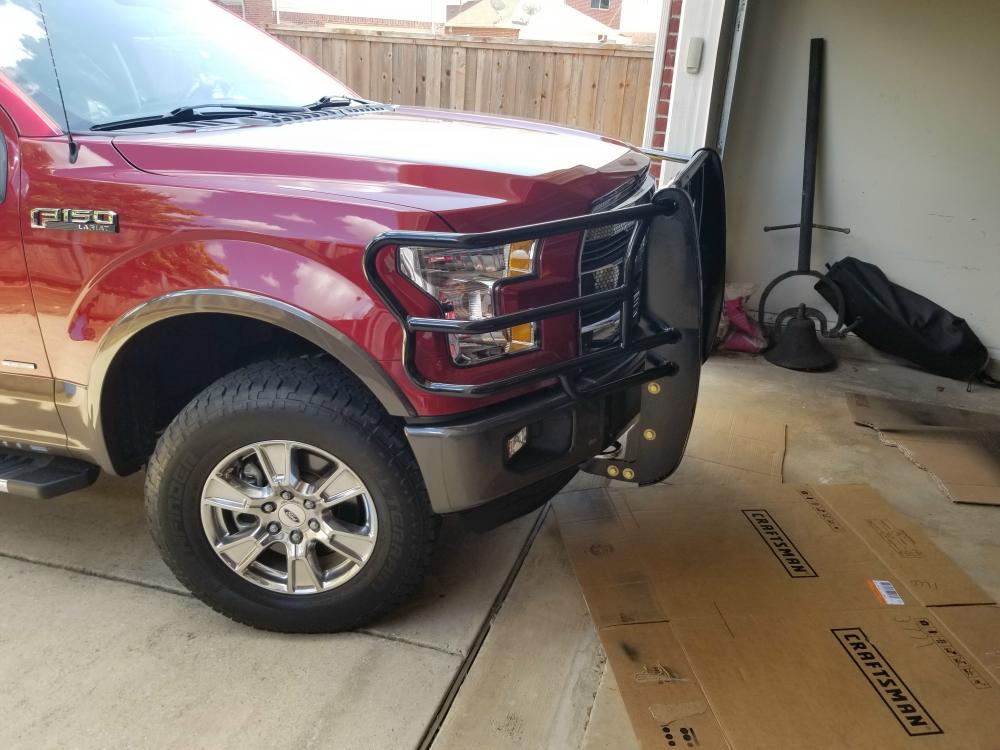
With all of the hardware installed, you can now measure the gaps between the front fenders and adjust the position of the grill guard before tightening it up.
NOTE: The instructions I found online at cattlemanhd.com shows an offset bracket that attaches from the frame to the outside of my tow hook. The used grill guard did not come with it. I may fabricate my own bracket. Also, even though the grill guard still had the original hardware in the brackets, I replaced them all with new Grade 8 hardware.
Links:
https://cattlemanhd.com/product/ford-grille-guard-1307p/
https://cattlemanhd.com/wp-content/uploads/2017/06/1307_Instructions.pdf
https://www.blueovaltrucks.com/wp-content/uploads/2020/08/1307_Instructions.pdf